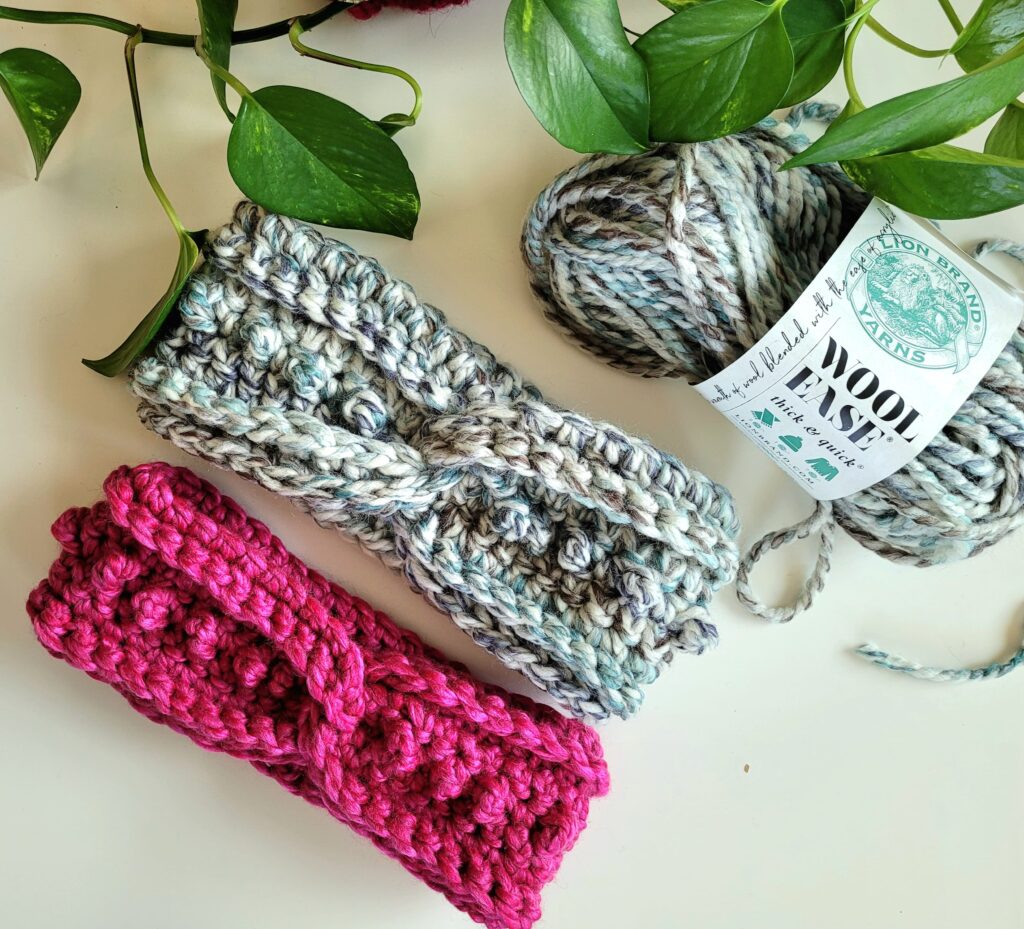


FREE Bobble Ear Warmer Crochet Pattern Begins Here:
Row 1:
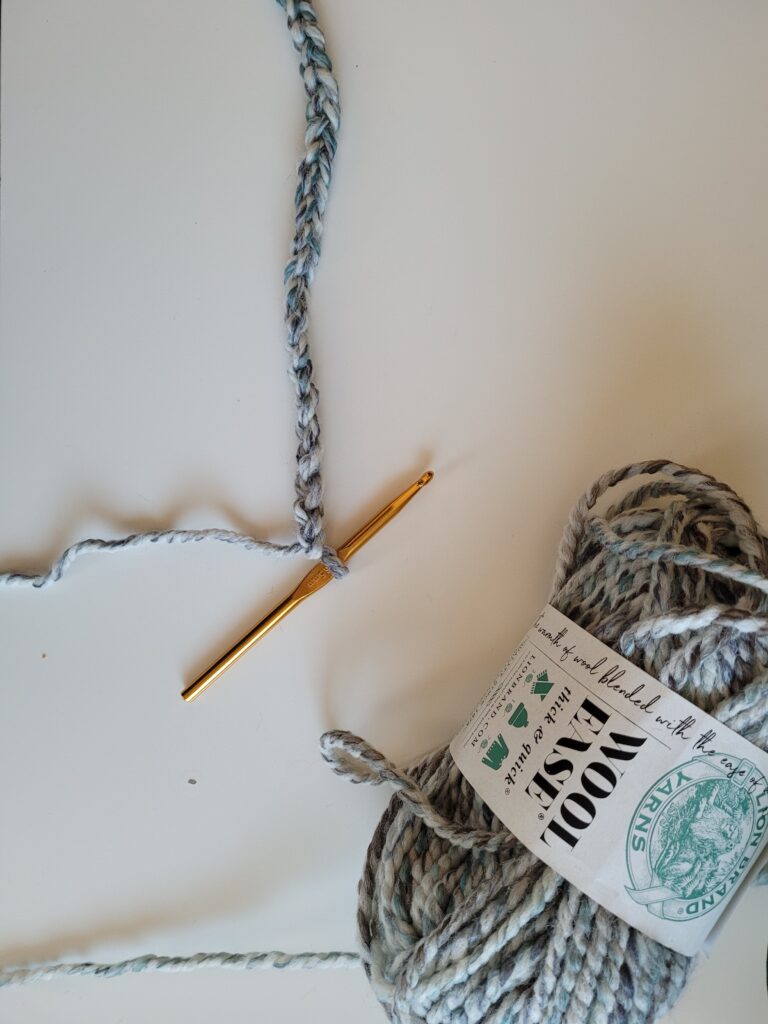
ch 42
(or the length required to make sure that the chain fits around your head - adjust based on desired size)
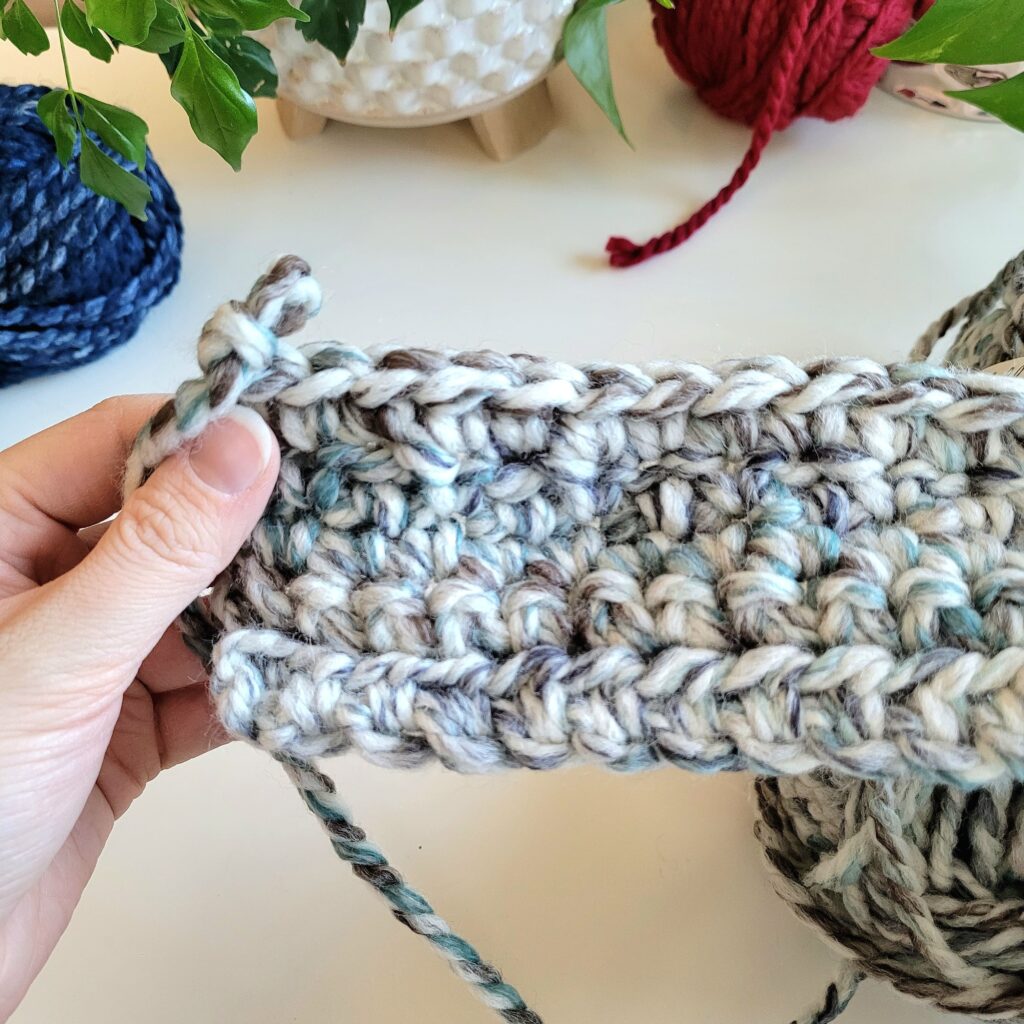
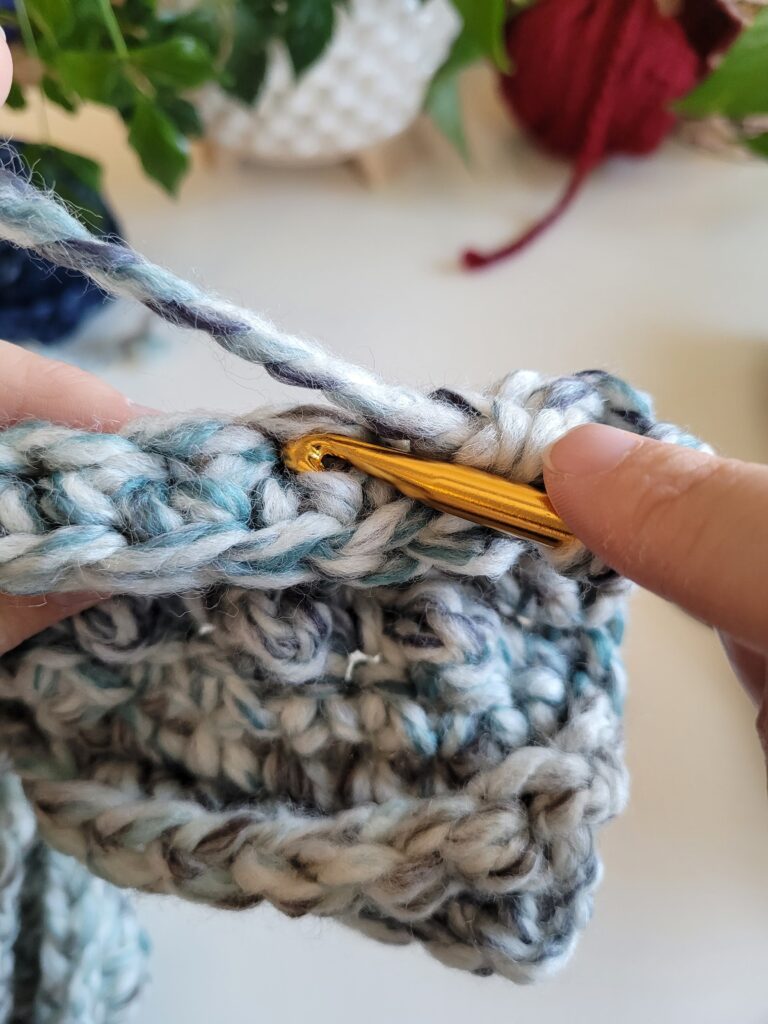
Row 2:
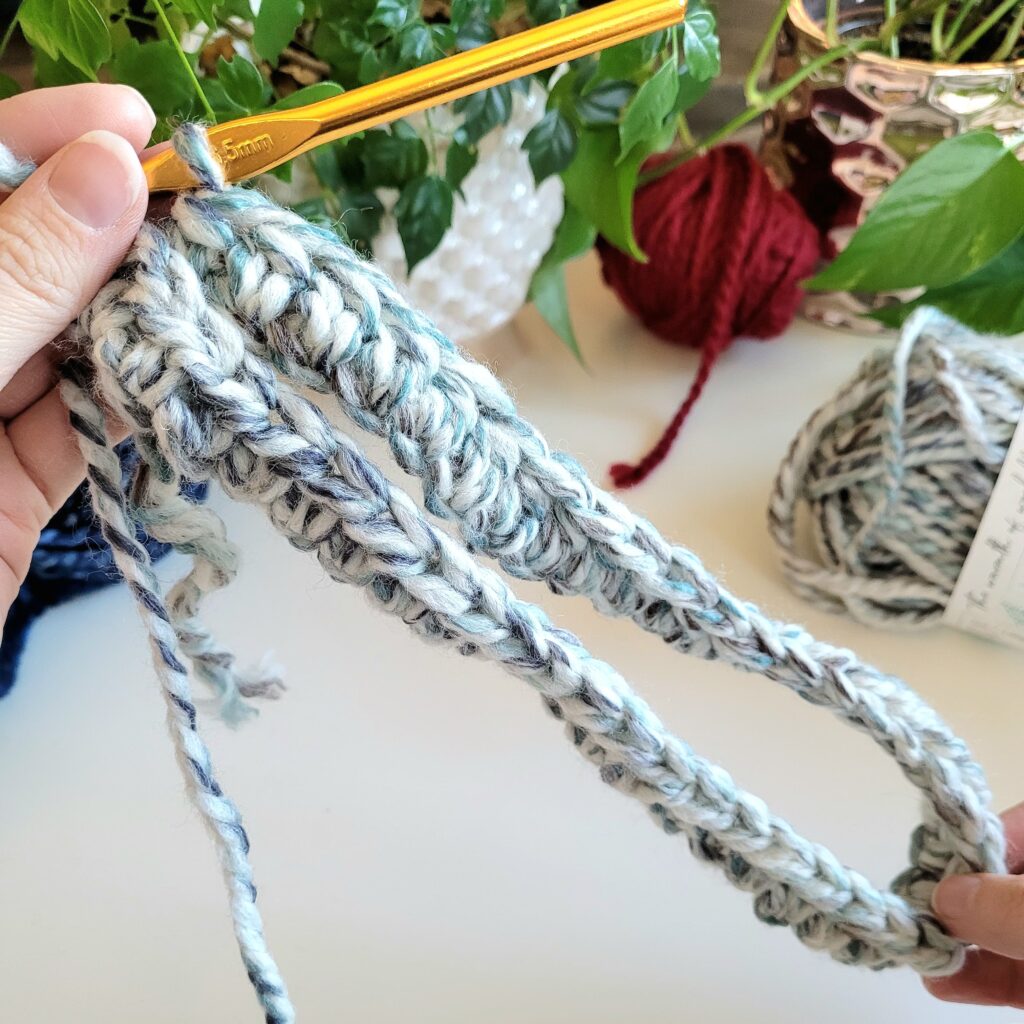
ch 2, hdc in the 3rd loop from hook, hdc across, ch 2, turn
Row 3:
sc blo across, ch 2, turn

Row 4:
sc into the remaining loop from row 2 (the loop we did not use in row 3 when we did sc blo), repeat across, ch 2 turn,

Row 5:
sc across, ch 2, turn
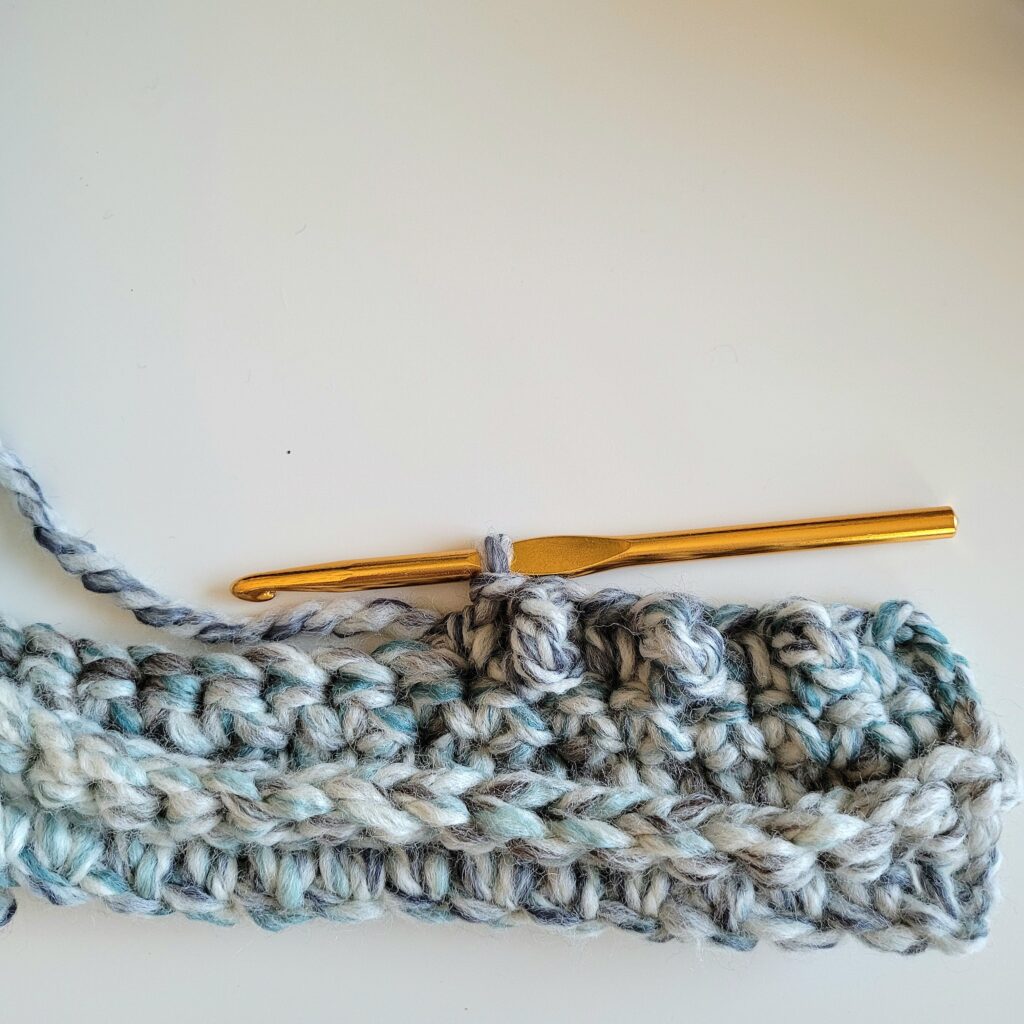
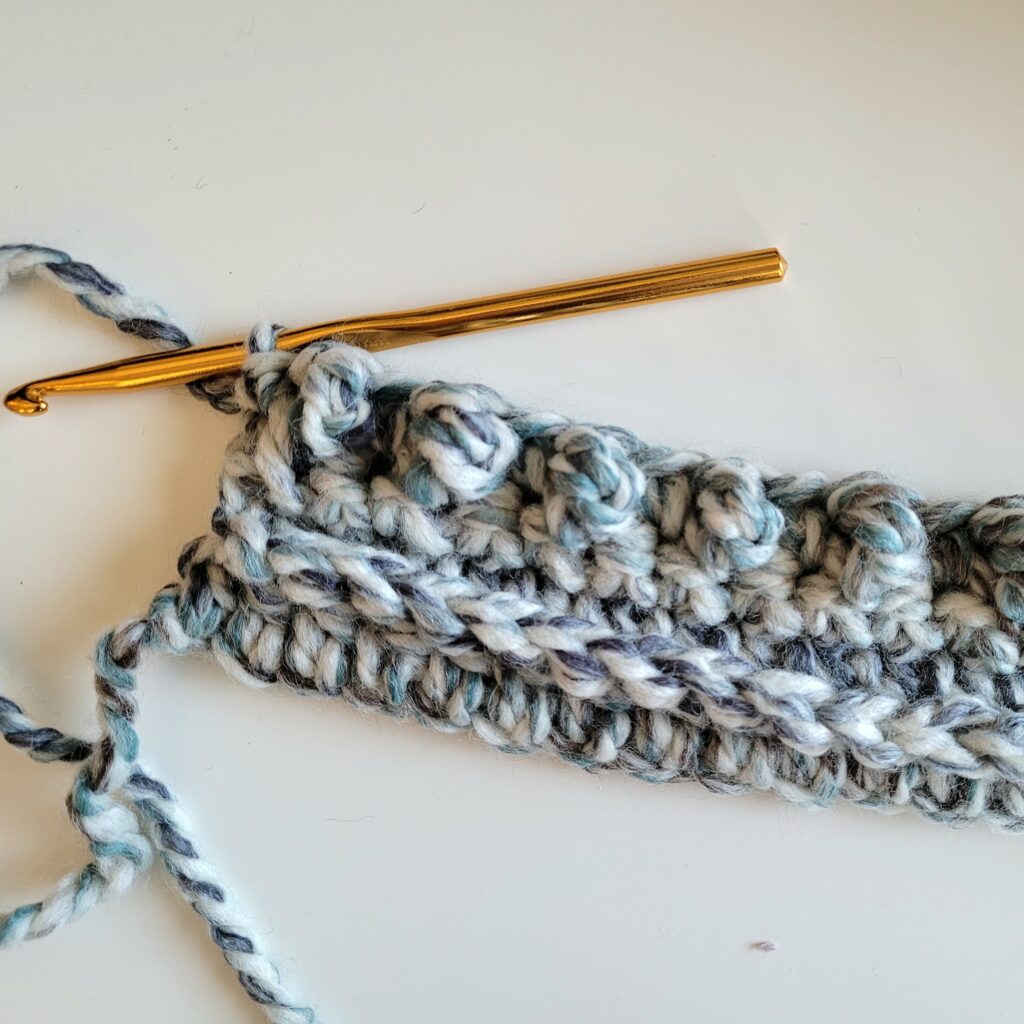
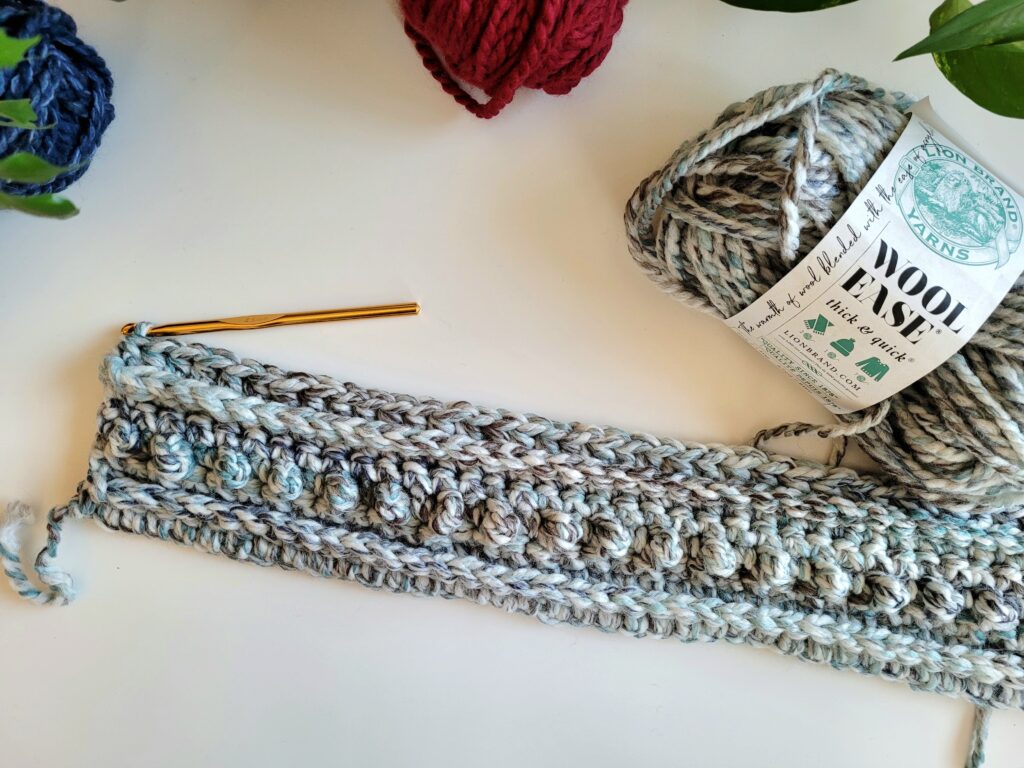
Row 6:
*sc, tr* repeat * - * until 1 st left, sc in the last st, ch 2, turn
Row 7:
Repeat row 5
Row 8:
Repeat row 3

Row 9:
hdc into the remaining loop from row 7 (the loop we did not use in row 8 when we did sc blo), repeat across, cut yarn (leaving a long tail), then assemble your ear warmer

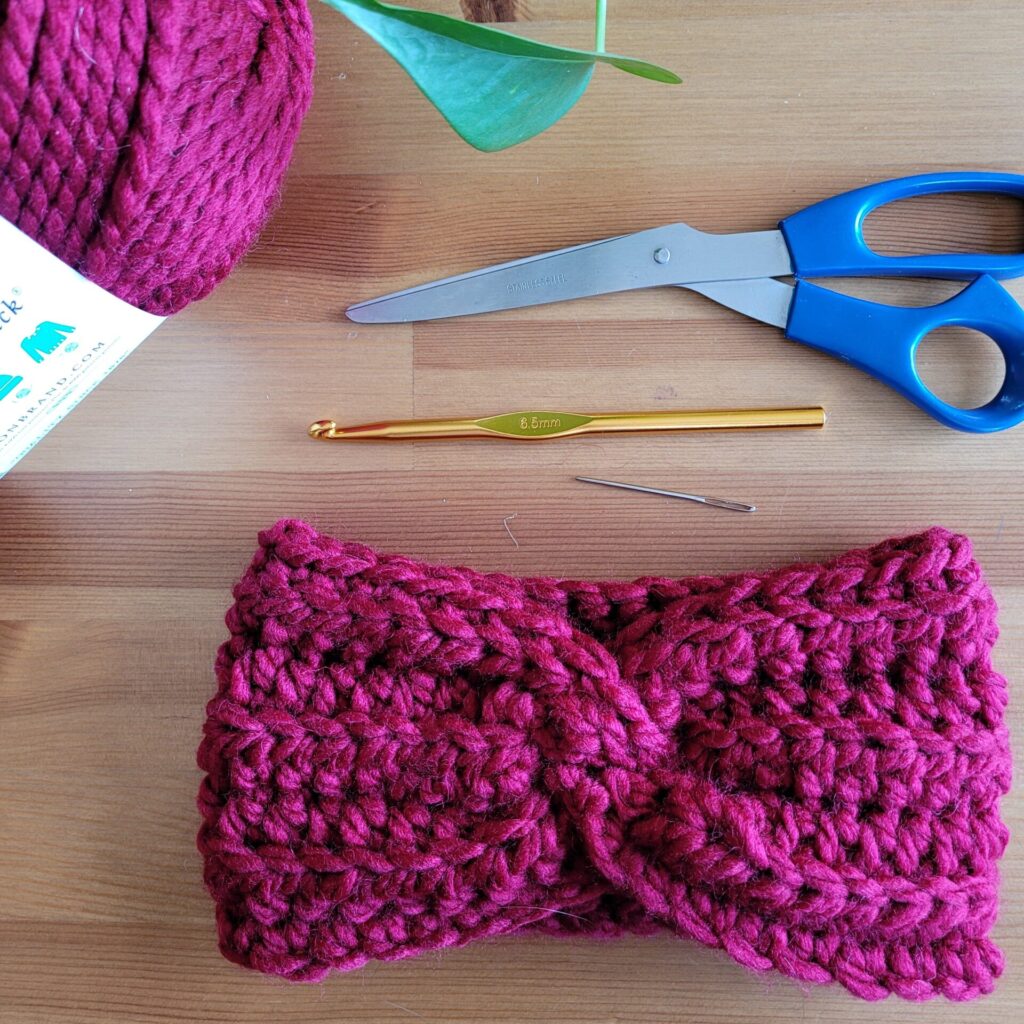
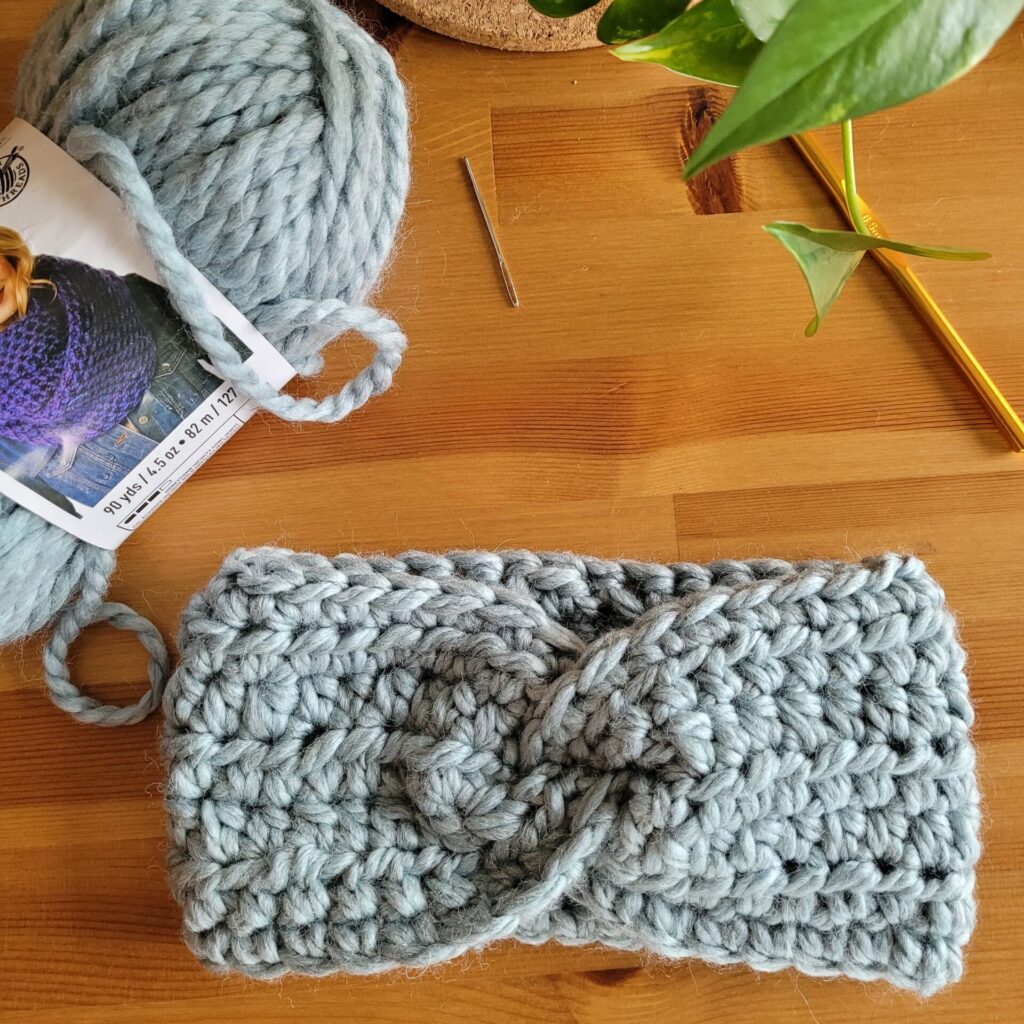
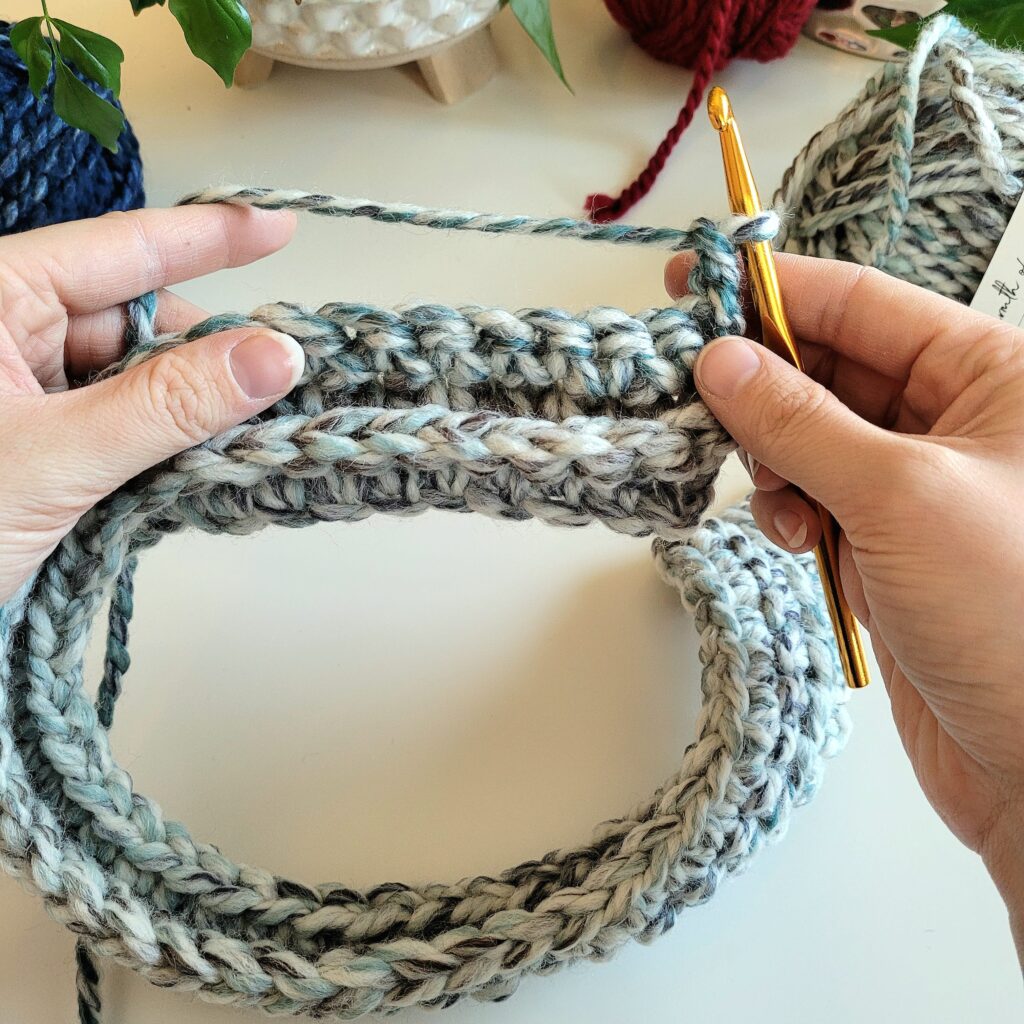
Assembling the Ear Warmer:
Cross - Over Version:
Take the panel created and fold it in half, bobbles on the inside of the fold (the two short ends together) and then follow the instructions on the pictures that follow:

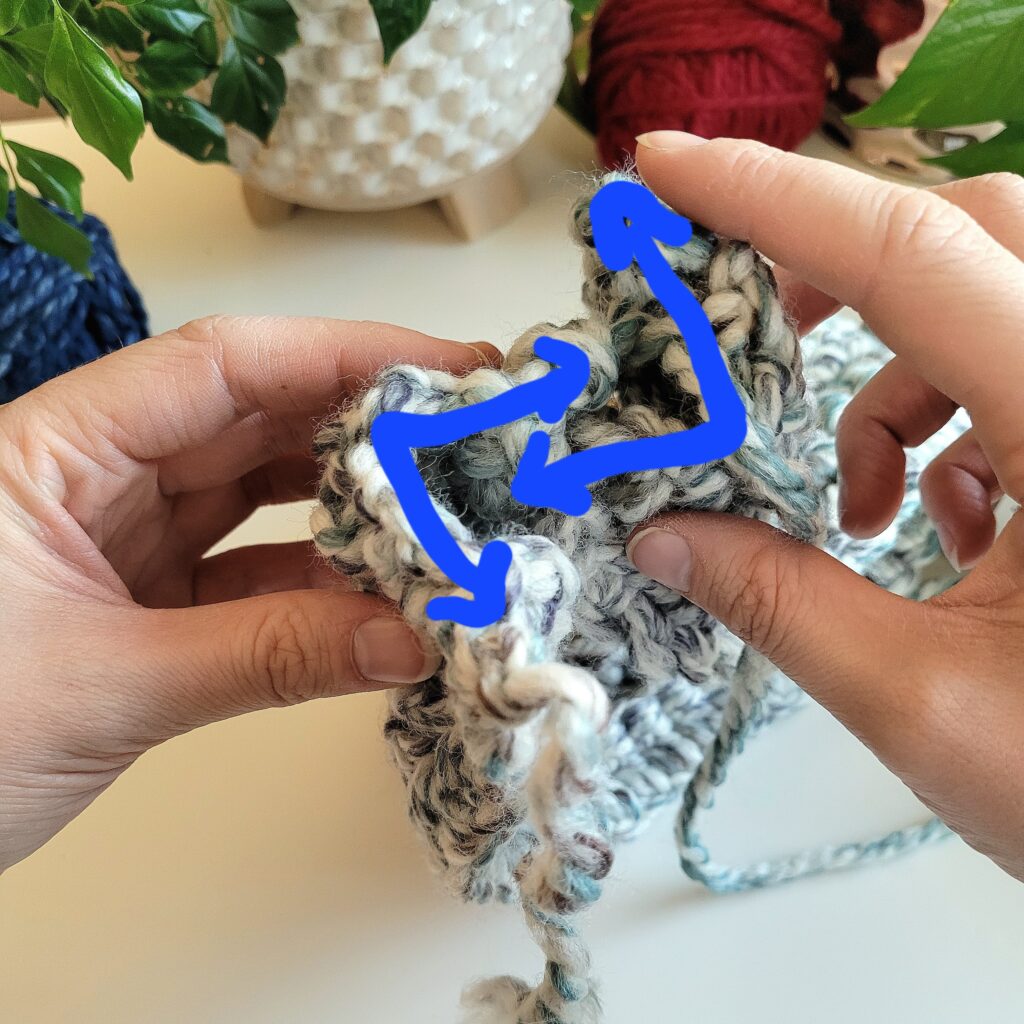
Then, sew together across the entire fold.

Flat Version:
If you would like for your ear warmer not to cross over in the front, and just be flat - you can simply sew the edges together to achieve this effect, and can skip all of the other assembly steps above.
Congratulations! Your crochet Bobble Ear Warmer is complete!