Share
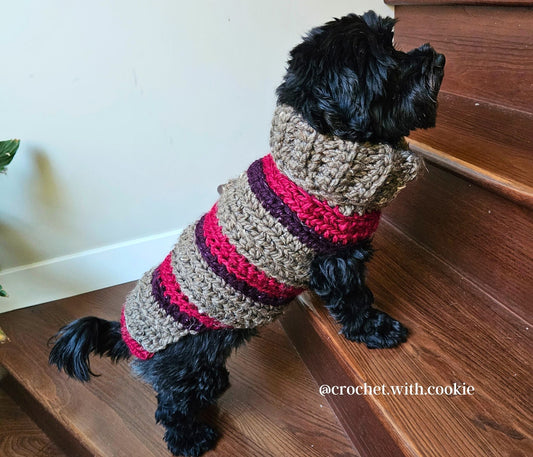
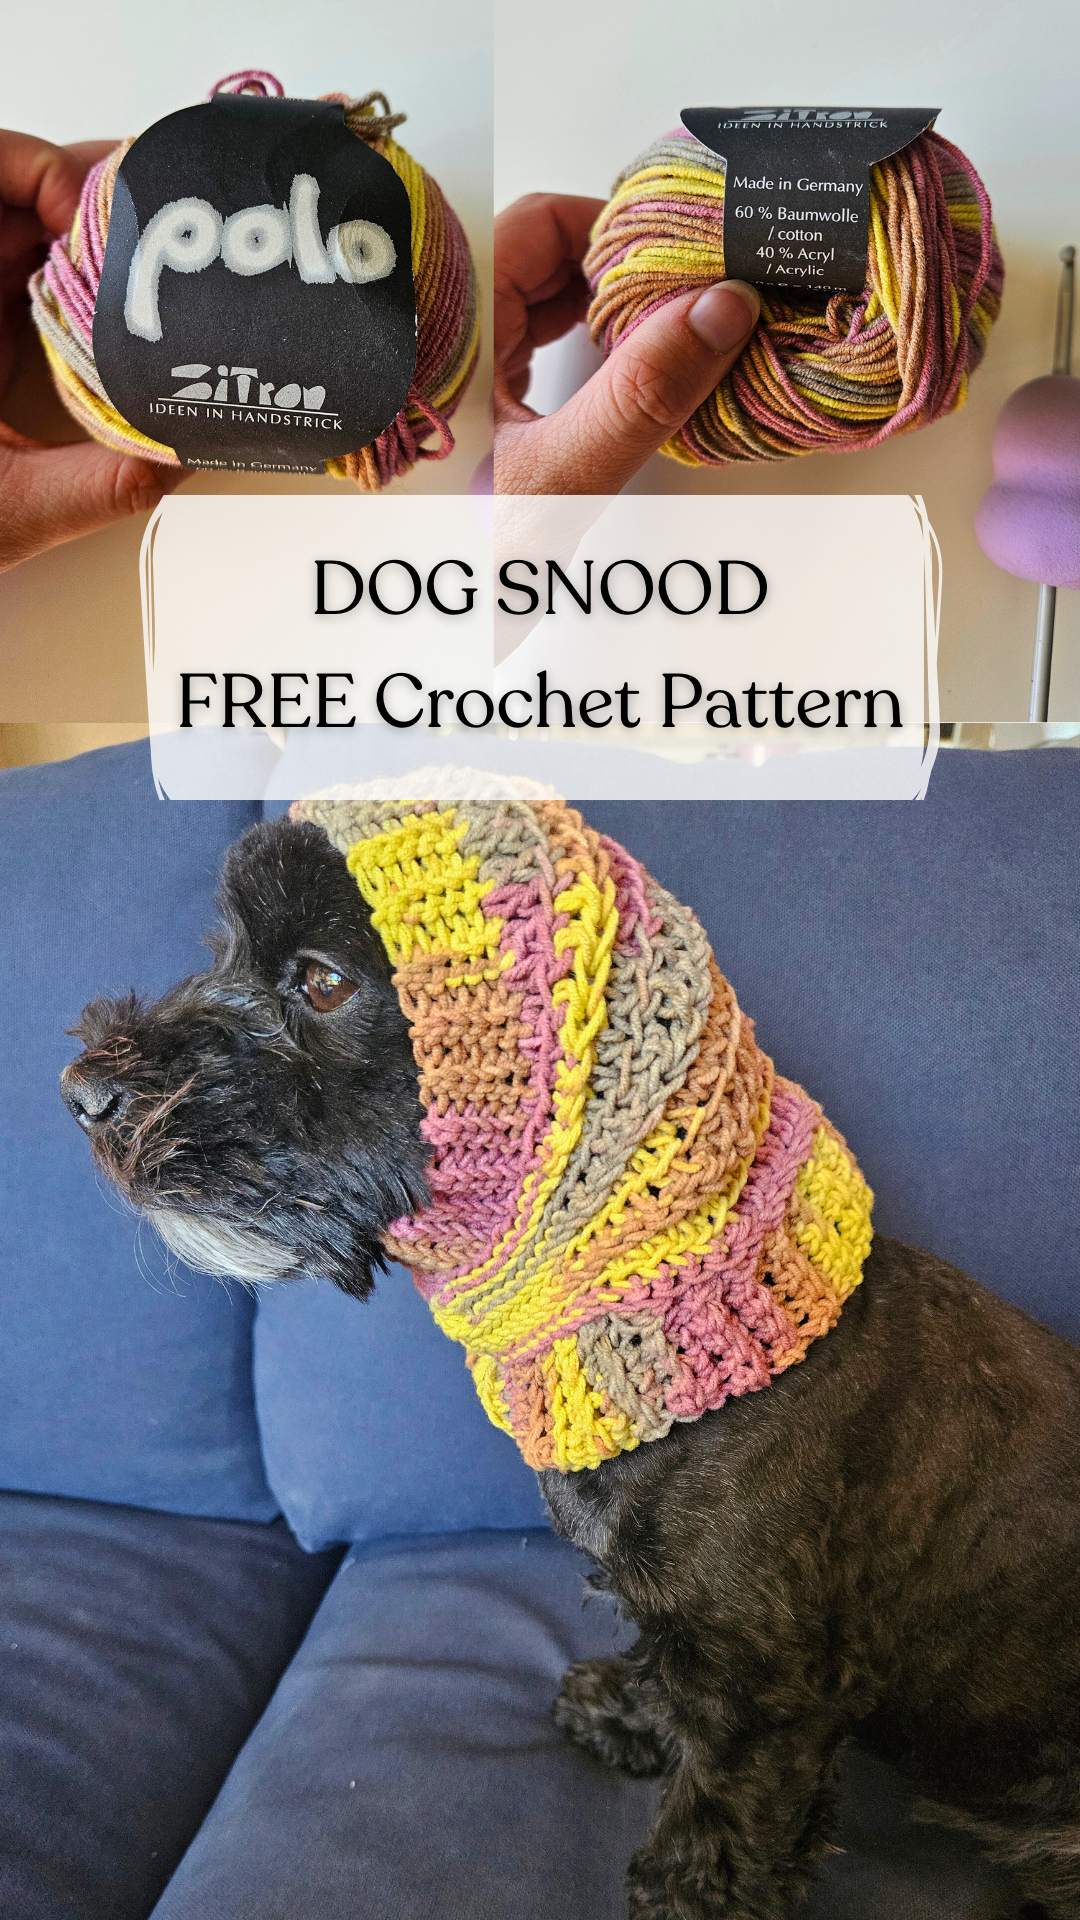
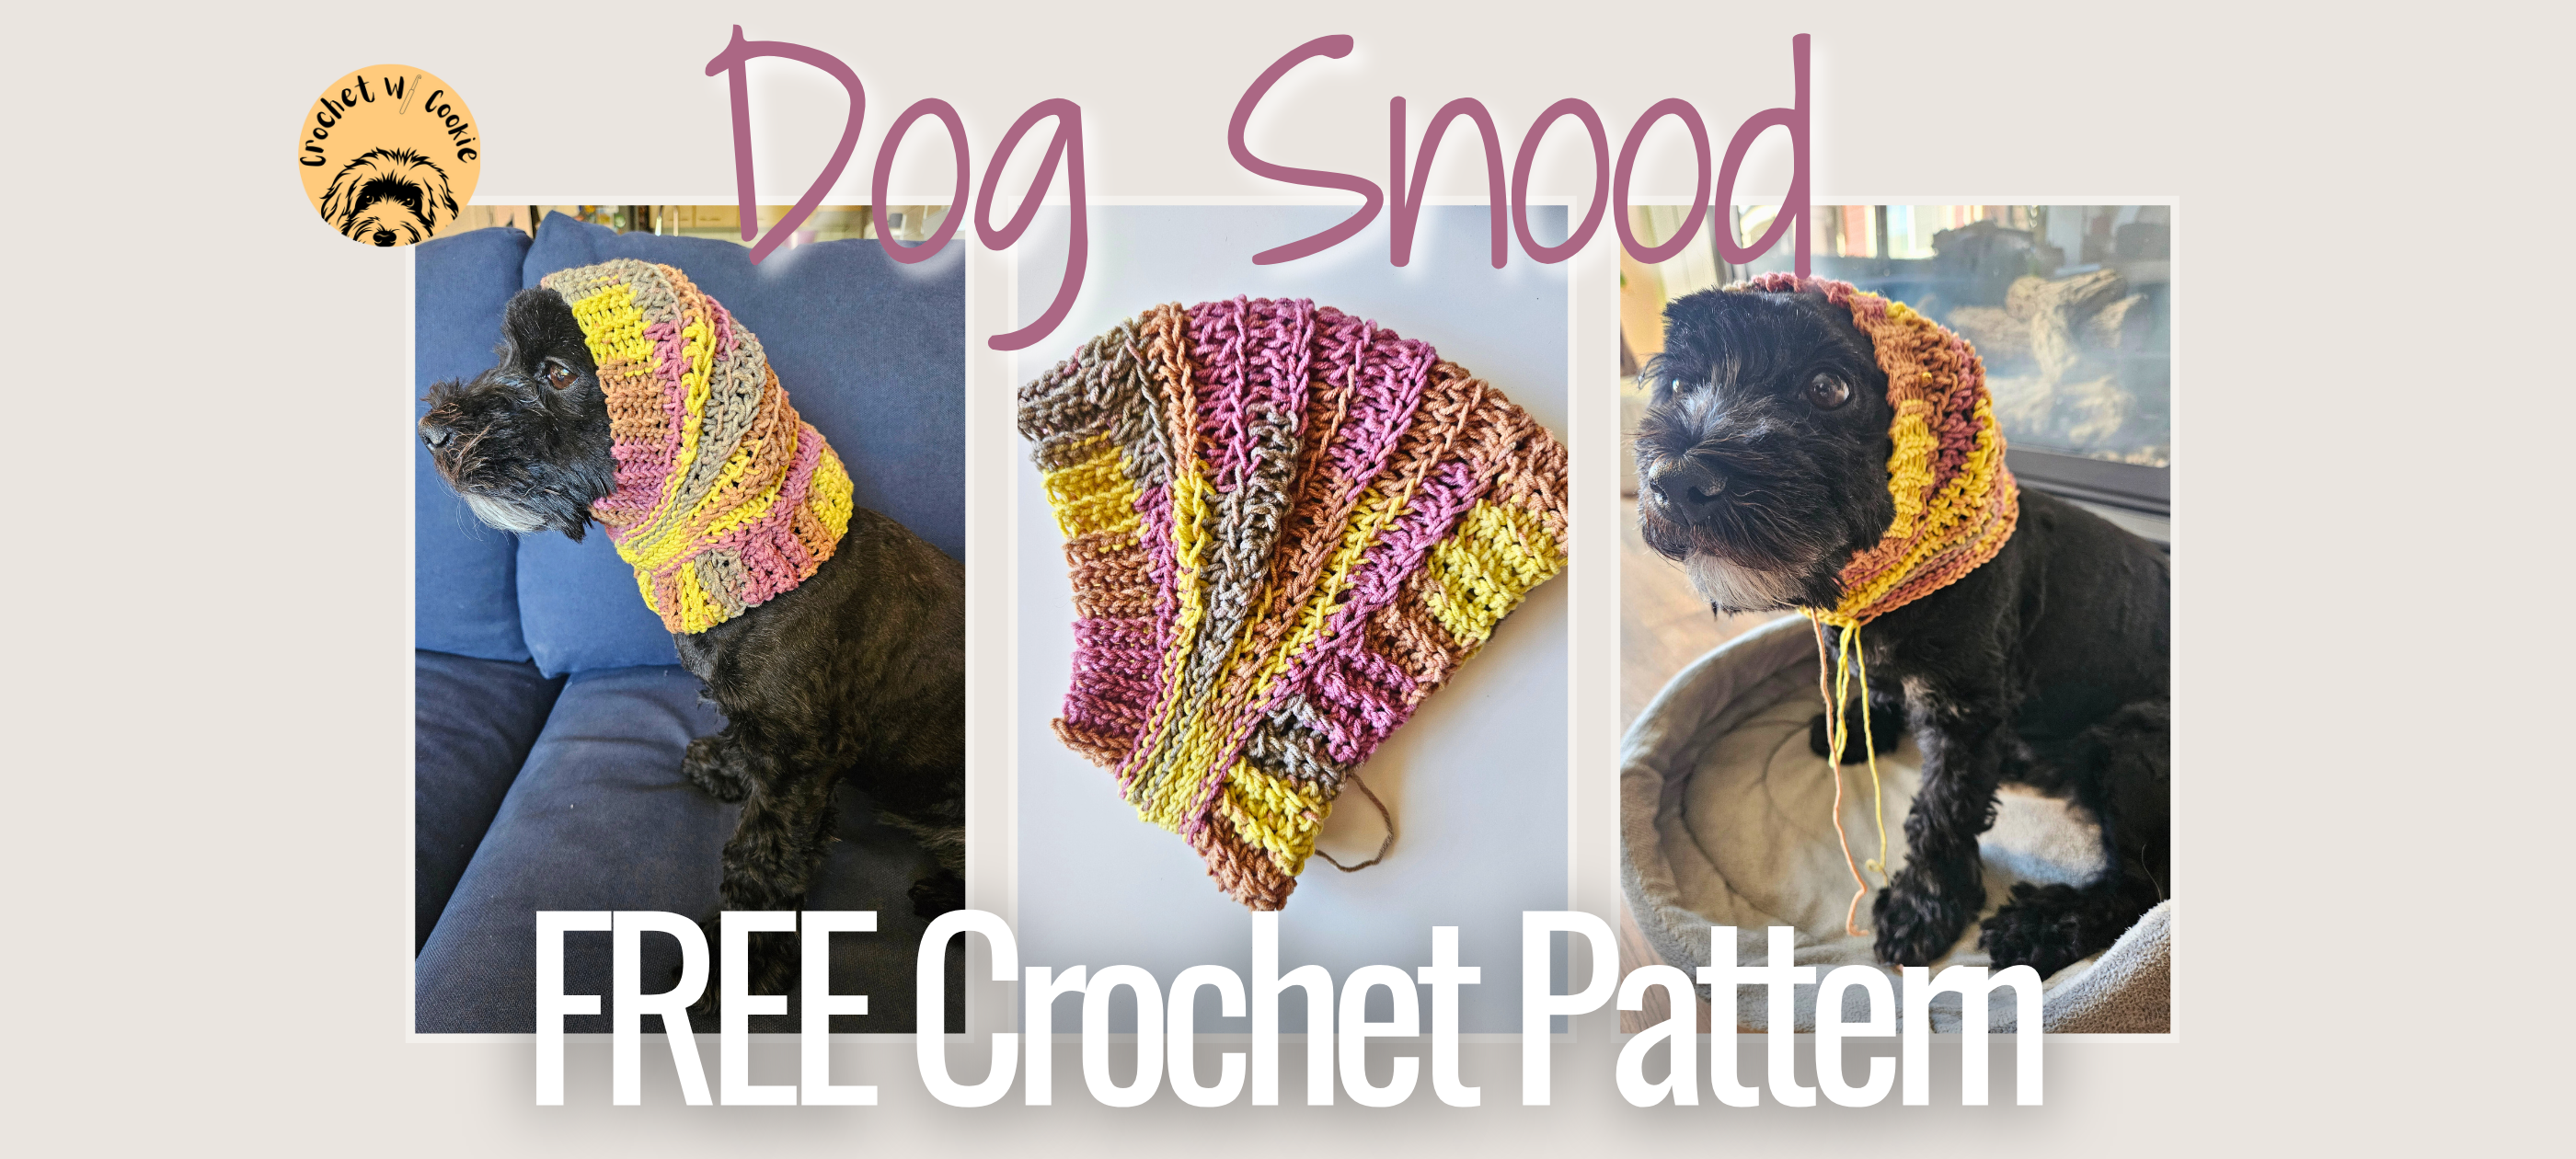
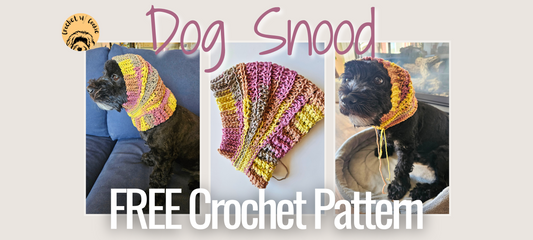
Dog Snood - Free Crochet Pattern begins here:
Start by measuring around your dog's head (from under the chin to the top of the head). Record your measurement as "A".


Then begin the project with a ch 5 (for smaller dogs and/or for medium weight yarn), and a ch 6 or 7 for (larger dogs and/or light (3) weight yarn).
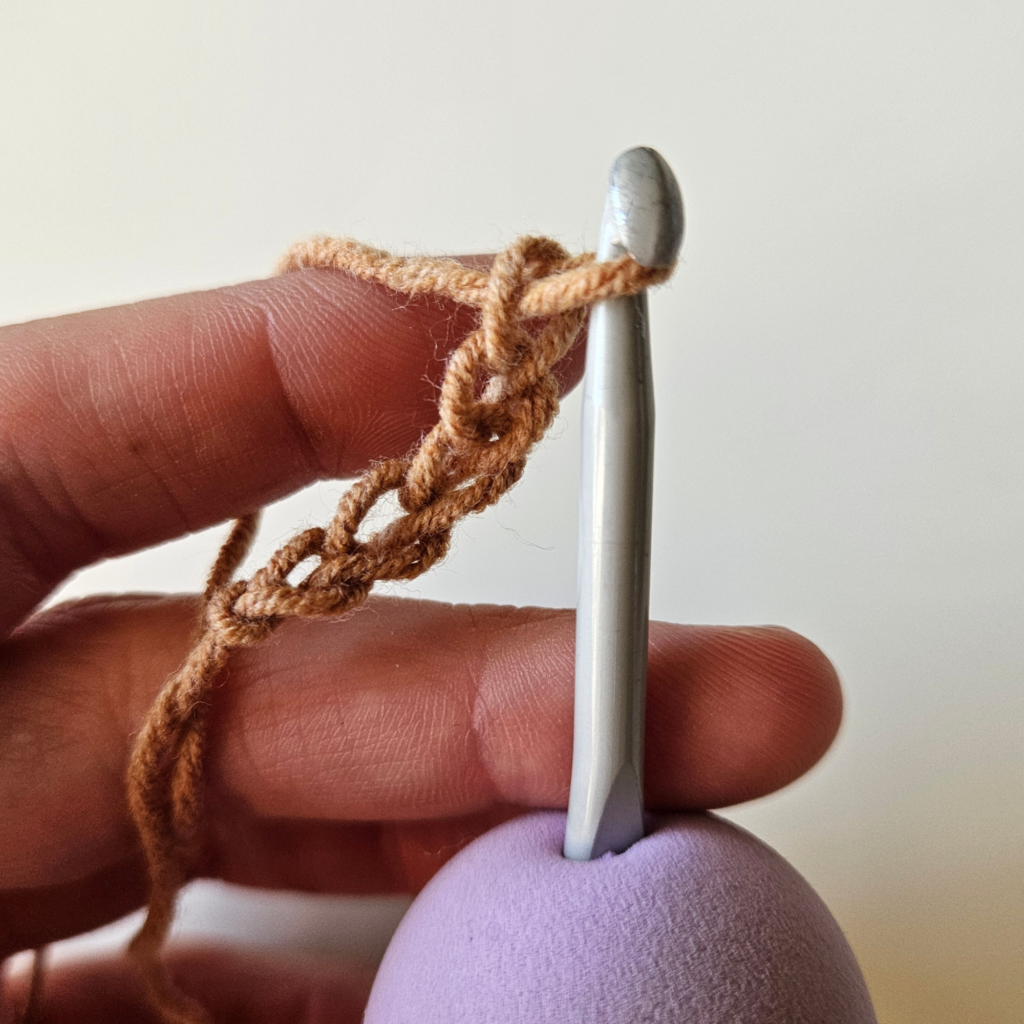
Row 1:
sl st in the 2nd ch from hook, sl sl across, ch 1, turn
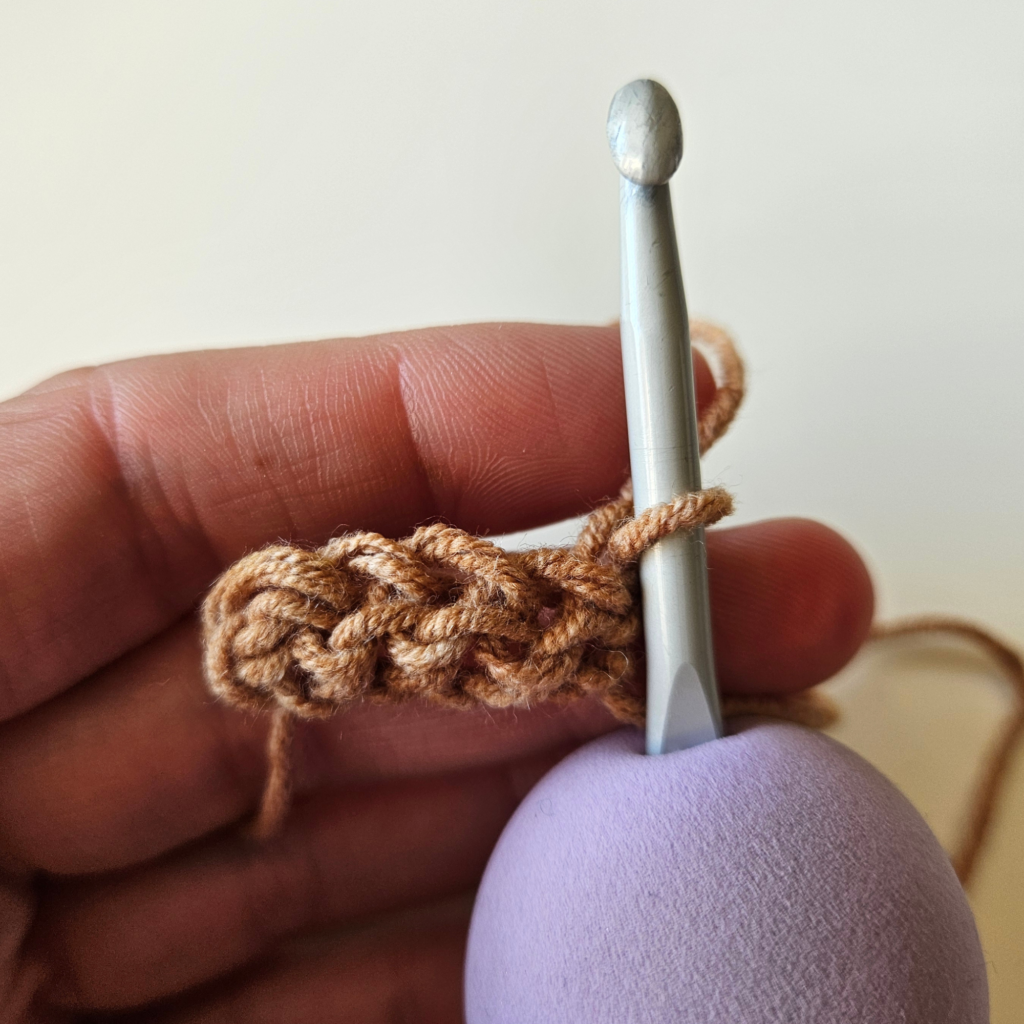
Row 2:
sl sl blo in the very first sl st, and then sl st blo across, and place your last sl st blo into the 1 ch left over from the start of last row, ch 1, turn
Row 3:
sl st blo in the very first sl st, sl st blo across (but do not work in the ch 1 left over at the end), ch 1, turn
Continue Working Row 3 on repeat until your stretched out sl st ribbing measures the same as "A".
If you need help with your sl st ribbing, please check out this video:
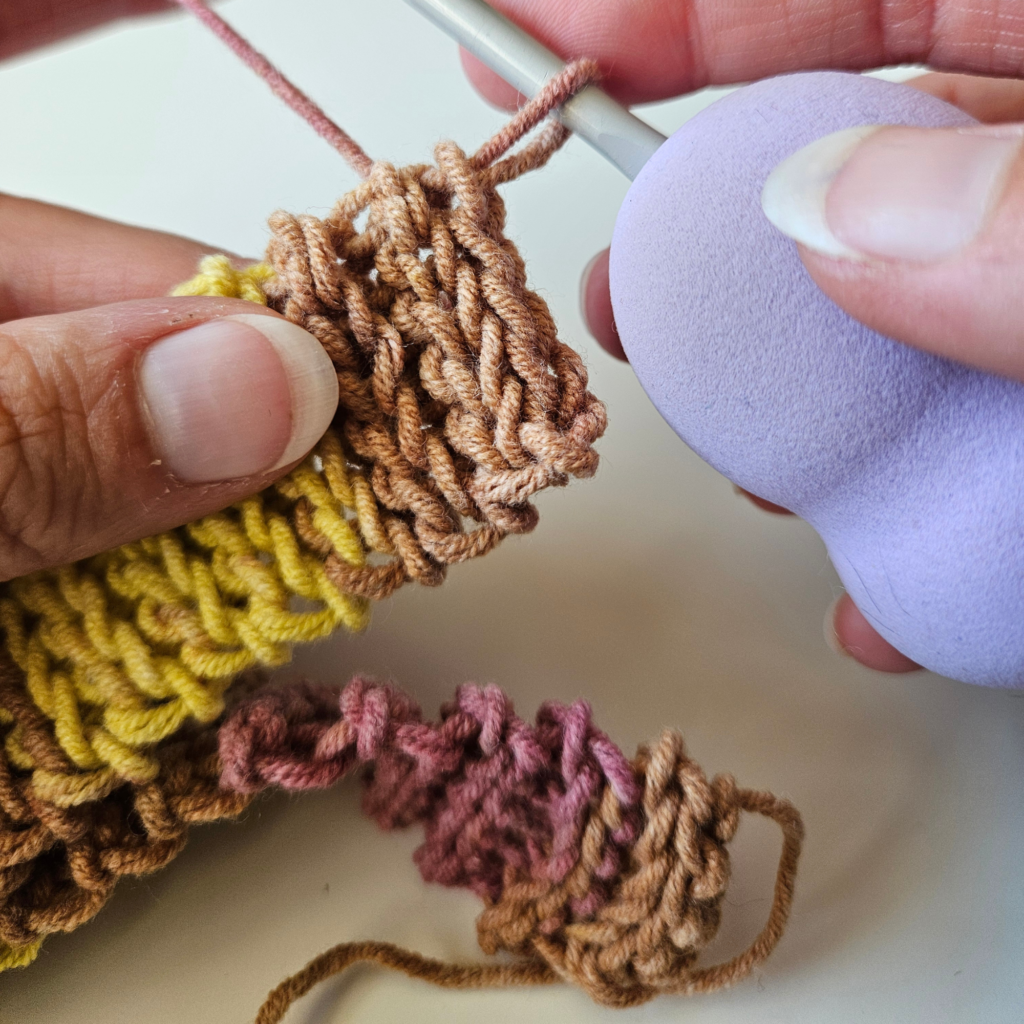
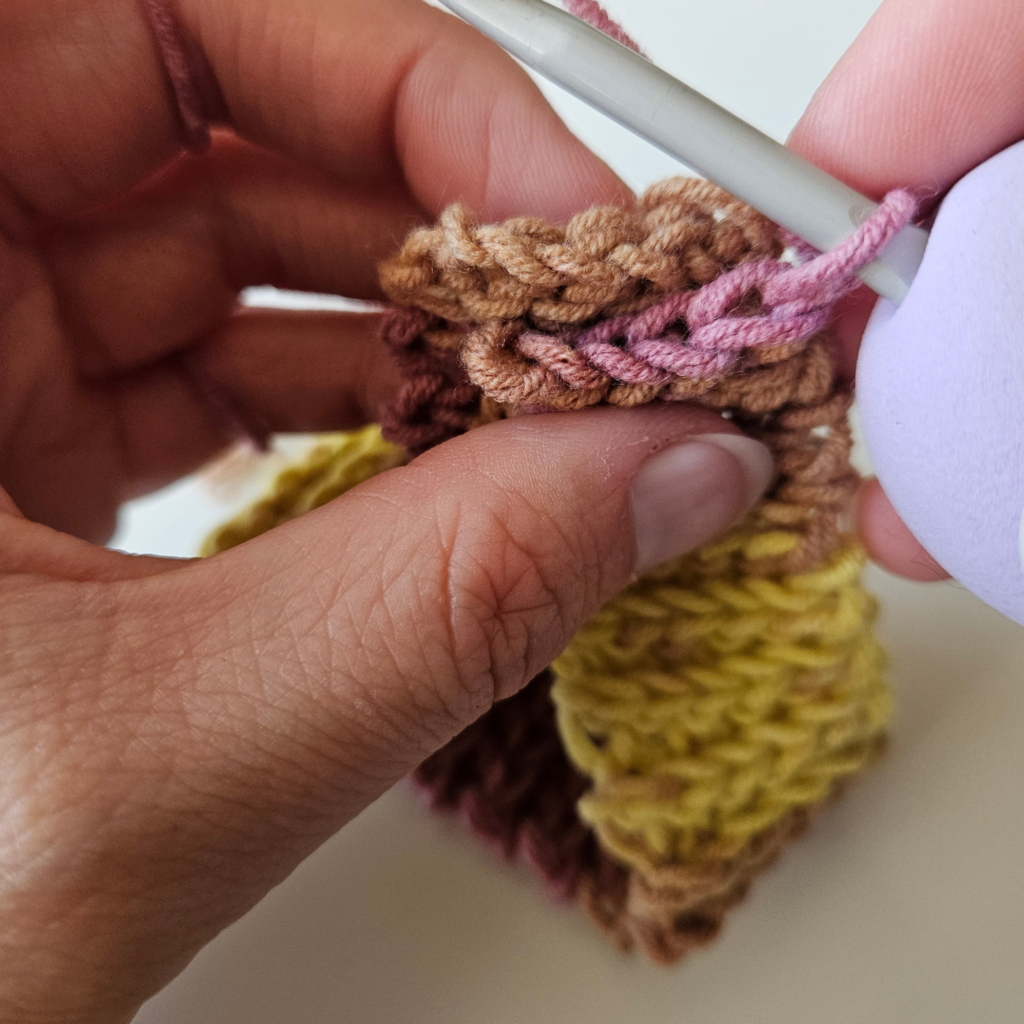
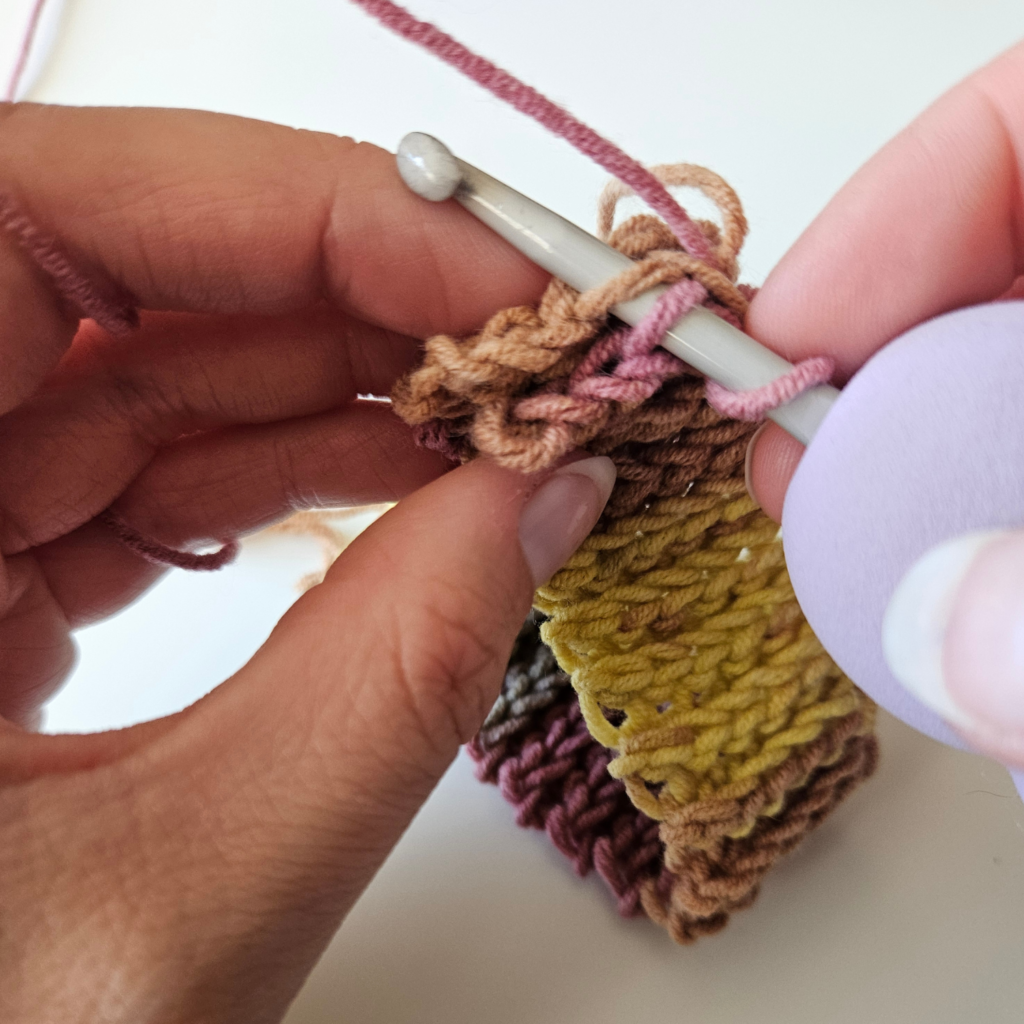
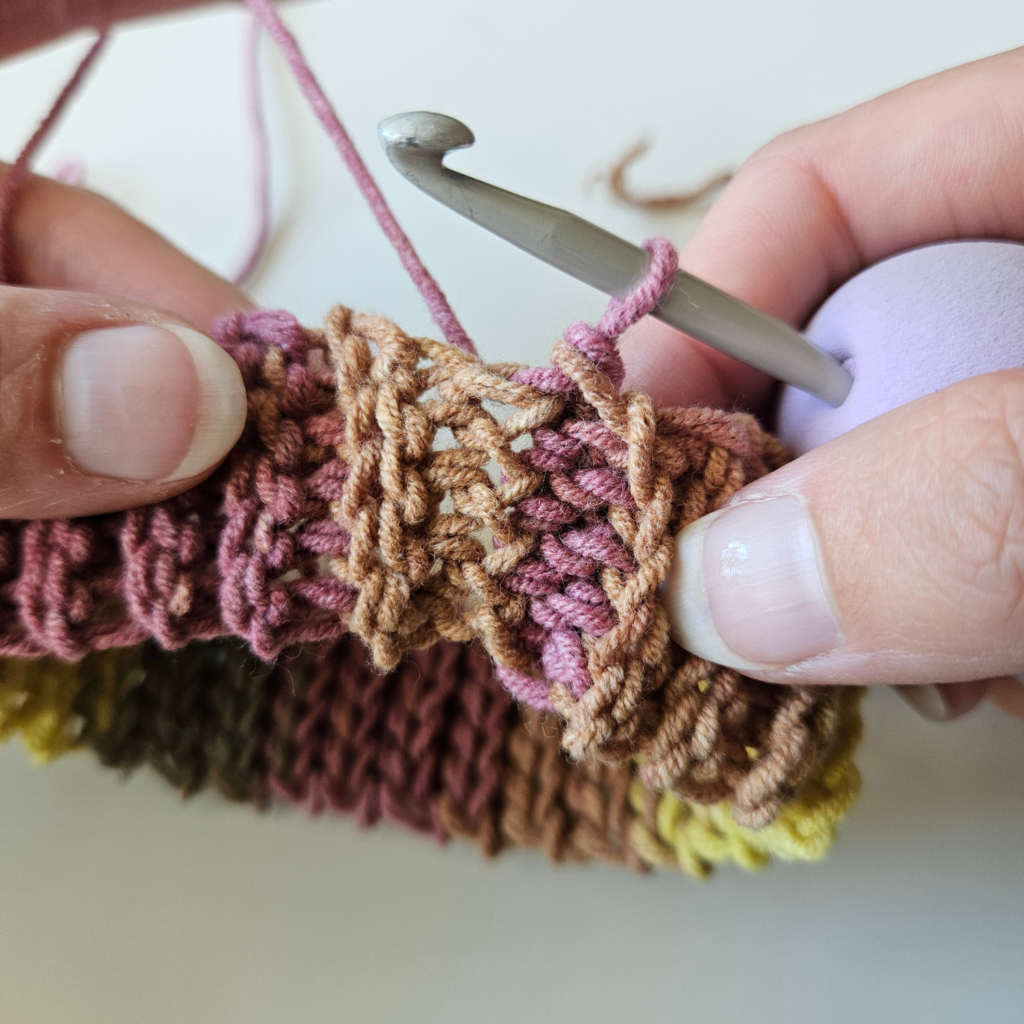
Section 2 - Dog Snood - Free Crochet Pattern:
Once you have met the proper measurement, fold the sl st ribbing and sl st across the narrow ends together (to create a sl st ribbing band). Then turn your band horizontally.
Now we will be working along the top of the ribbing (with each row counting as a st). Place a st marker at the 16th st from the end, and another st marker at the 16th st from the beginning.
Row 1 (Section 2):
Ch 1, then in the first 10 st work a sl st, in the next 4 st work as sc, in the next 2 st work a hdc, (you should have placed your hdc in the same st as your first st marker), then dc across until you reach your second st marker, in the same st as the st marker work hdc, hdc, then continue until the end of row with 4 sc, 10 sl st, sl st into the ch 1 from the start, ch 1, turn
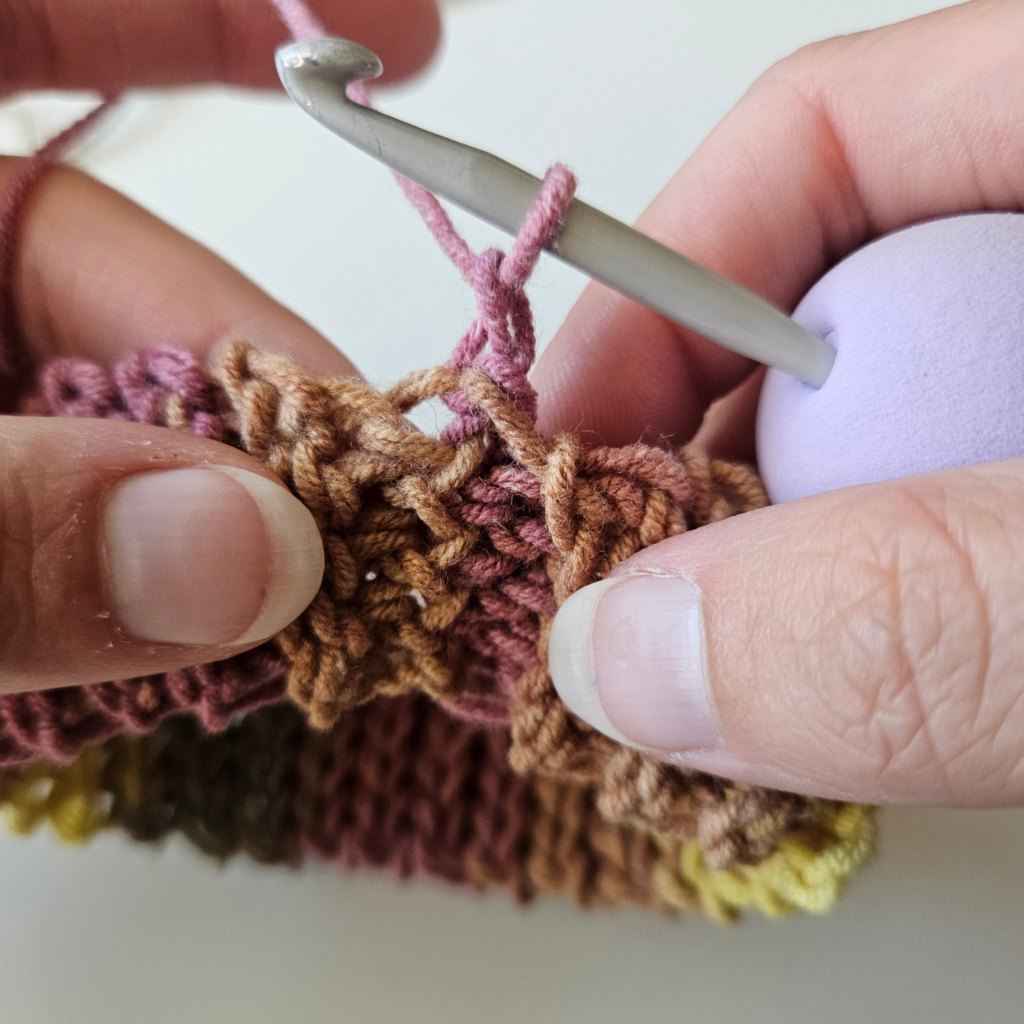
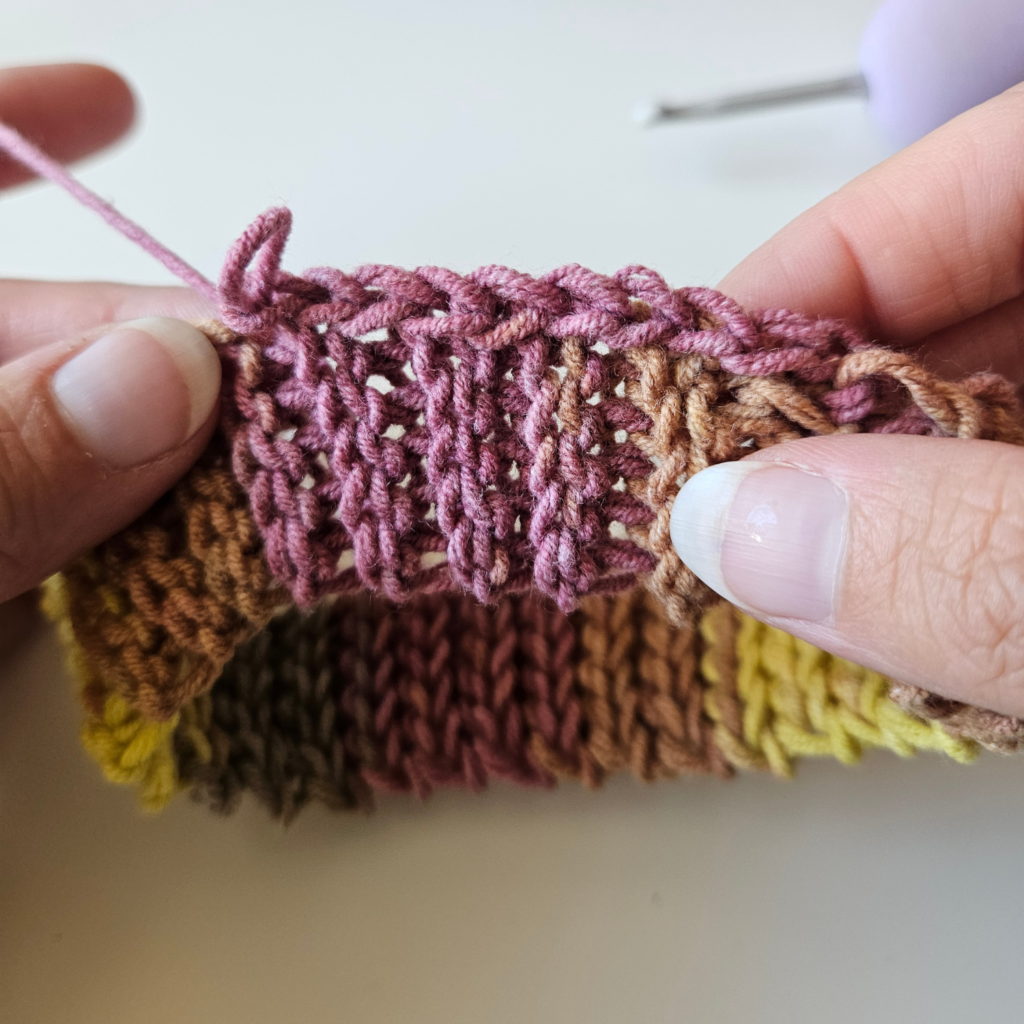
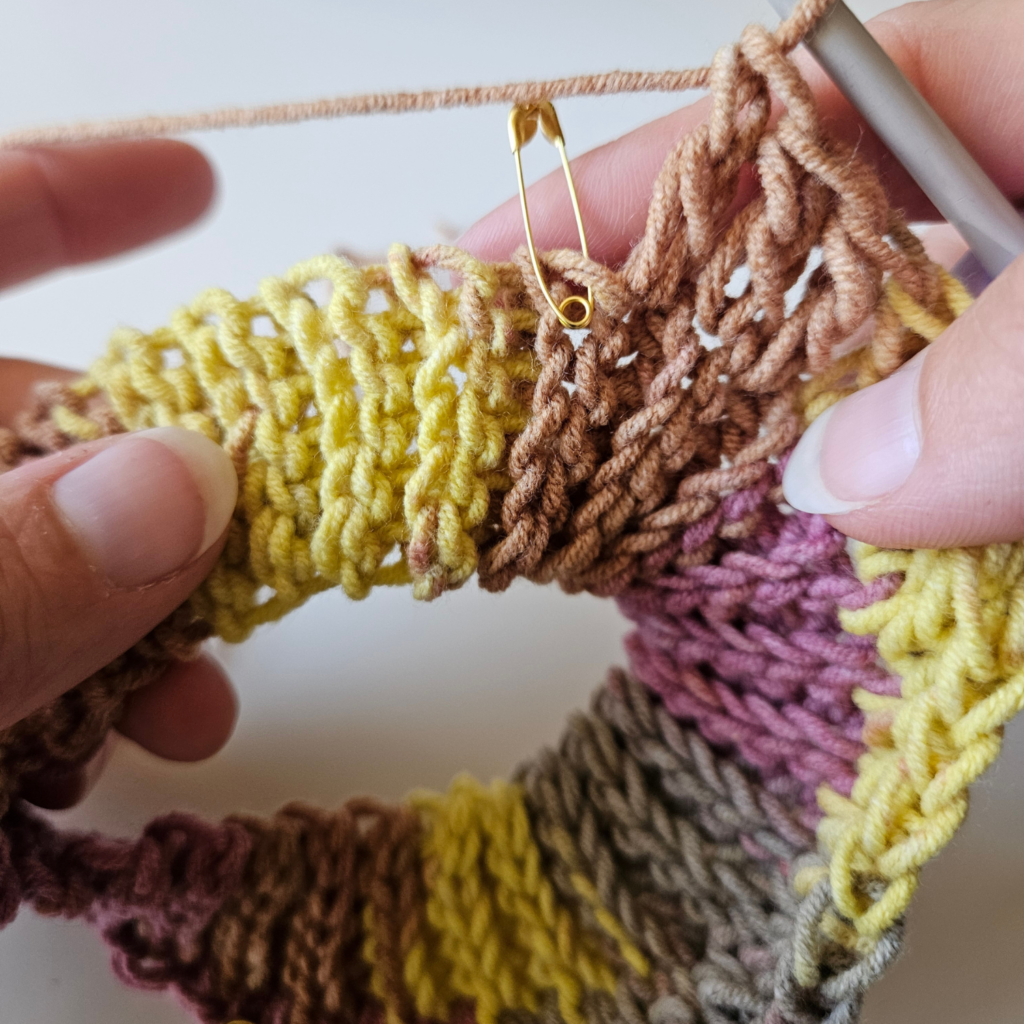
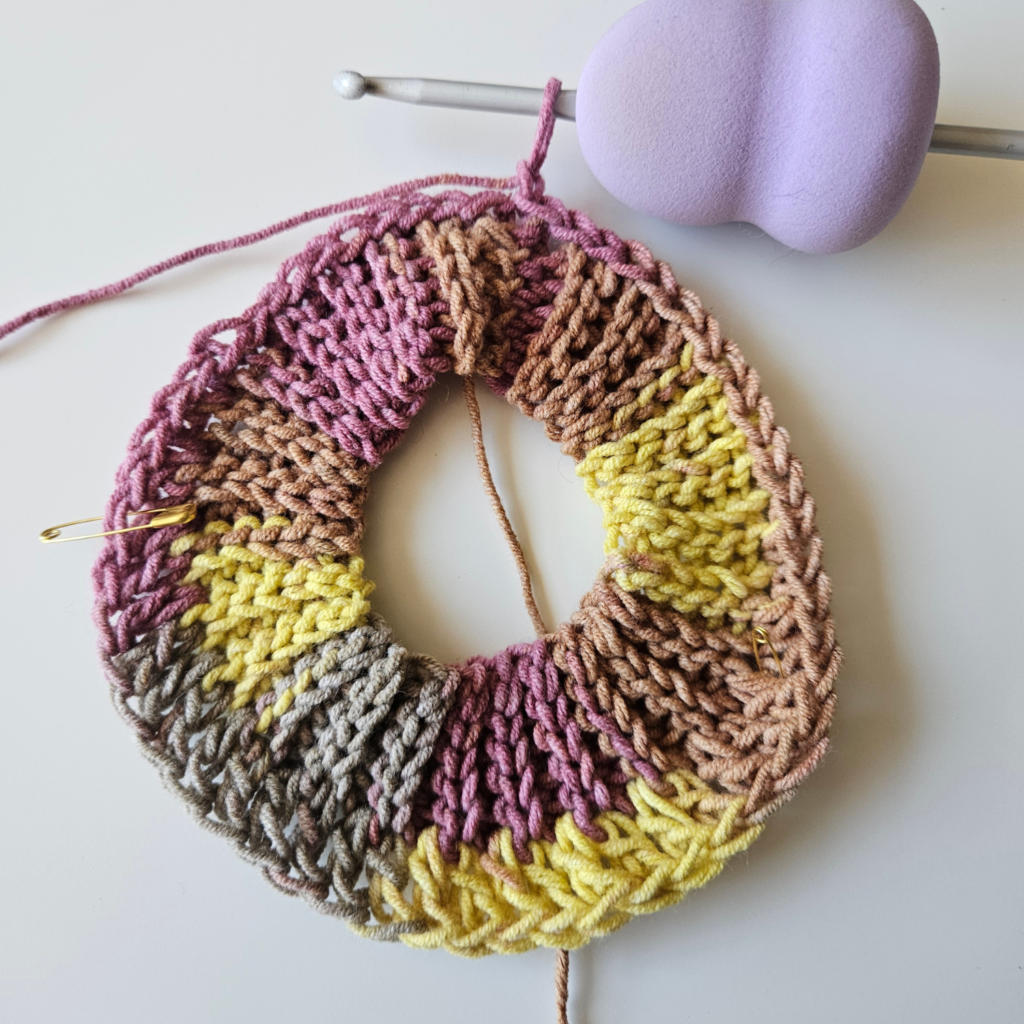
Row 2 (Section 2):
10 sl st flo, 4 sc flo, 2 hdc flo, then dc flo across until you have 16 st left until the end of row, 2 hdc flo, 4 sc flo, 10 sl st flo, sl st into the first ch, ch 1, turn
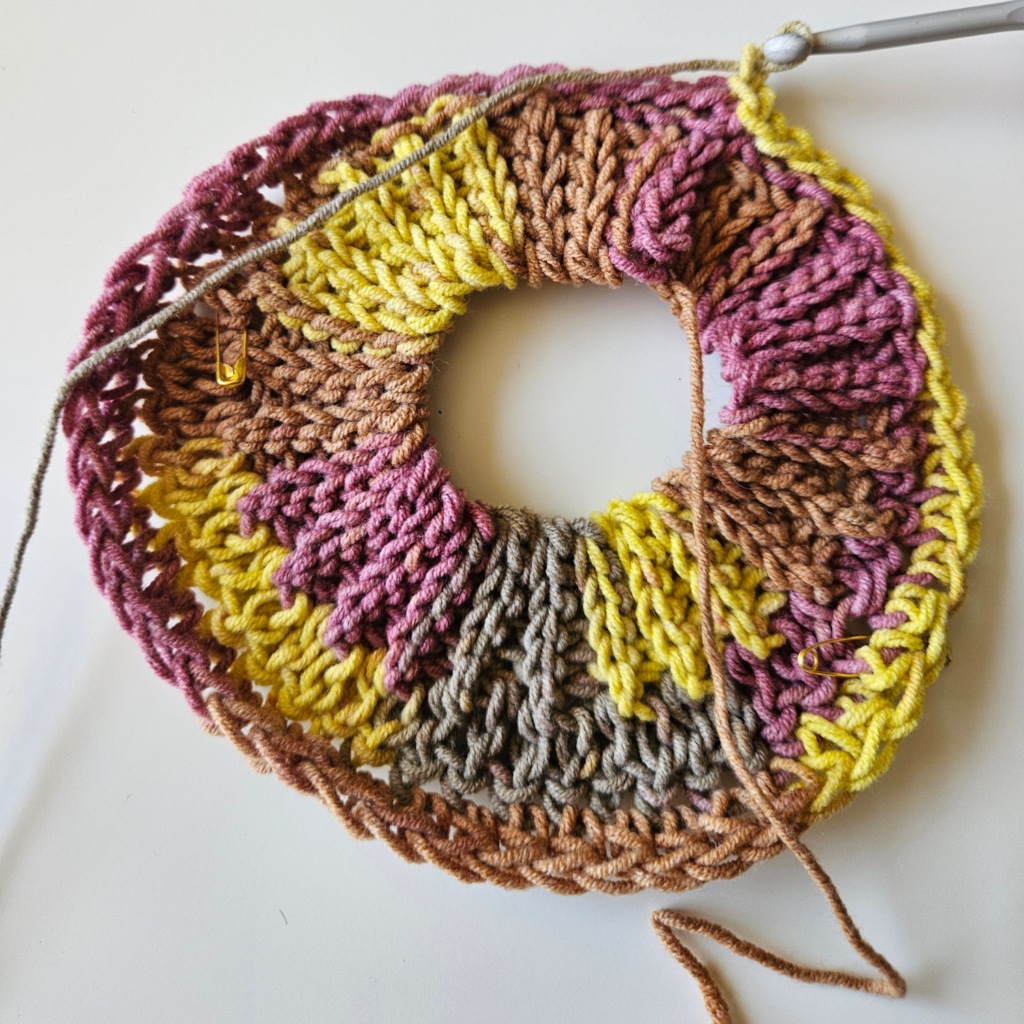
Row 3 (Section 2):
10 sl st blo, 4 sc blo, 2 hdc blo, then dc blo across until you have 16 st left until the end of row, 2 hdc blo, 4 sc blo, 10 sl st blo, sl st into the first ch, ch 1, turn
Repeat Rows 2 & 3 until you have reached the desired length for the hood part (try the snood on your dog to make sure it fits).
Now that you have reached the desired length for section 2 of your dog snood free crochet pattern, it's time for the third and final section!
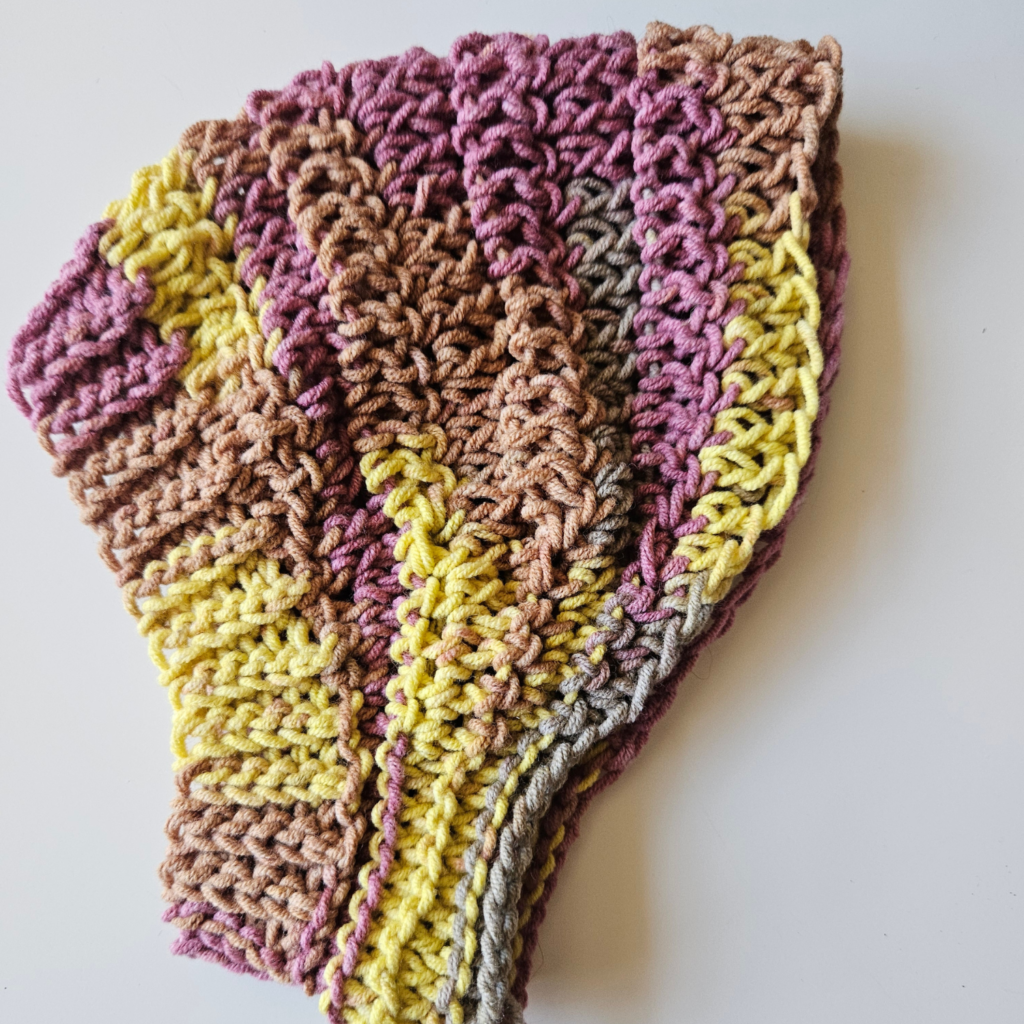
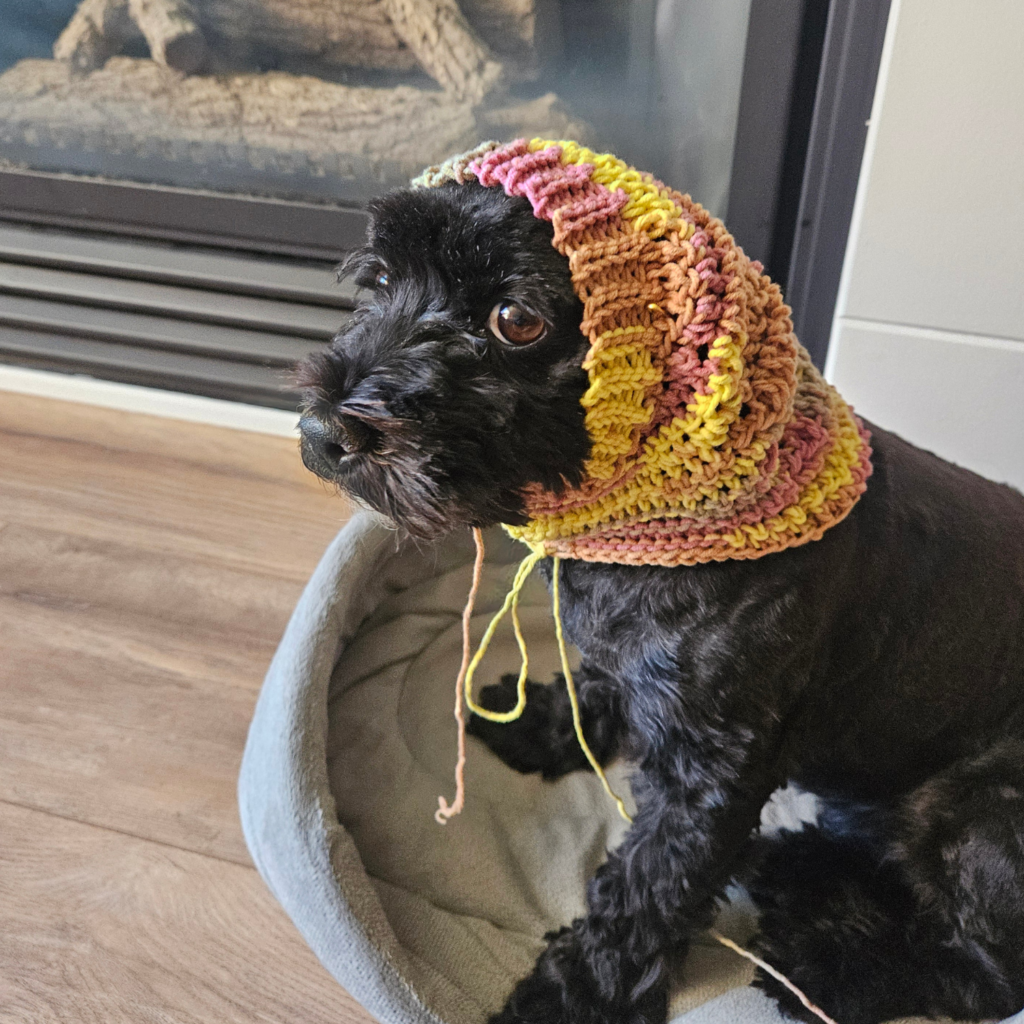
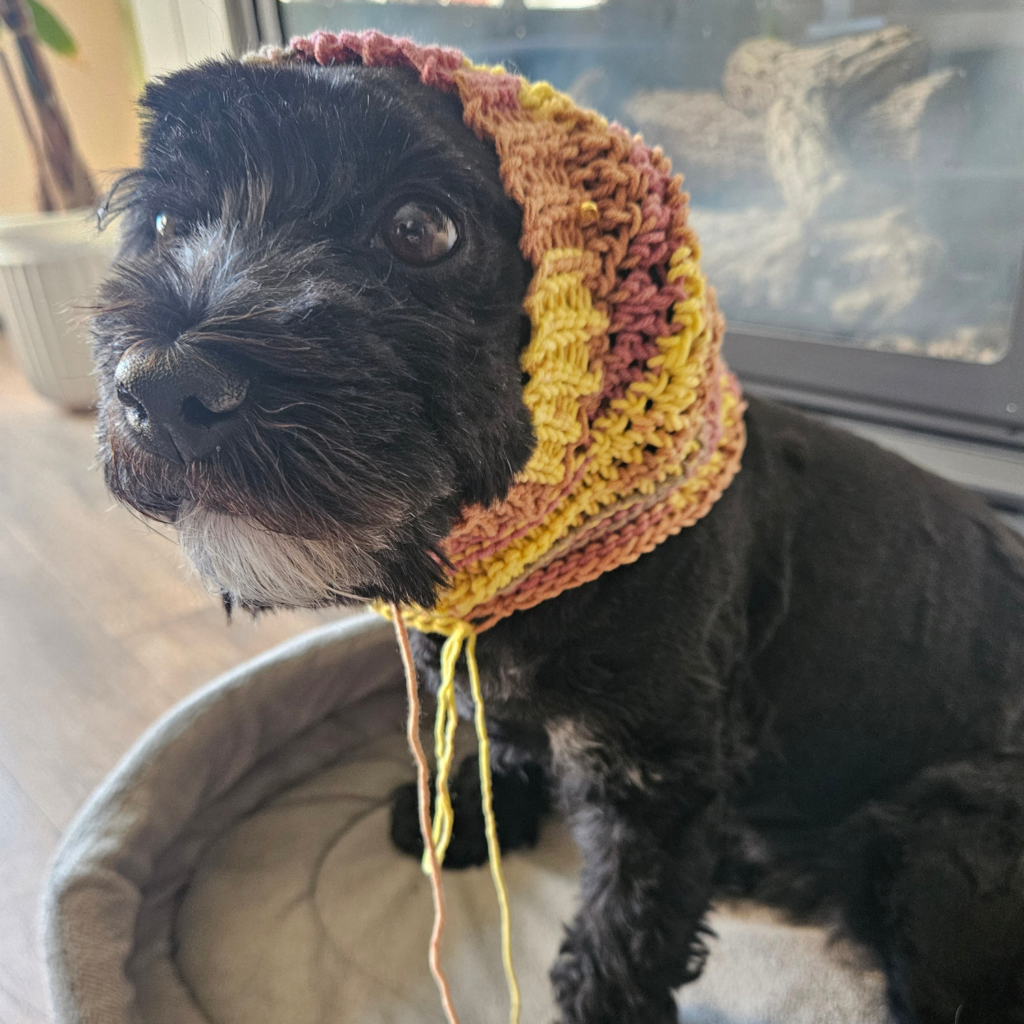
Section 3 - Dog Snood - Free Crochet Pattern:
Row 1 (Section 3):
With the RS facing (the RS will have all the ridges on it), ch 6 (you can increase this if you would like a longer ribbing section here), sc in the 2nd ch from hook, then sc across the rest of the ch, sl st into the next 2 st on the actual snood, turn,
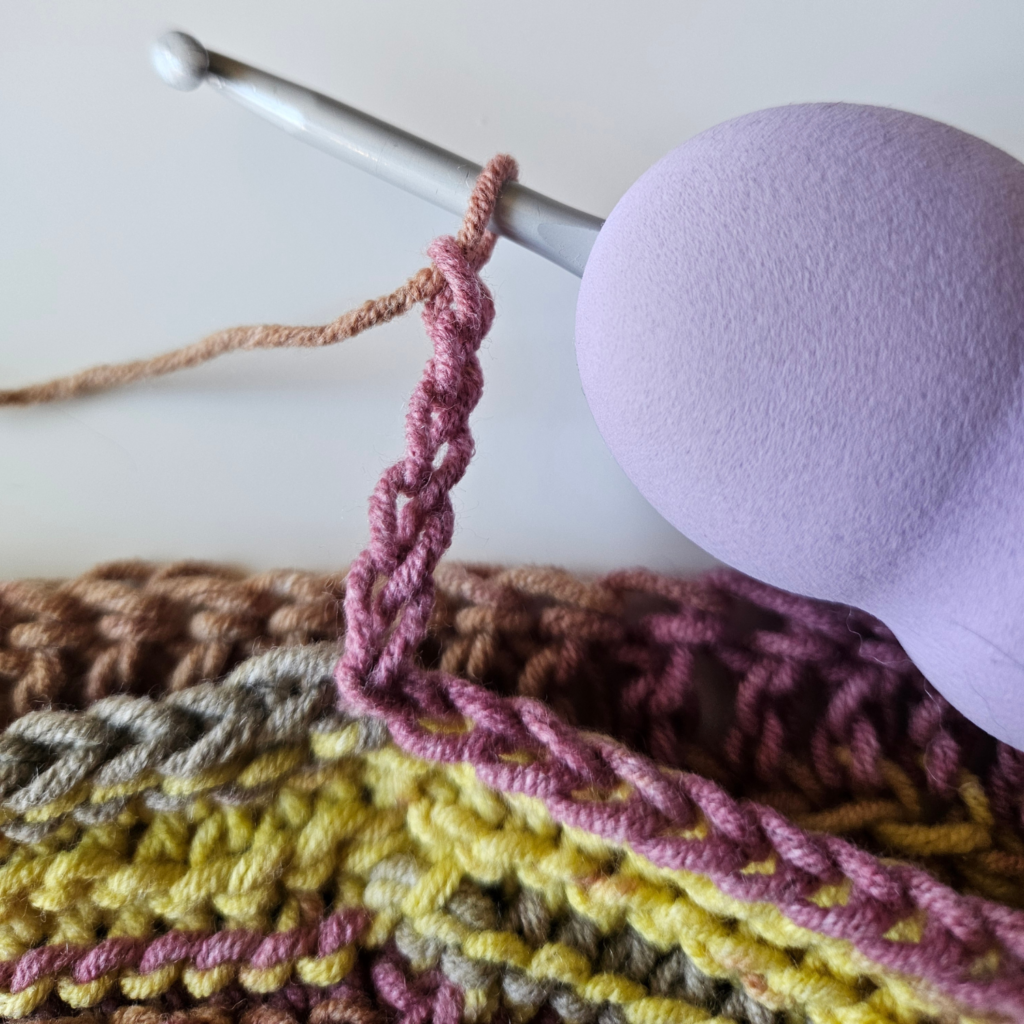
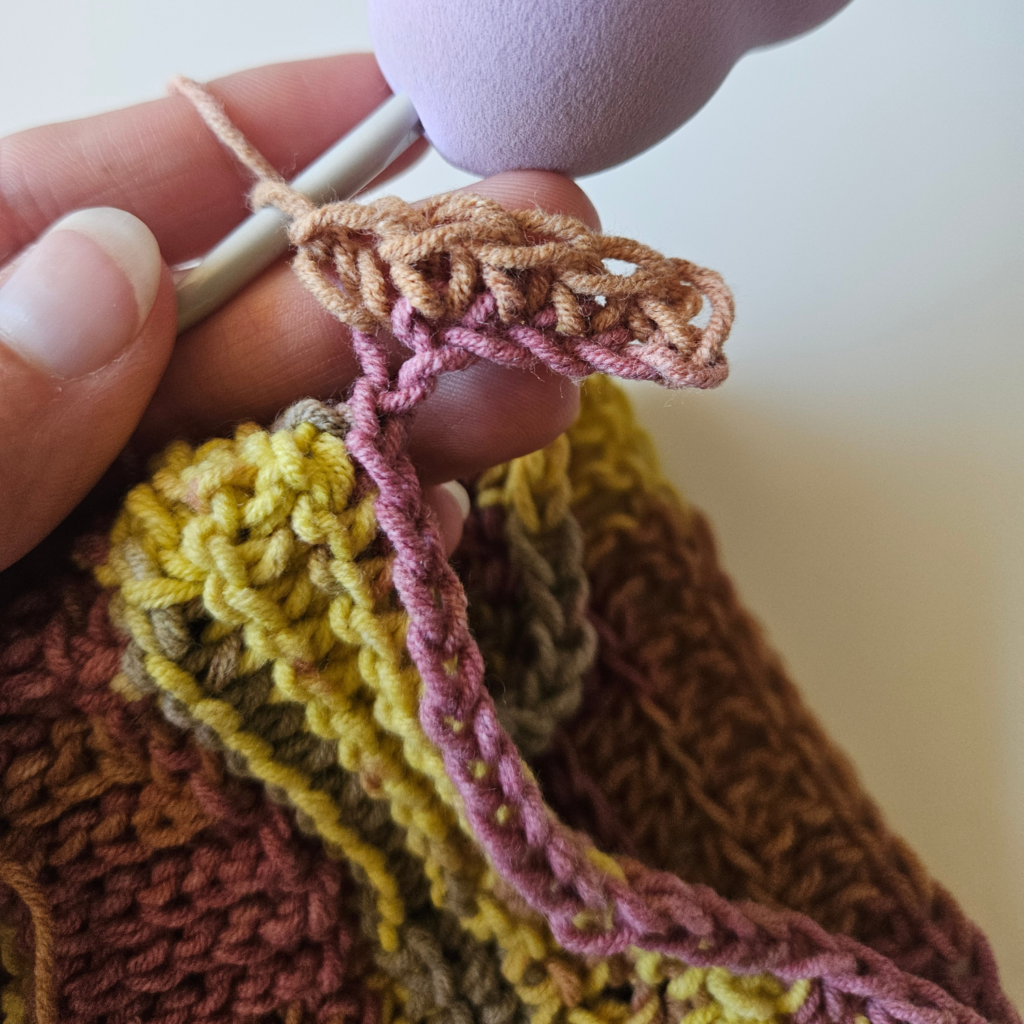
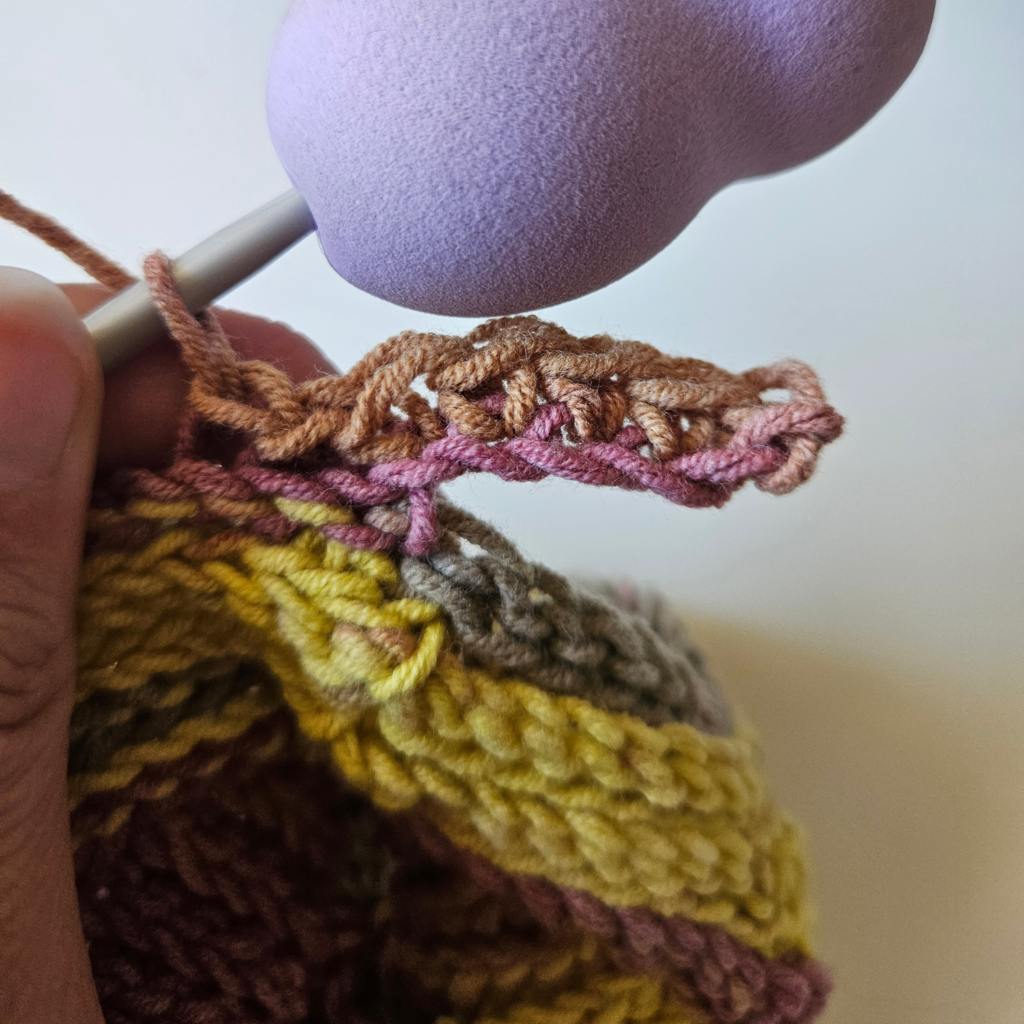
Row 2 (Section 3):
sk the sl stitches, sc blo in every sc, then sc in the last st which was a ch 1 that we skipped last row, ch 1, turn
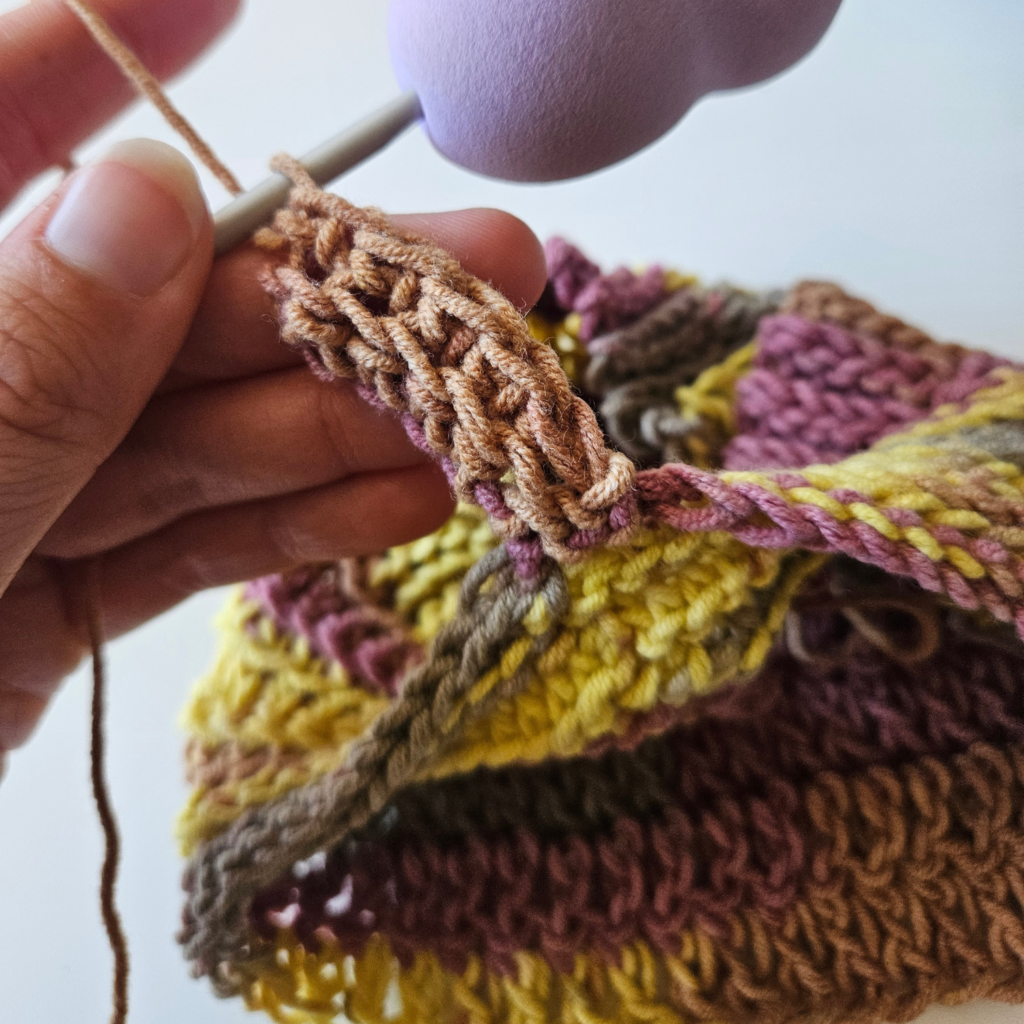
Row 3 (Section 3):
sk the first st right under the ch 1 (the ch 1 counts as a st here), sc blo across the rest of the sc stitches, sl st into the next 2 st on the actual snood, turn
Row 4 (Section 3):
Repeat row 2
Row 5 (Section 3):
sk the first st right under the ch 1 (the ch 1 counts as a st here), sc blo across the rest of the sc stitches, sl st into the next 3 st on the actual snood, turn
Continue the ribbing by repeating Rows 2, 3, 2, 3, 2, 3, 2, 5 in this order. Row 5 is designed to help tighten the ribbing a bit to fit more snug around your dog's neck. If you dog has a thick neck, you can skip row 5, and just repeat rows 2&3 over and over. If your dog has a really thin neck you can repeat ro 5 more often (for example row 2, 3, 2, 5). This section is really up to you depending on your dog's body :)
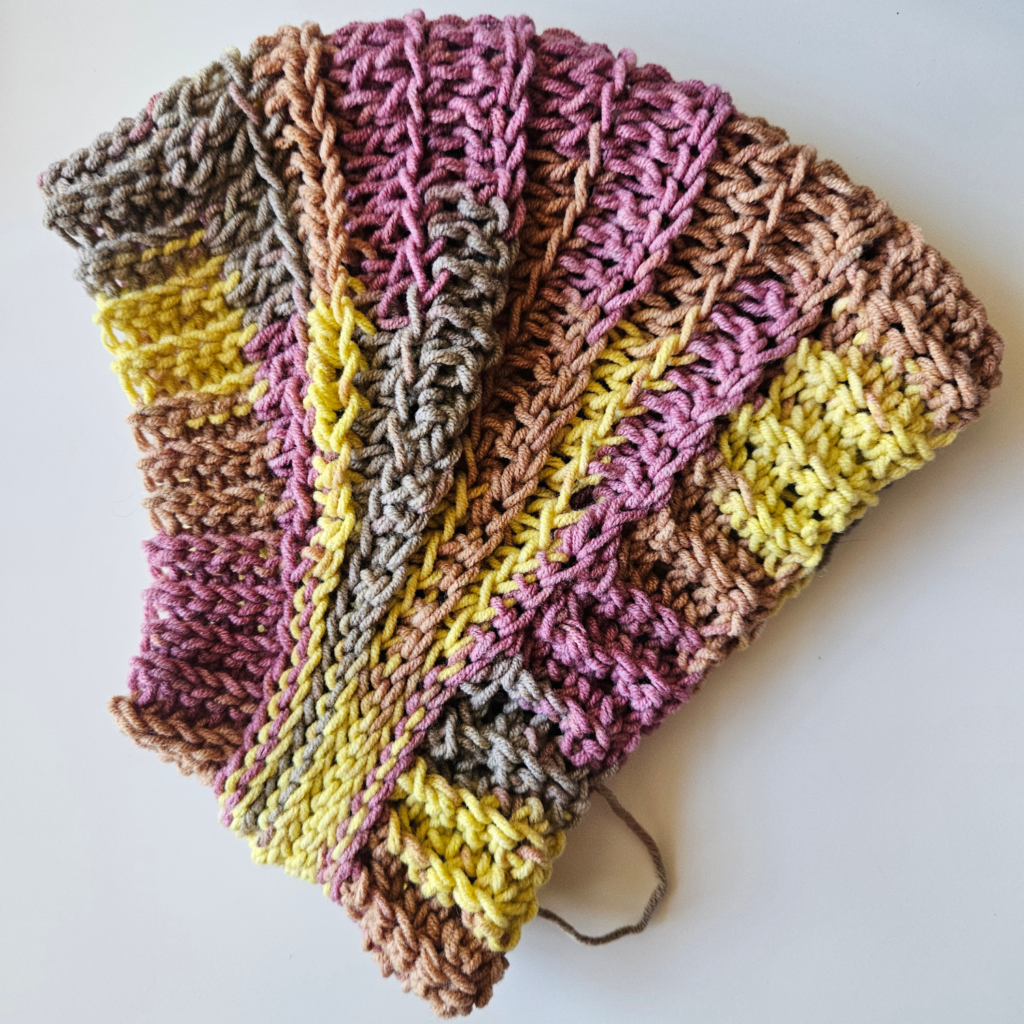
If you are struggling with making this section of the ribbing, please check out my video on how to do this step :)
Once you have gone all the way around the snood with the sc ribbing, you can from the WS sl st across the very last and very first rows of sc ribbing to join it together, then cut your yarn and fasten off!
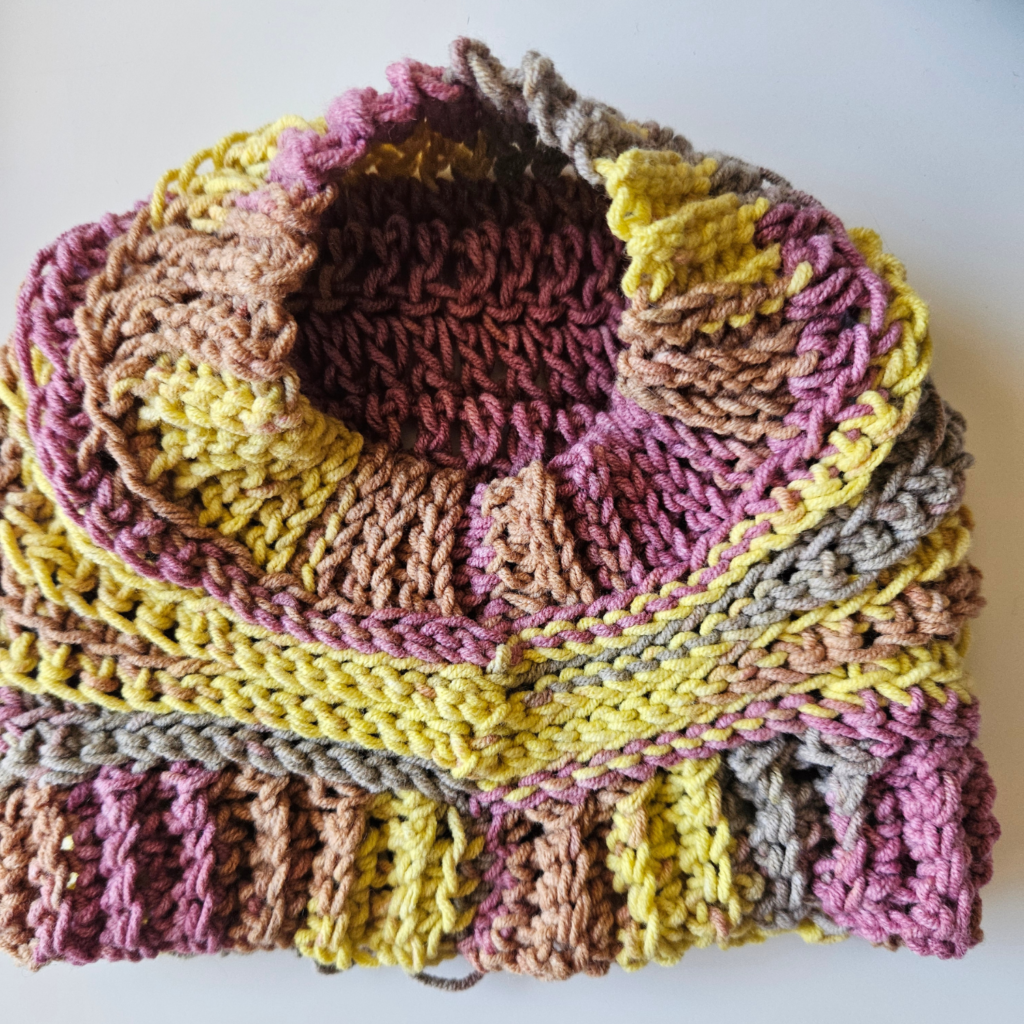
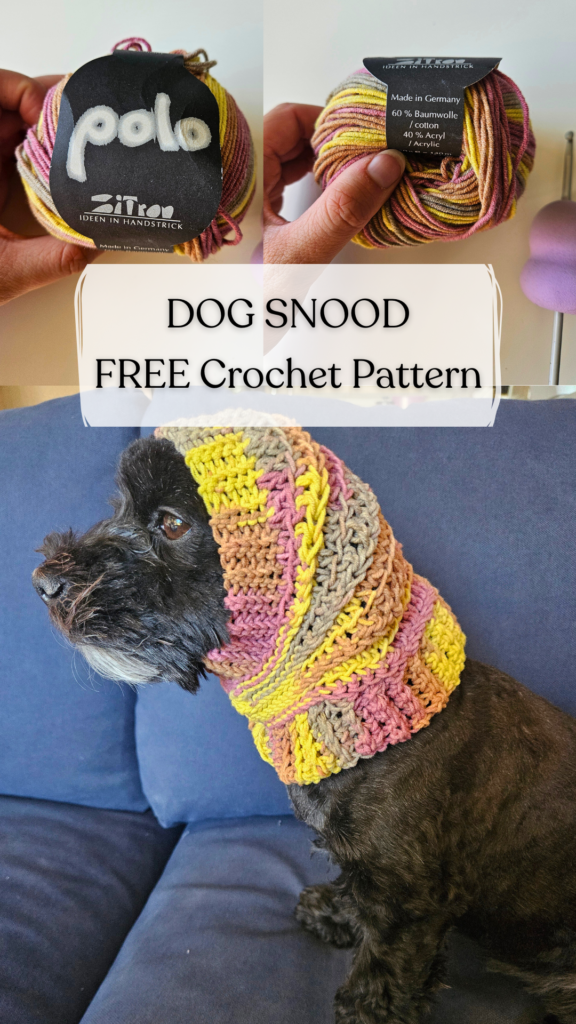
Congratulations! Your Dog Snood - Free Crochet Pattern is complete!
If you enjoyed this pattern, please leave a comment, or share it with your friends - and check out my other crochet patterns!



1 comment
I don’t have 16 stitches from each side. My band is only 9" long. What do it do