


Yarn Requirements:
The amount of yarn that you will require will vary greatly because of the fact that this is a made-to-measure pattern and because length and width are both adjustable!
Here are some estimates that I have come up with for what you might need depending on size :)
XS – 100 g
S – 150 g
M – 200 g
L – 250 g
XL – 300 g
XXL – 350 g
3XL – 400 g
4XL – 450 g
5XL – 500 g
XS – 3.5 oz
S – 5.25 oz
M – 7 oz
L – 8.75 oz
XL – 10.5 oz
XXL – 12.25 oz
3XL – 14 oz
4XL – 15.75 oz
5XL – 17. 5 oz
Crochet Skills Required:
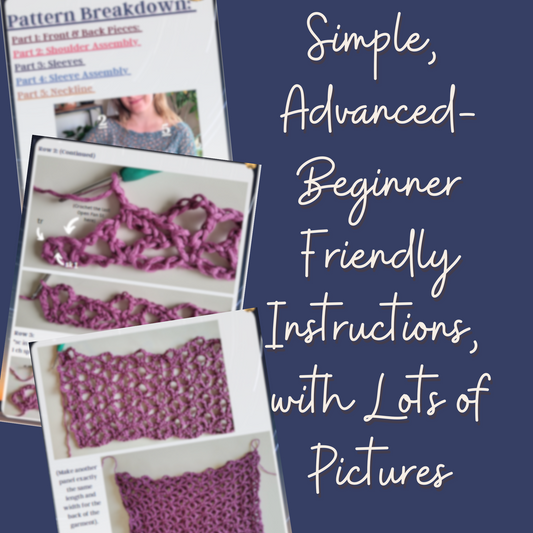
To create this cute and simple pattern, you do need to know a few basic skills. It is required to know how to do some simple stitches (listed below), and it is also required that you know how to fasten off, weave in ends, and attach crochet panels that are made separately - together (can be done using slip stitching, or sewing with a tapestry needle).

If you are a beginner - here are a few videos that you may find helpful to watch before starting this crochet pattern :)
Before we Begin:
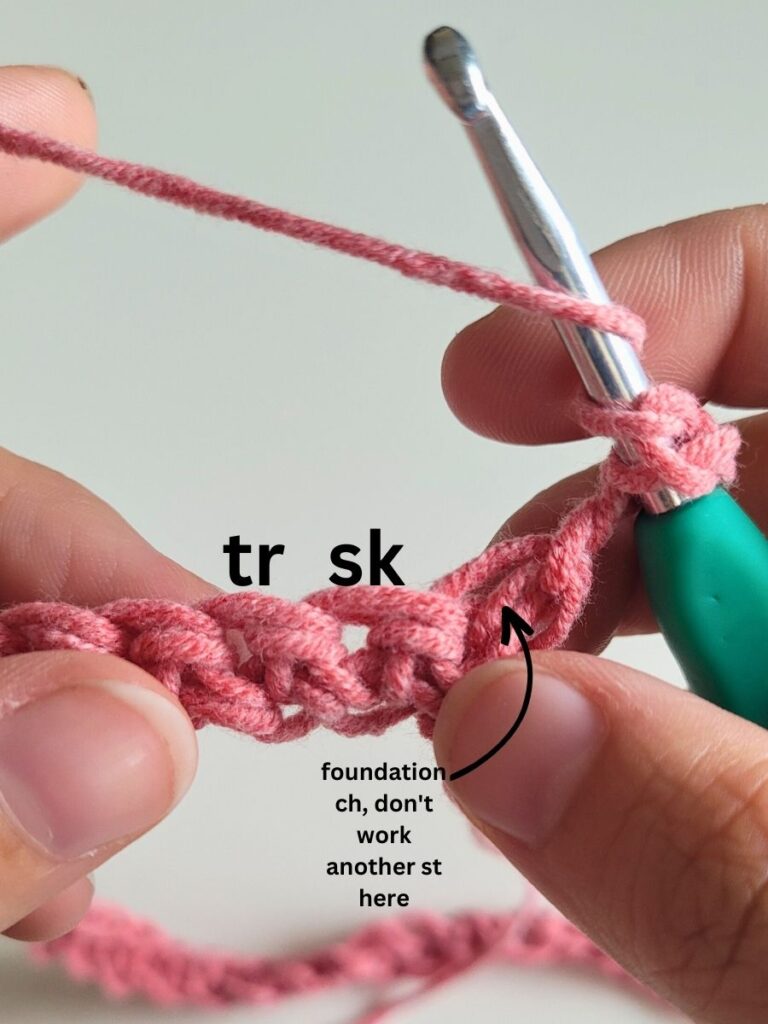
- Please note, that the foundation chain counts as a stitch. Never crochet into the same stich as where the chains are at the start of each row.
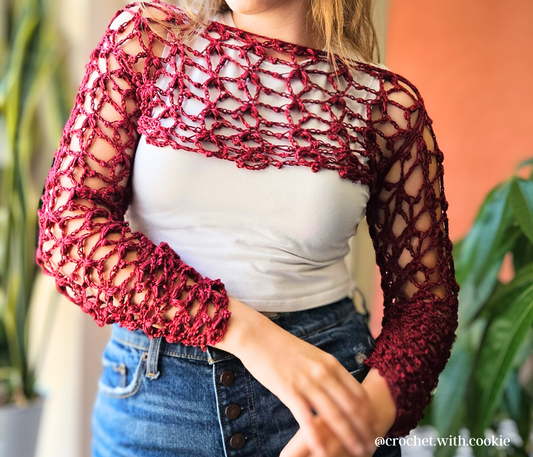
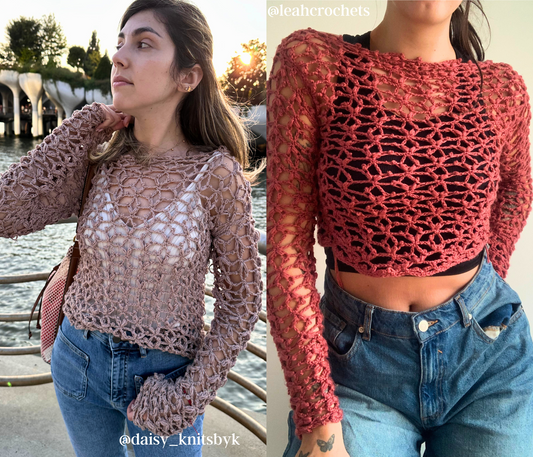
Free Crochet Pattern Begins Here:
To figure out how wide to make the front and back pieces of the garment, you will need to take your body measurements.
Taking Measurements:
Measure around the fullest part of your chest, let this number be "A".
(mine was 38 inches)
Then you can decide how many inches to add for ease - this is designed to be a loose fitting garment, so I recommend adding 2 - 6 inches (depending on how loose you would like it to be on your body.
I added 4 inches total.
Add this ease to your "A". The result of this addition will be a new number called "B".
A + ease = "B"
(For me: 38 + 2 = 40)
Now, divide "B" by 2, to get number "C".
B / 2 = C
(For me: 40 / 2 = 20)
"C" is how long you are going to need to make your chain. Make sure that the number of chains you use is odd.
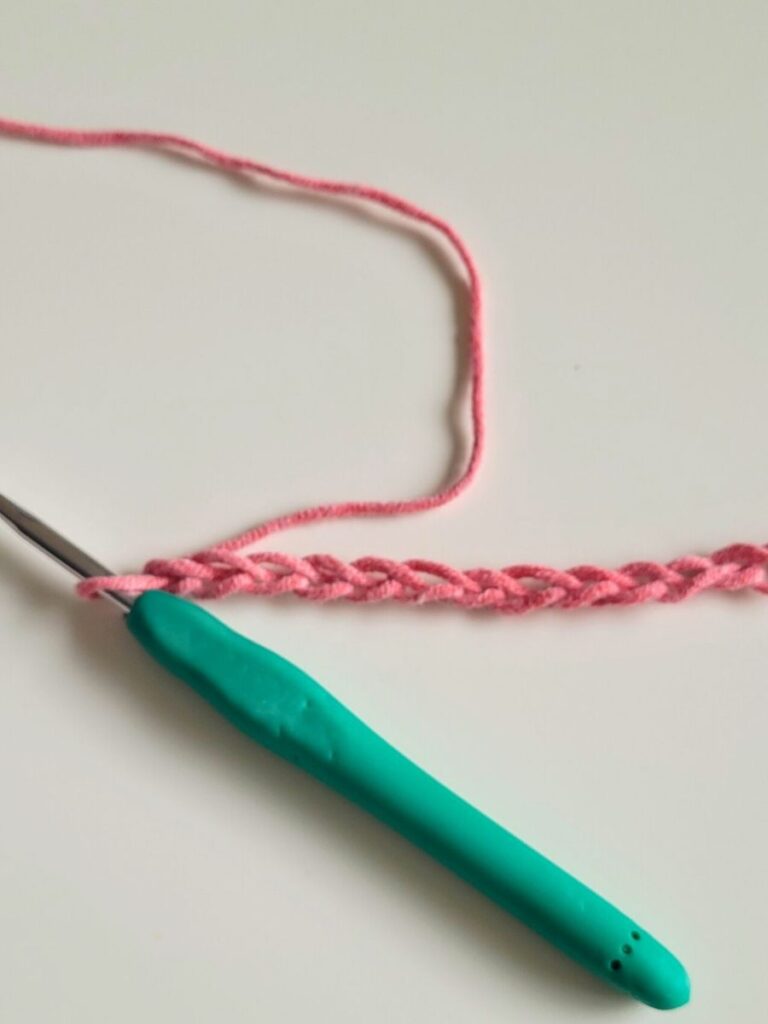
Chain:
Ch enough st so that your chain is the length of "C", choose an odd number of chains (the number of chains used will be number "D" - for me it was 57 ch)
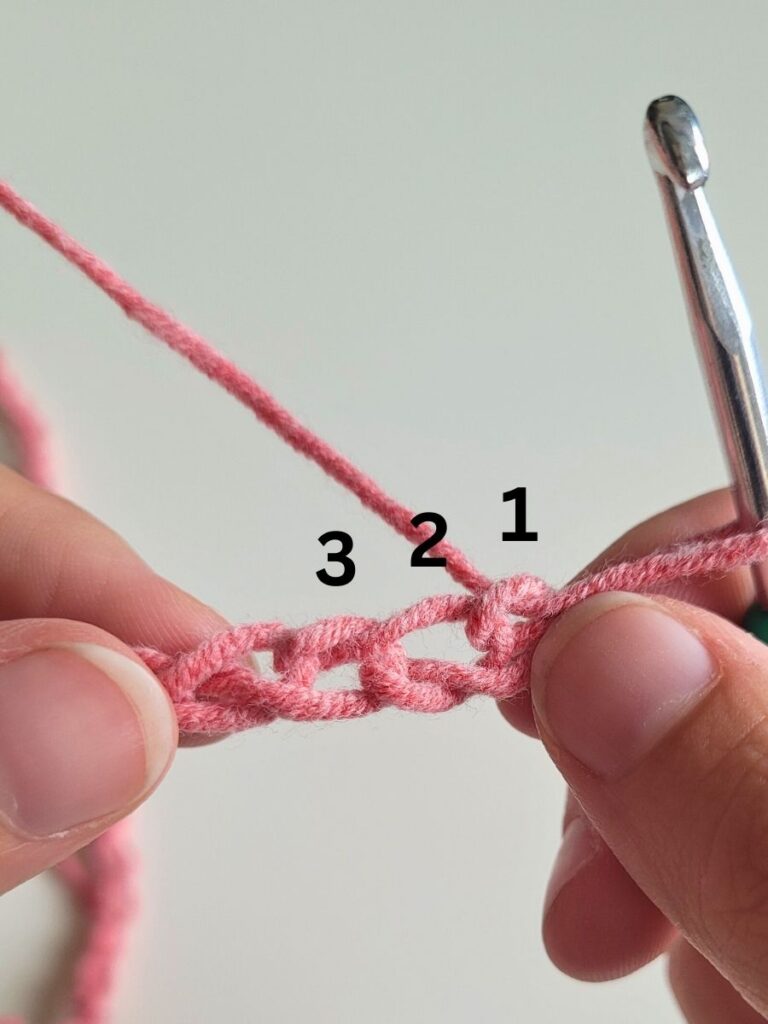
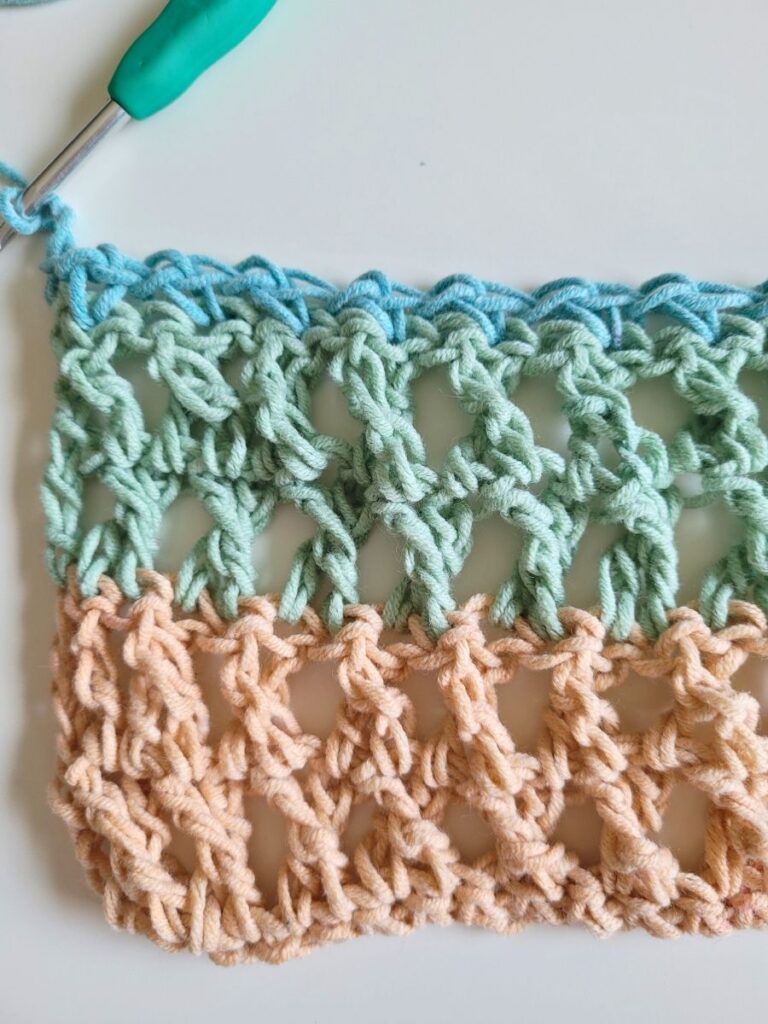
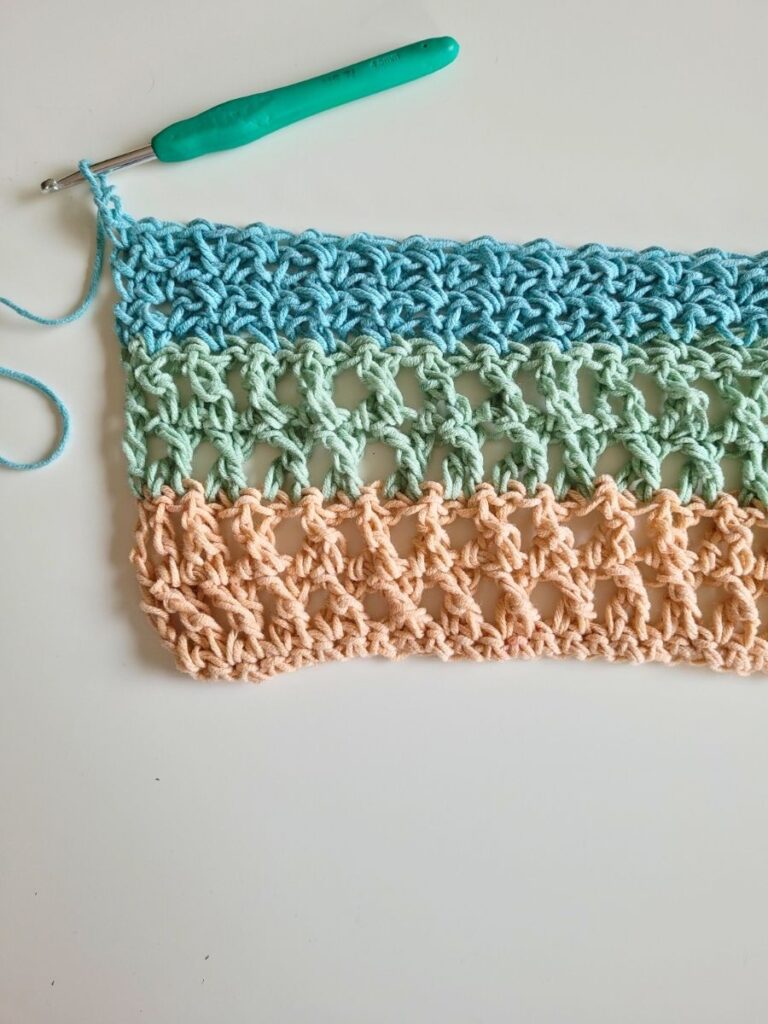
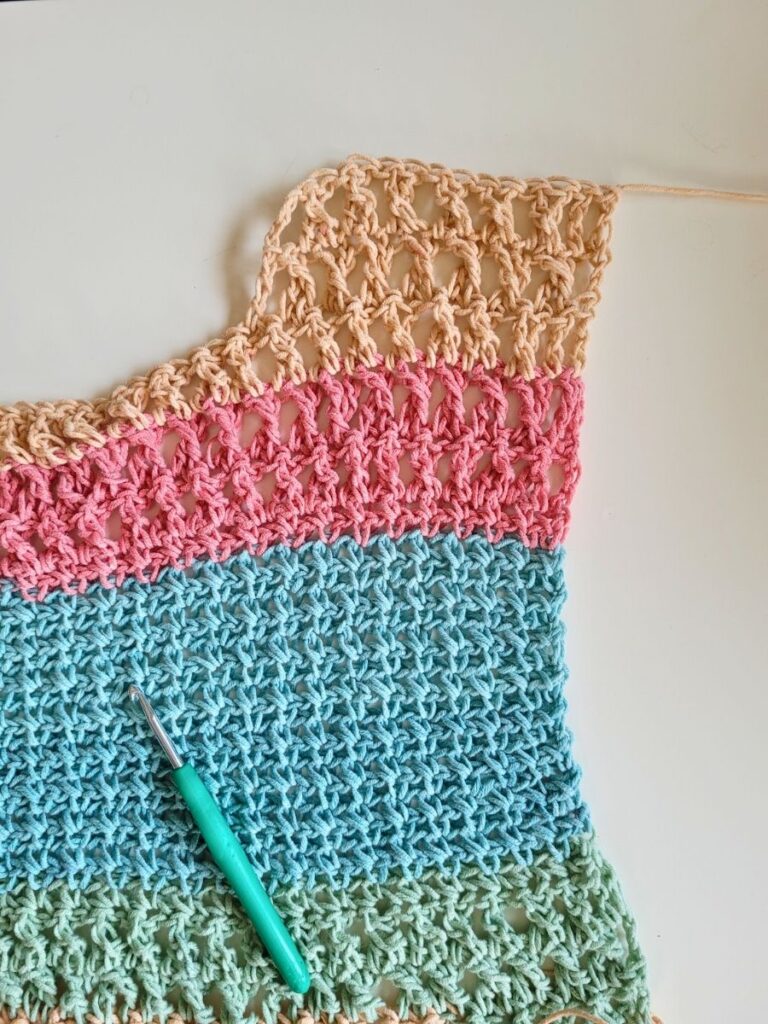
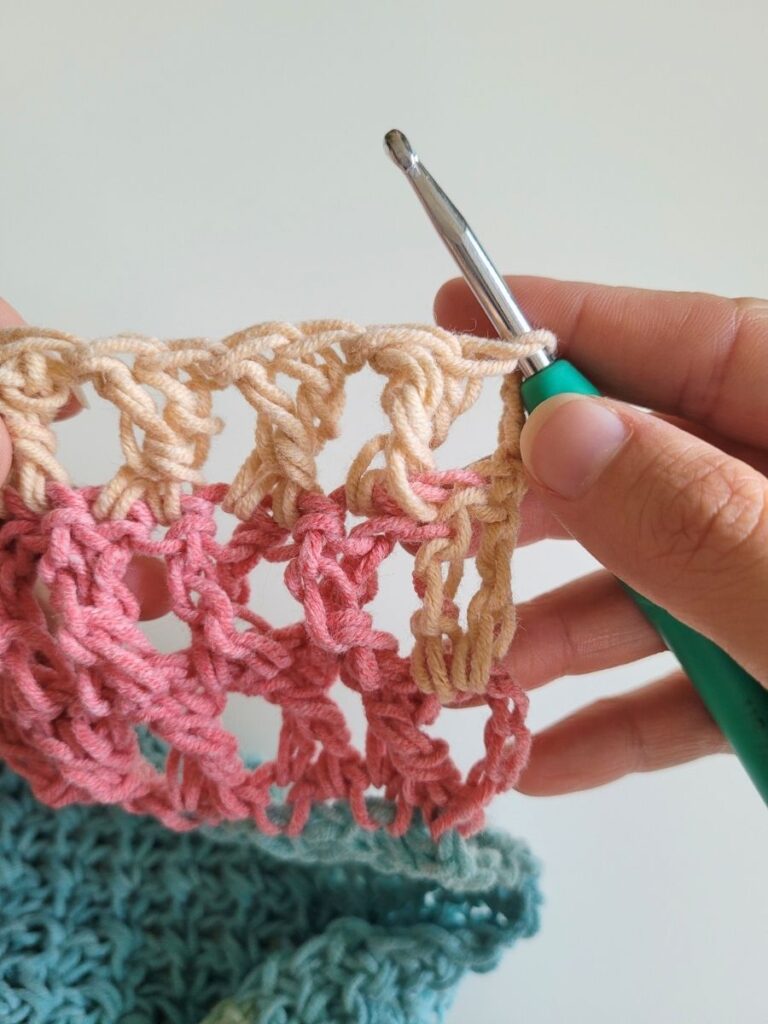
Row 1:
ch 2, sc in the 3rd ch from the hook, sc across, ch 4, turn
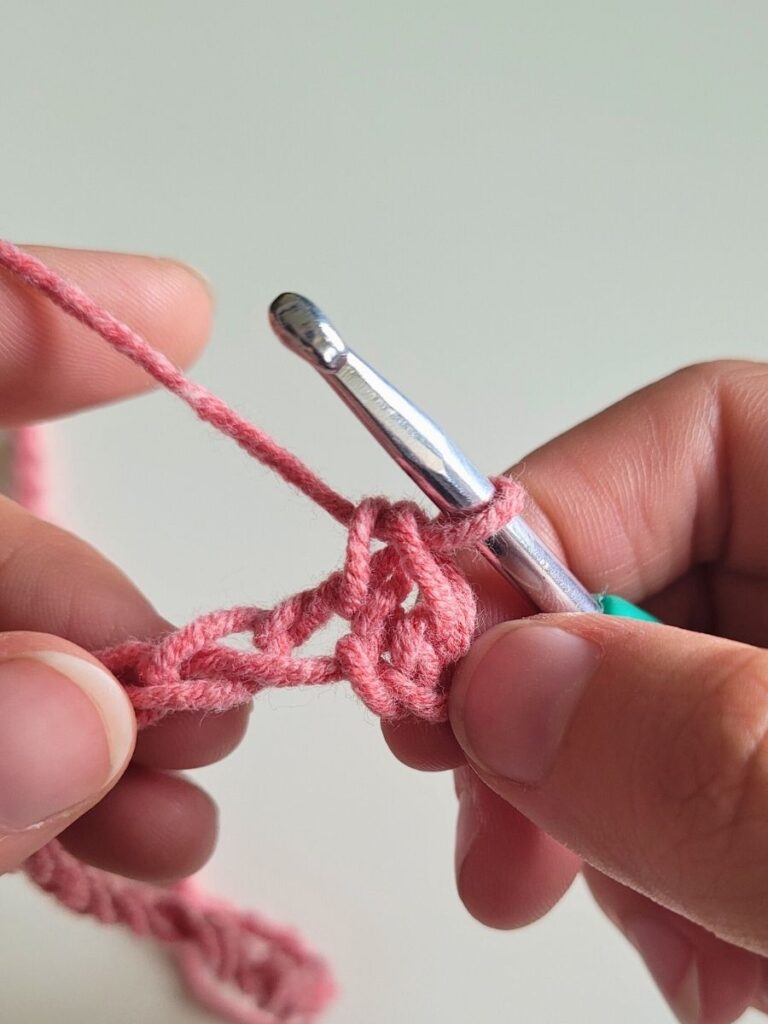
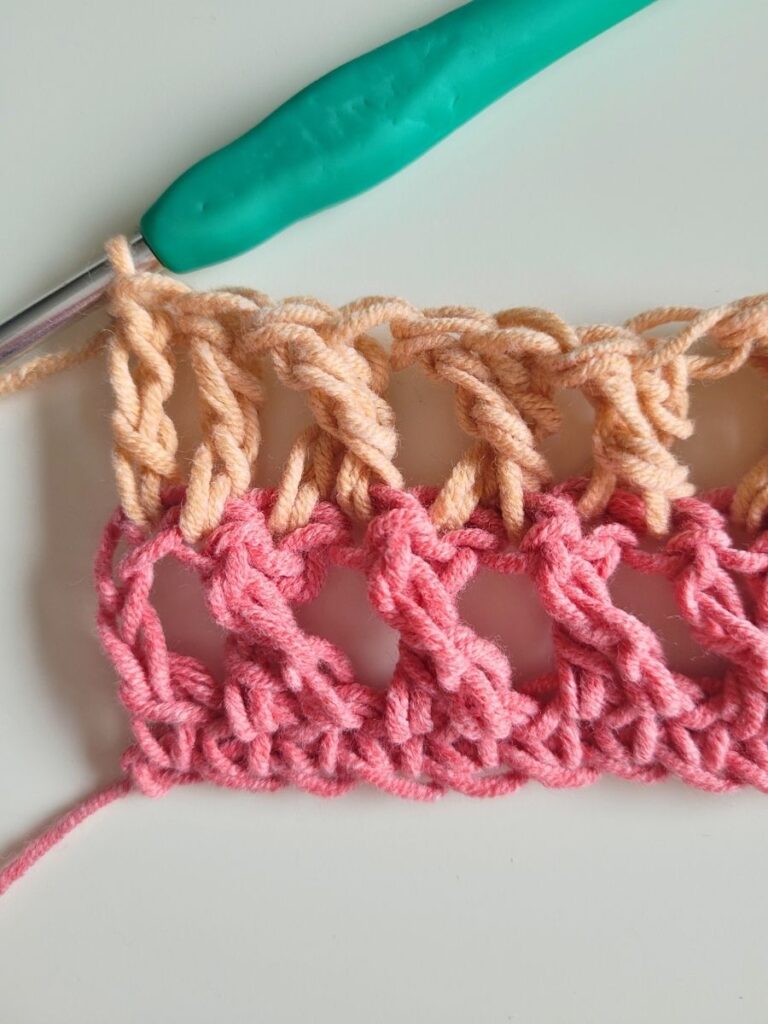
Row 2:
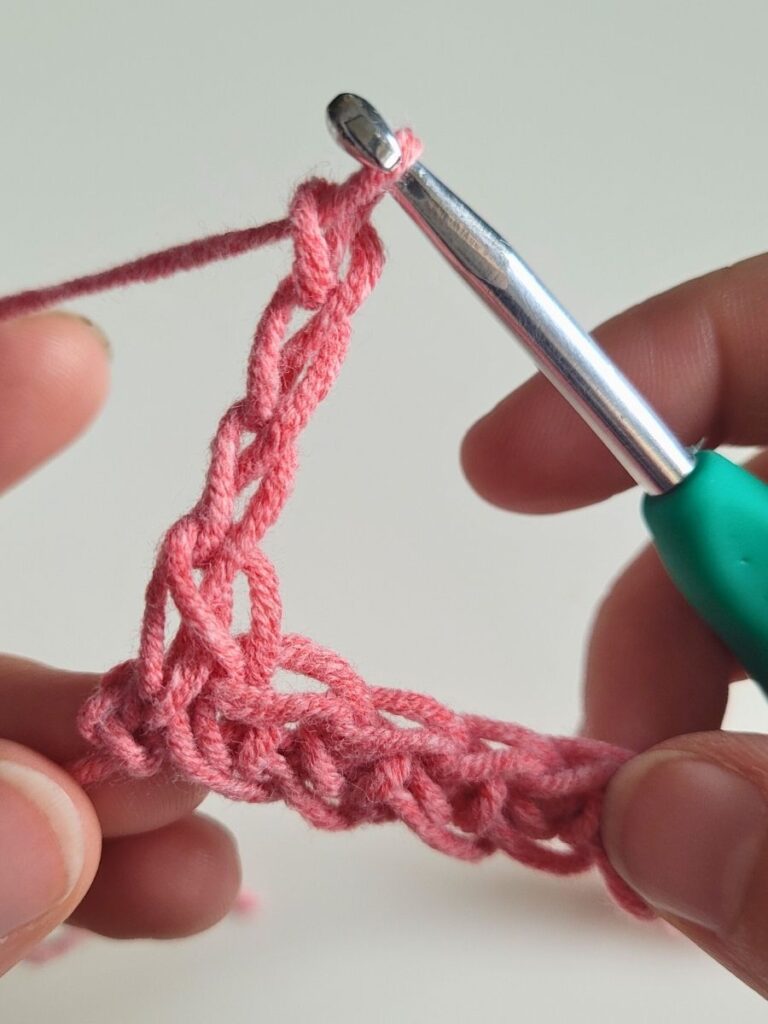
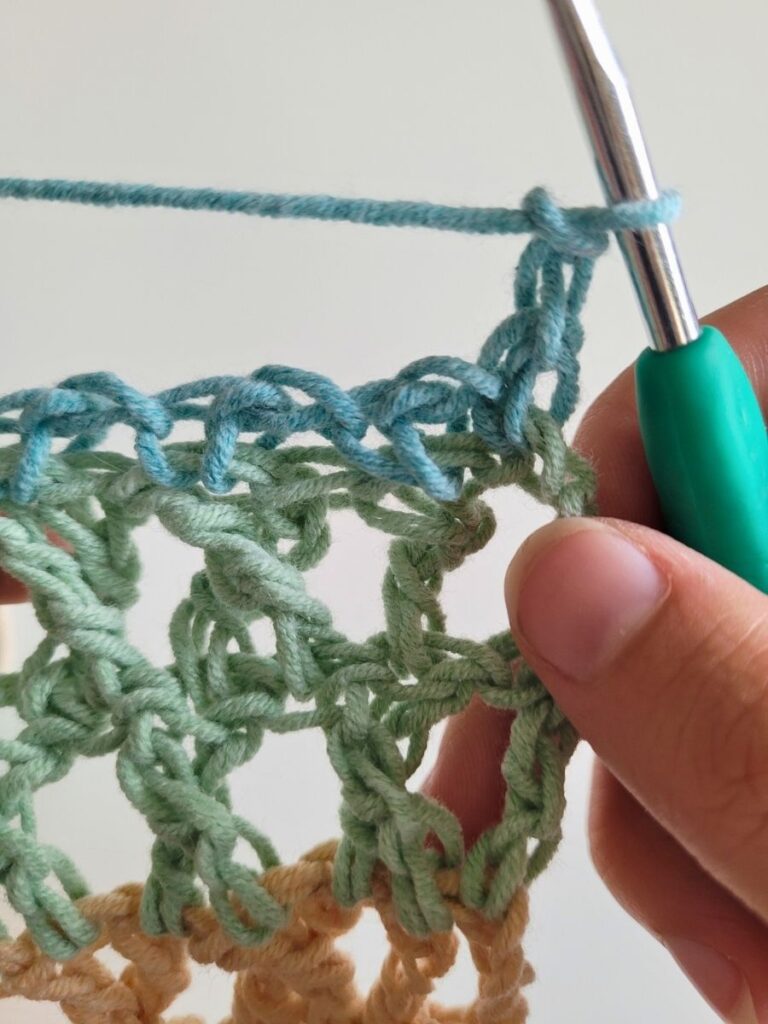
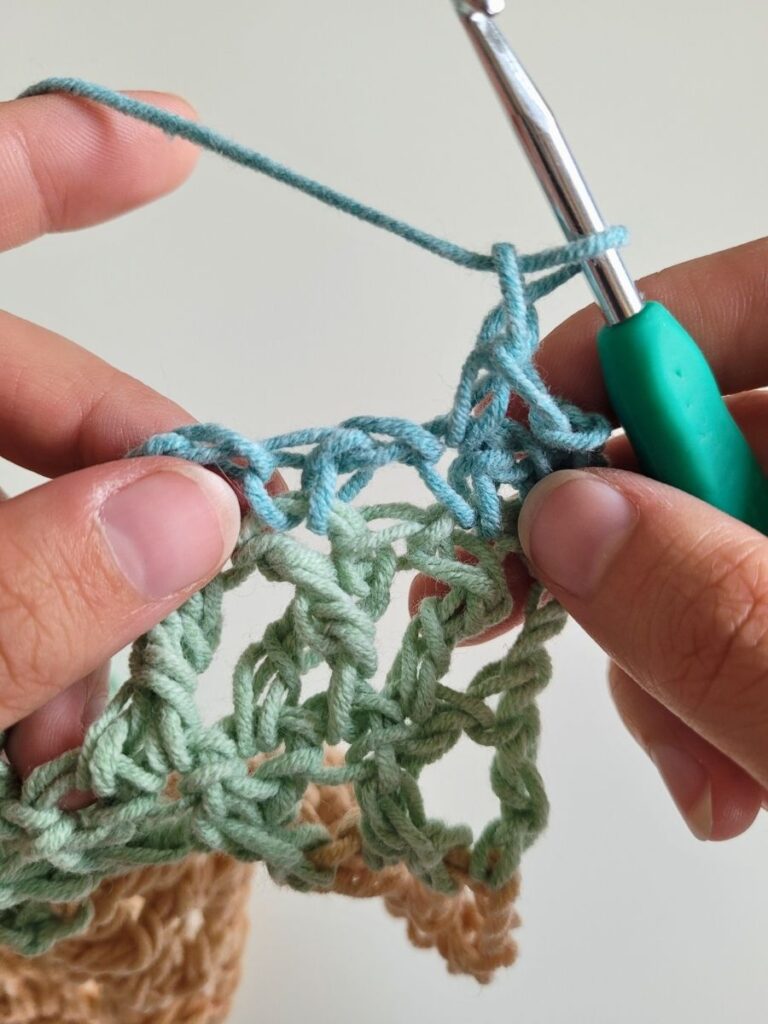
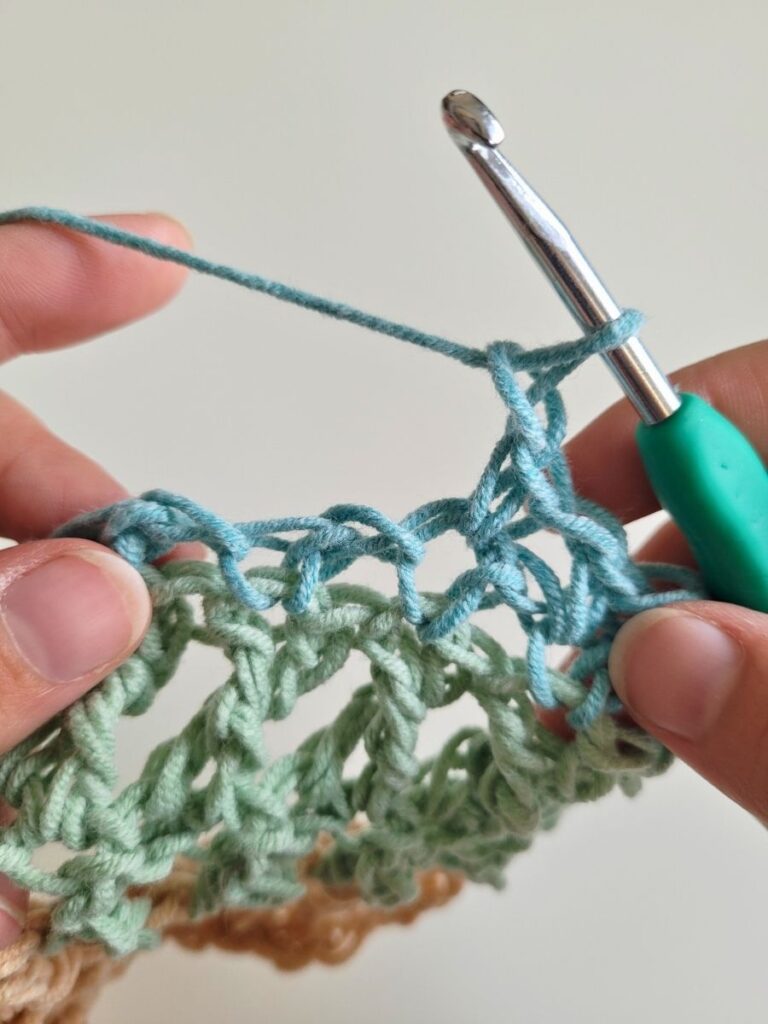
*sk, tr in the next st, tr in the skipped st* repeat until 2 st left, tr in the next st, then tr in the 2nd ch from the previous row, ch 4, turn

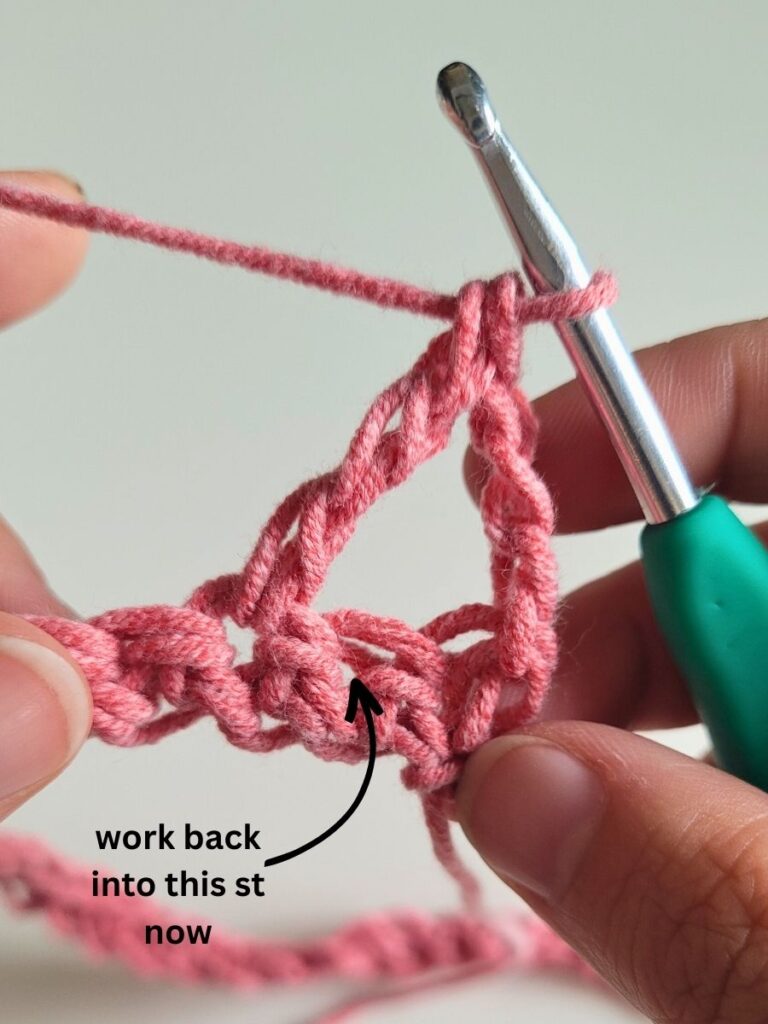
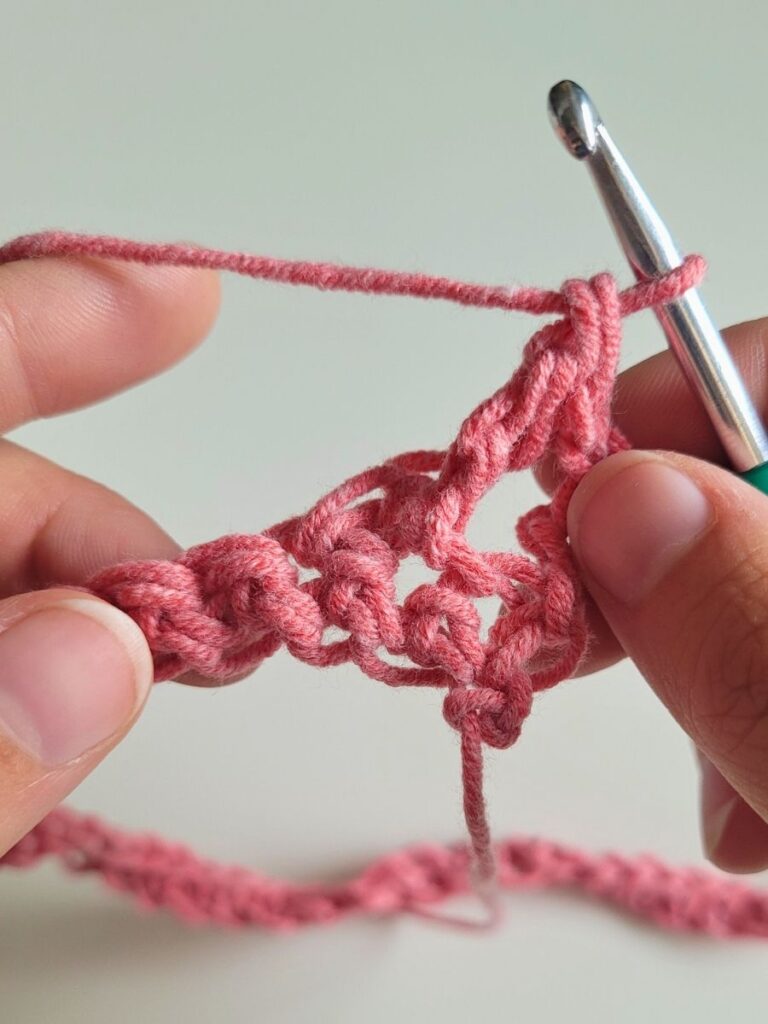
Row 3:
*sk, tr in the next st, tr in the skipped st* repeat until 2 st left, tr in the next st, then tr in the 4th ch from the previous row, ch 4, turn
Row 4 - ?:
Continue repeating row 3 until your top when held up to just below the chest, reaches your desired length. Decide this by debating where you would like the more solid pattern in the top to begin (for coverage).
(I repeated row 3, 2 more times before starting the next part)
On your very last repetition of row 3, instead of ch 4 at the end, ch 2.
Row 6:
(or whatever row number it works out to be for you)
Start of the second stitch (the less sheer stitch).
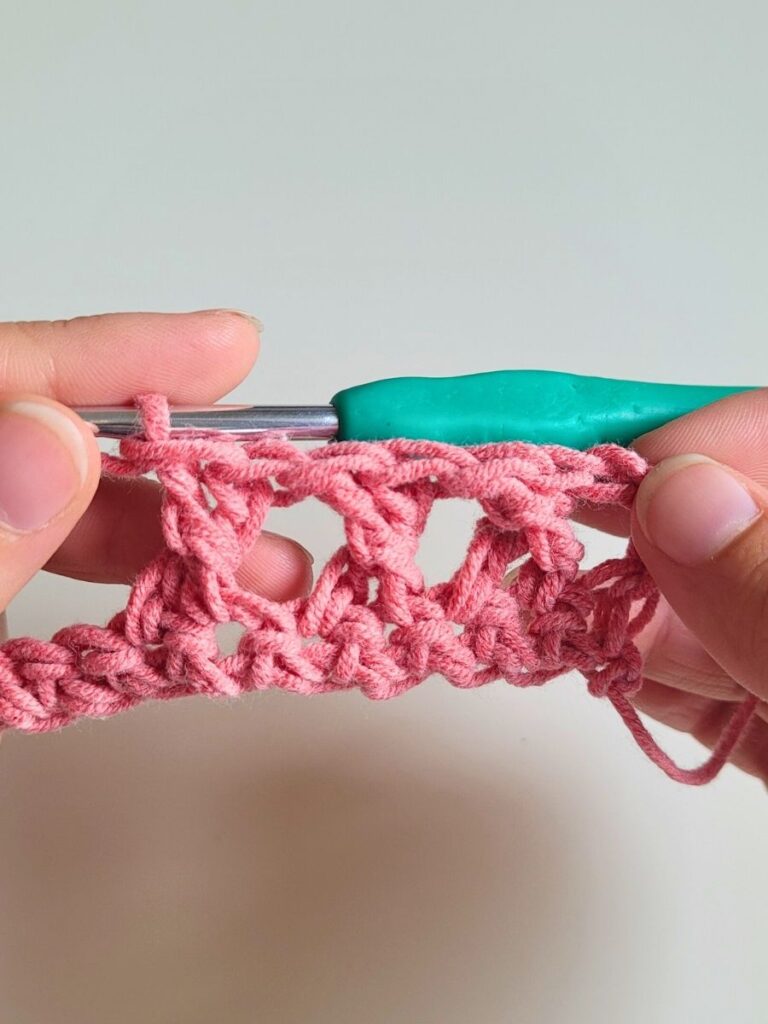
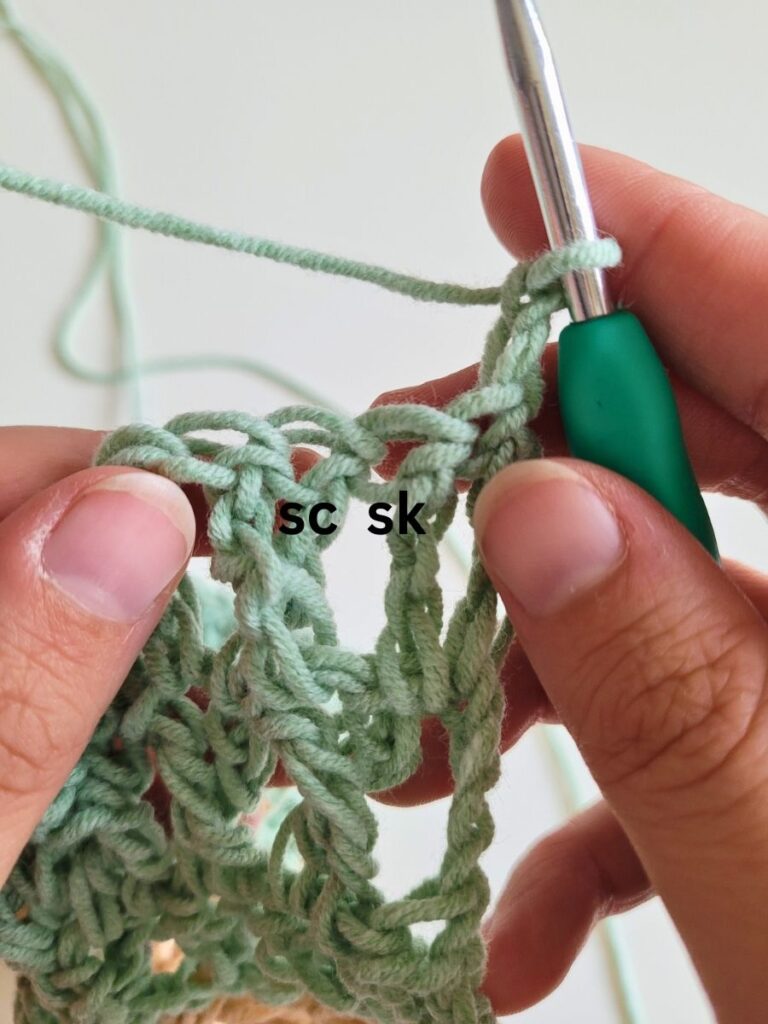
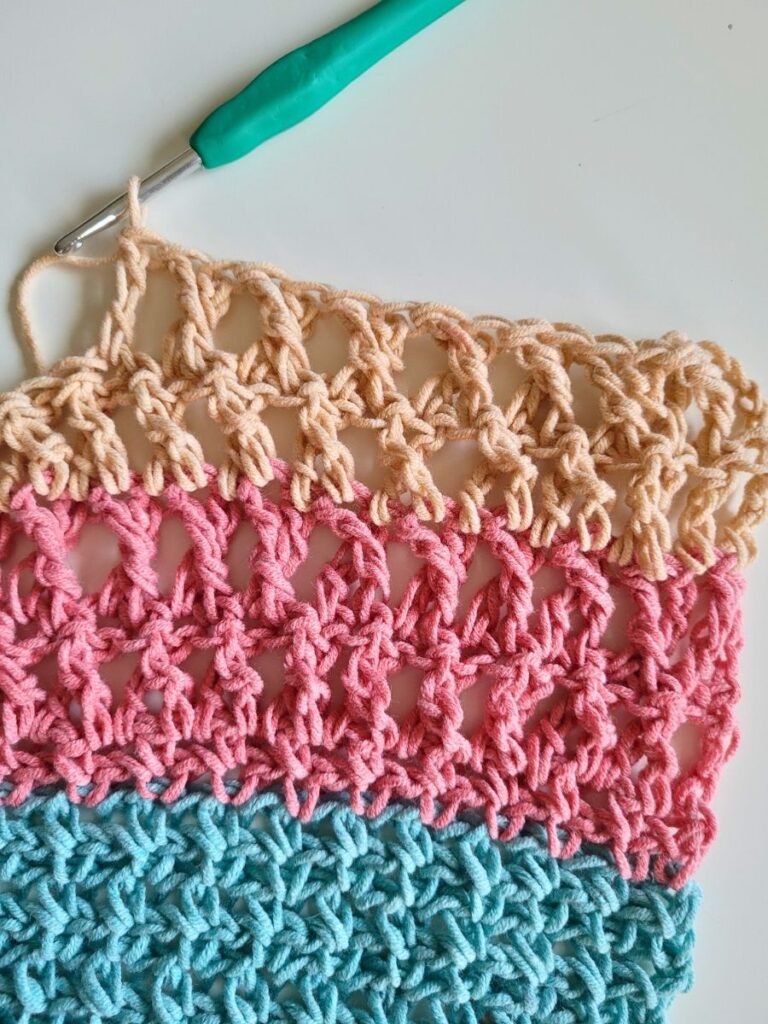
*sk, sc in the next st, ch 1* repeat until 2 st left, sk, sc in the last one (into the 4th ch from the previous row), ch 2, turn

Row 7:
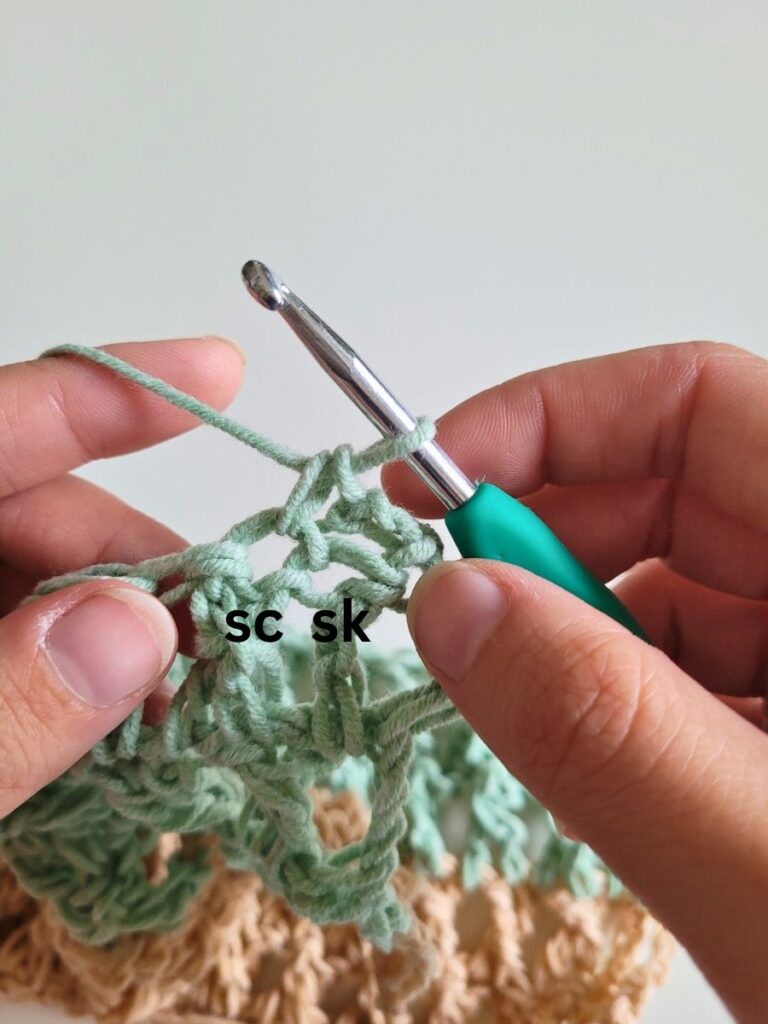
*sk, sc in the next st, ch 1* repeat until 2 st left, sk, sc in the last one (into the 2nd ch from the previous row), ch 2, turn
Row 8 - ? :
Continue repeating row 7 until you have reached the desired length of this part of the top - in order to cover the chest.
Once you are ready for the top mesh part once again, go on to the next instruction (row 25).
- On your last rotation of row 7, ch 4 at the end instead of ch 2
(I repeated row 7, 18 more times)
(It's a little bit hard to count afterwards how many rows have been done, so I suggest doing tally marks or keeping track of how many you do along the way - instead of counting after at the end)
Row 25:
(or which ever row number you end up at)
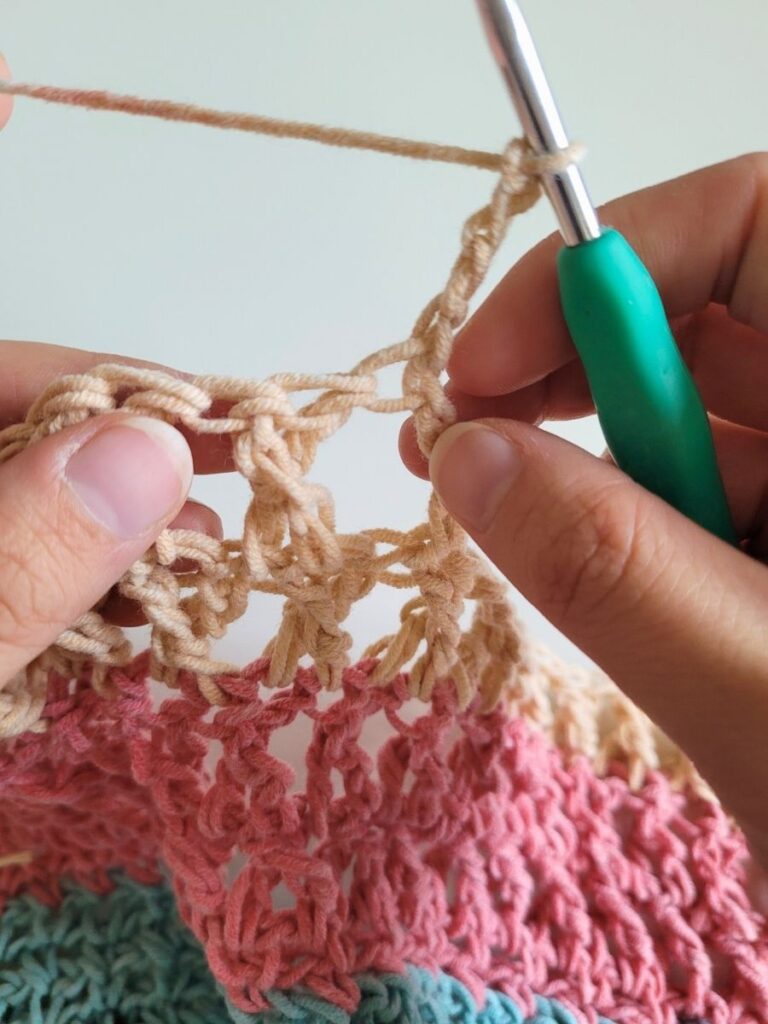
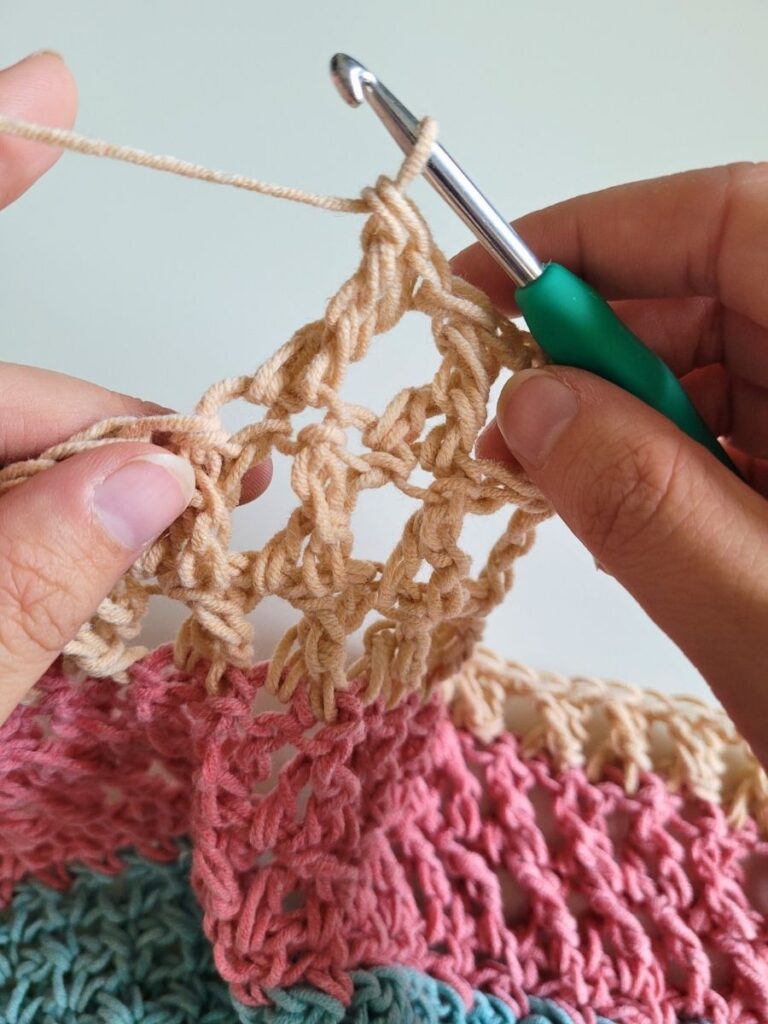
Returning to the criss-cross mesh stitch:
(work in ch st the same way you would work into regular sc st)
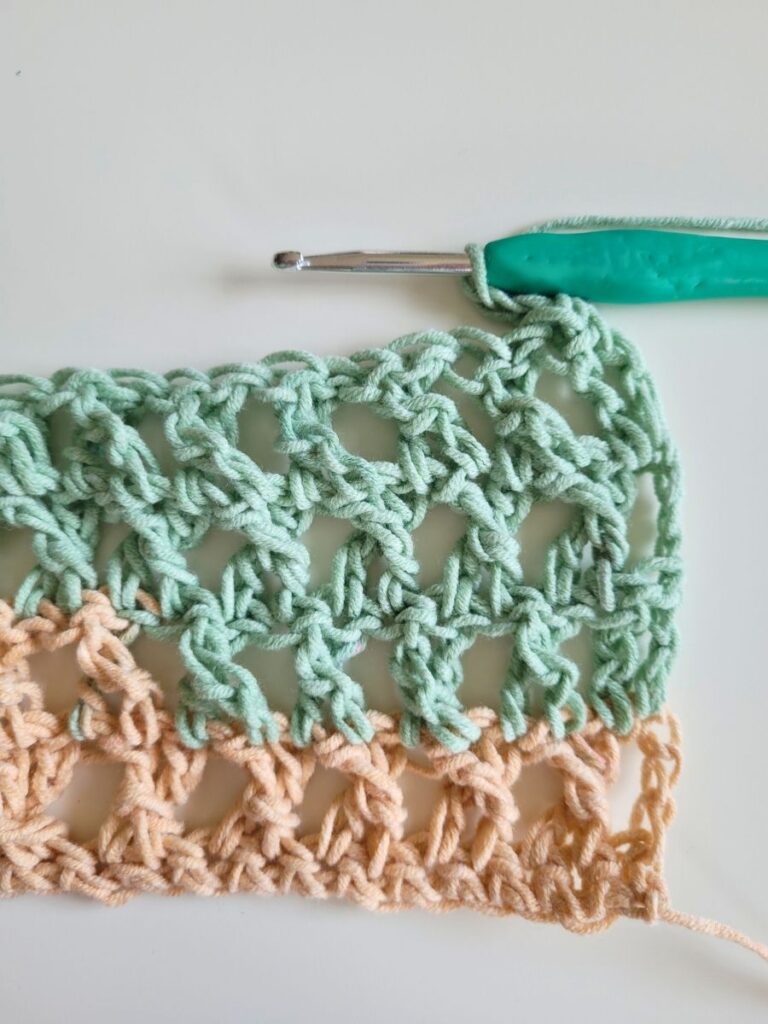
*sk, tr in the next st, tr in the skipped st* repeat until 2 st left, tr in the next st, then tr in the 2nd ch from the previous row, ch 4, turn
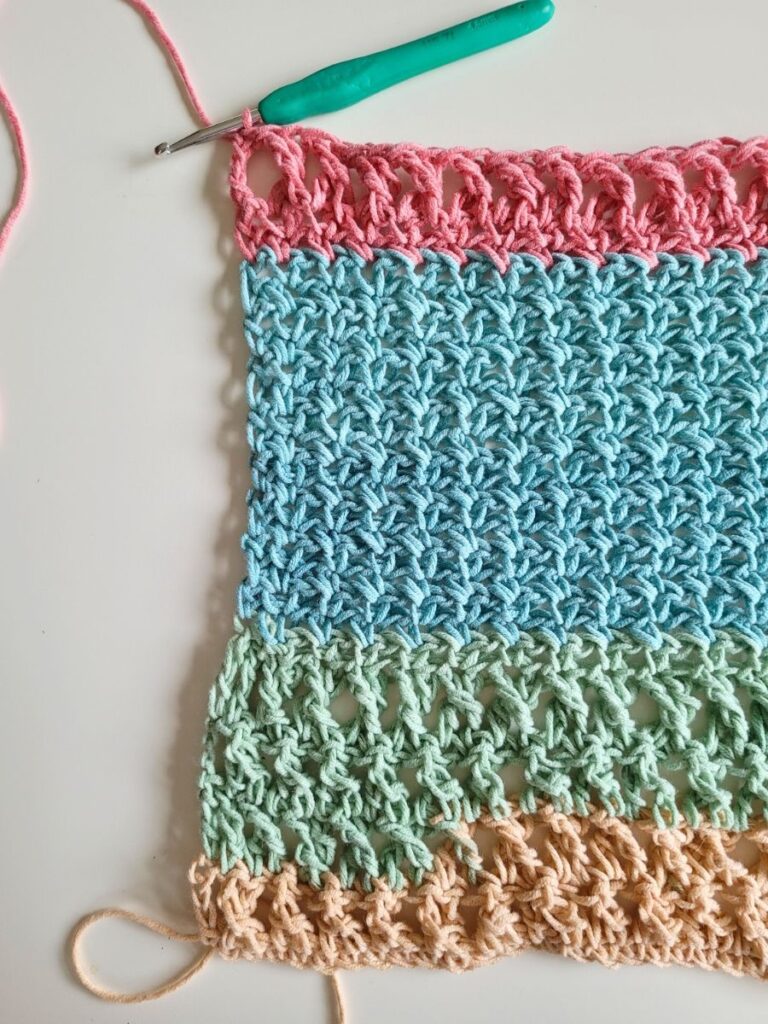
Row 26:
*sk, tr in the next st, tr in the skipped st* repeat until 2 st left, tr in the next st, then tr in the 4th ch from the previous row, ch 4, turn
Row 27 - ?:
Continue repeating Row 26 until you have almost reached the full desired length of your top (you should be two rows away from the desired length of your top)
While determining when to stop - make sure that after two more rows, your center part of the top will line up perfectly with the chest.
(I repeated row 26, two more times)
Shoulders:
To determine how wide to make the shoulder "straps", take the number of chains that you used - "D" and divide it by 3.
D / 3 = then you can add or subtract a few stitches depending on the width that you would like, and the new number after you subtract or add extra stitches will be "E".
(I subtracted 2 chains)
(For me: 57 / 3 = 19, 19 - 2 = 17, E = 17)
Row 29 :
(Or which ever row number you end up at)
Continue the pattern of Row 26, for "E" number of stitches.
On the last stitch, sk then tr in the next st, ch 4 turn,

Row 30:
sk, *sk, tr in the next st, tr in the skipped st* repeat until 2 st left, tr in the next st, then tr in the 4th ch from the previous row, cut yarn fasten off
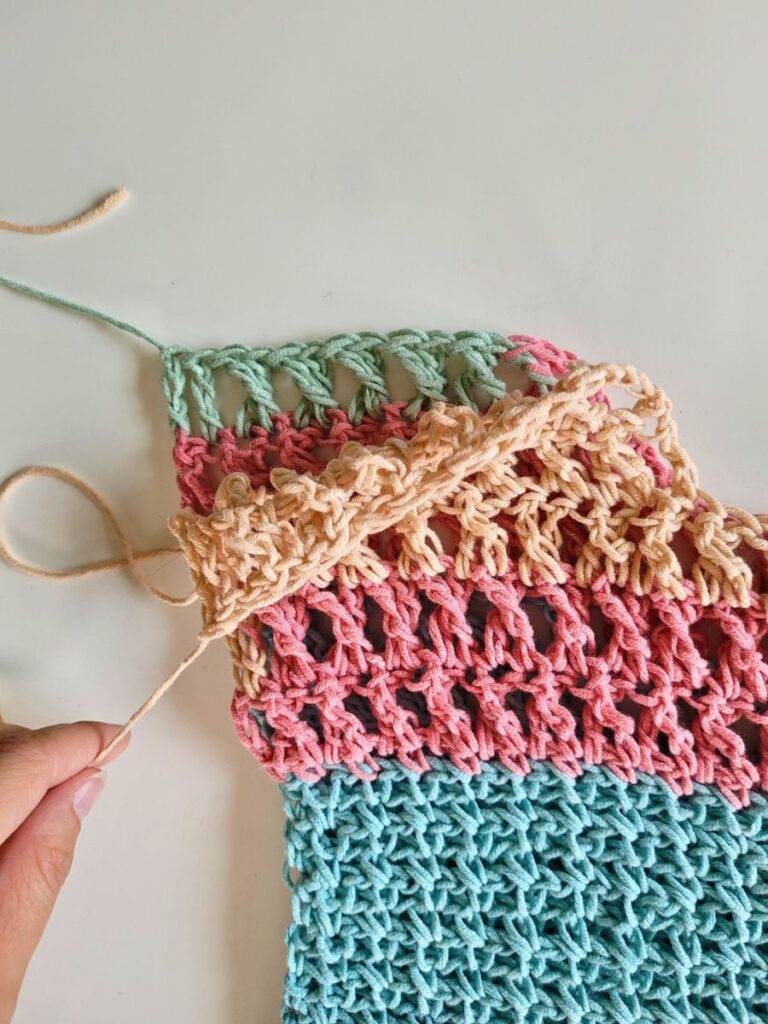
Other Shoulder:
Insert hook at the other end of row 28, pull through a piece of yarn, then repeat row 29 and row 30 on the other side.
Create a back piece using the exact same instructions as above for the front.
Assembly:
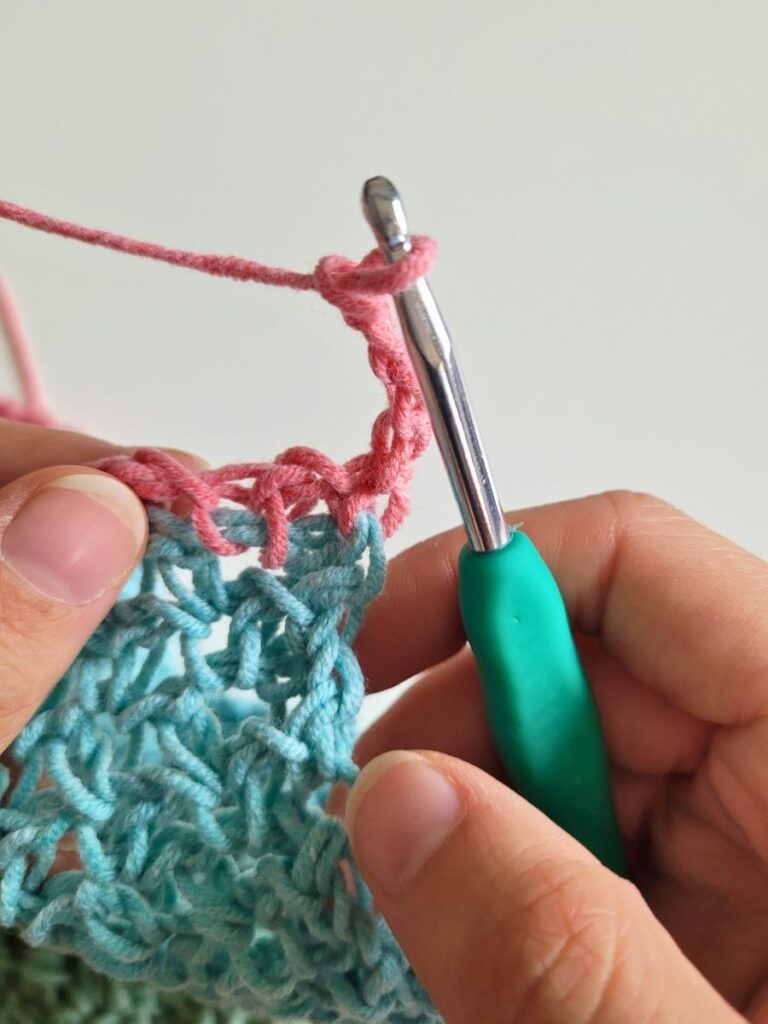
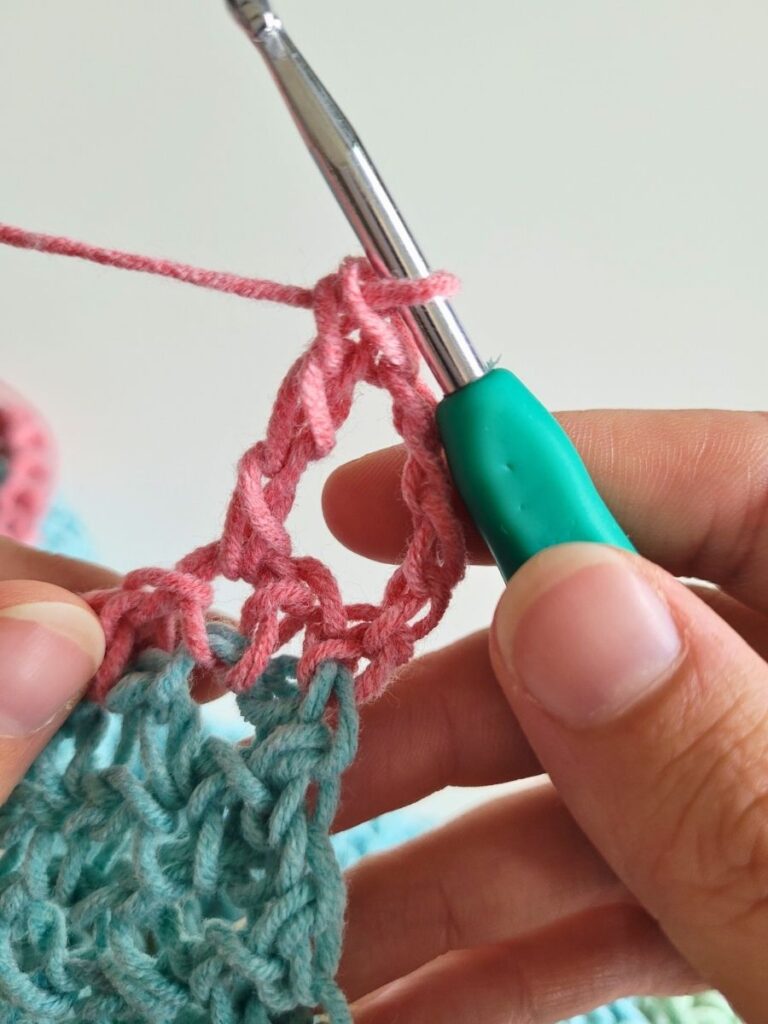
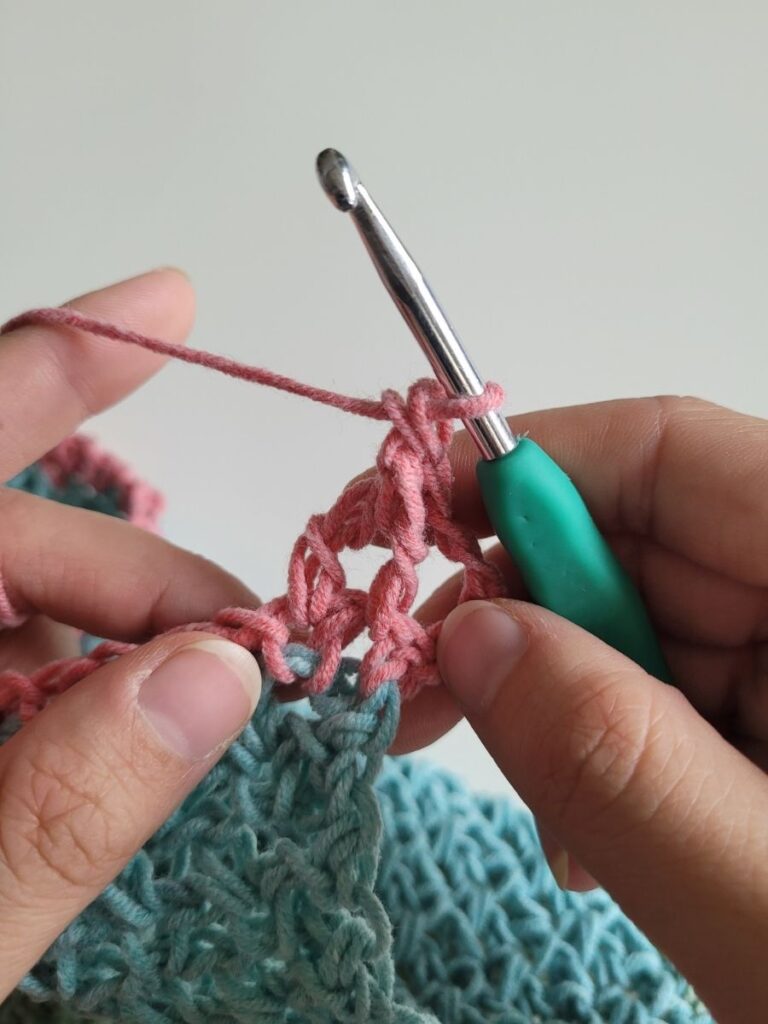
Now to attach the pieces, sl st along the shoulders.
Then try on the garment to decide how far up to stitch along the sides, place stitch markers. Remove the top, then sl st along the sides in between your stitch markers.

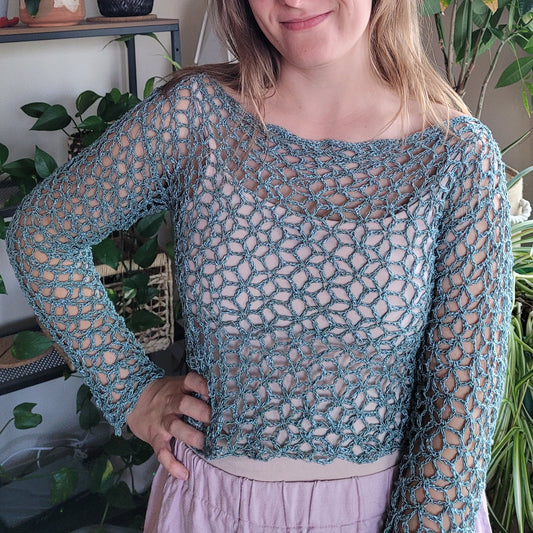
Weave in your ends and your Rainbow Raina Tee Crochet Pattern is complete!!
If you enjoyed this pattern please check out my other free crochet patterns below!!