Share

Yarn Approximation Based on Size:
Please note that due to the made-to-measure nature of the pattern amount of yarn needed will vary greatly. It will vary based on the weight of the yarn you choose to use, the length and width of the top that you decide to make.
Rough approximations are below:
XS - 100 g
S - 150 g
M - 200 g
L - 250 g
XL - 300 g
XXL - 350 g
3XL - 400 g
4XL - 450 g
5XL - 500 g
XS - 3.5 oz
S - 5.25 oz
M - 7 oz
L - 8.75 oz
XL - 10.5 oz
XXL - 12.25 oz
3XL - 14 oz
4XL - 15.75 oz
5XL - 17. 5 oz
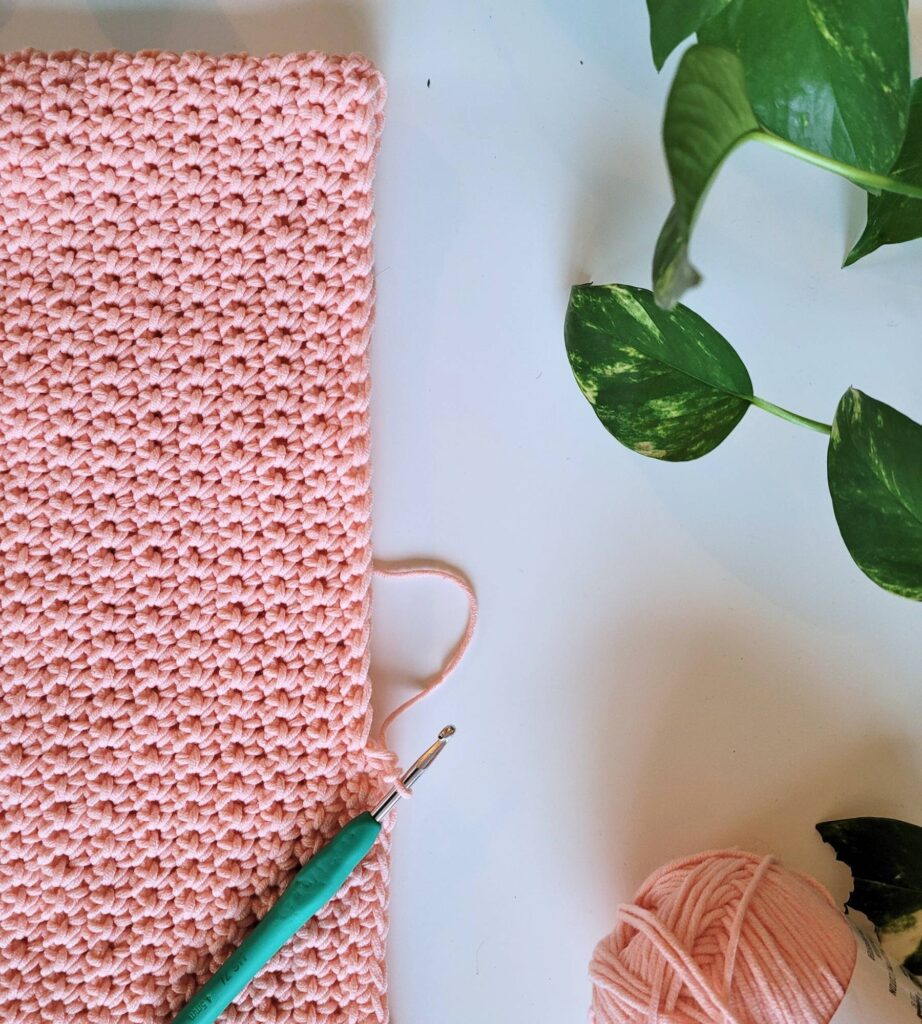
Free Crochet Pattern Starts Here:
Taking Measurements:
Before you begin:
Measure the fullest part of your chest, and call this measurement “A”.
[For me, "A" = 38 in]
Chain enough stitches to have 2 inches less than “A” (this will account for the fact that the garment will stretch due to the nylon, as well as the expansion of the chain as soon as you put single crochets on it - I ended up needing 80 ch).
Then sl st into the first ch to create a loop, ch 2,
(Make sure that your chain is not twisted before joining)


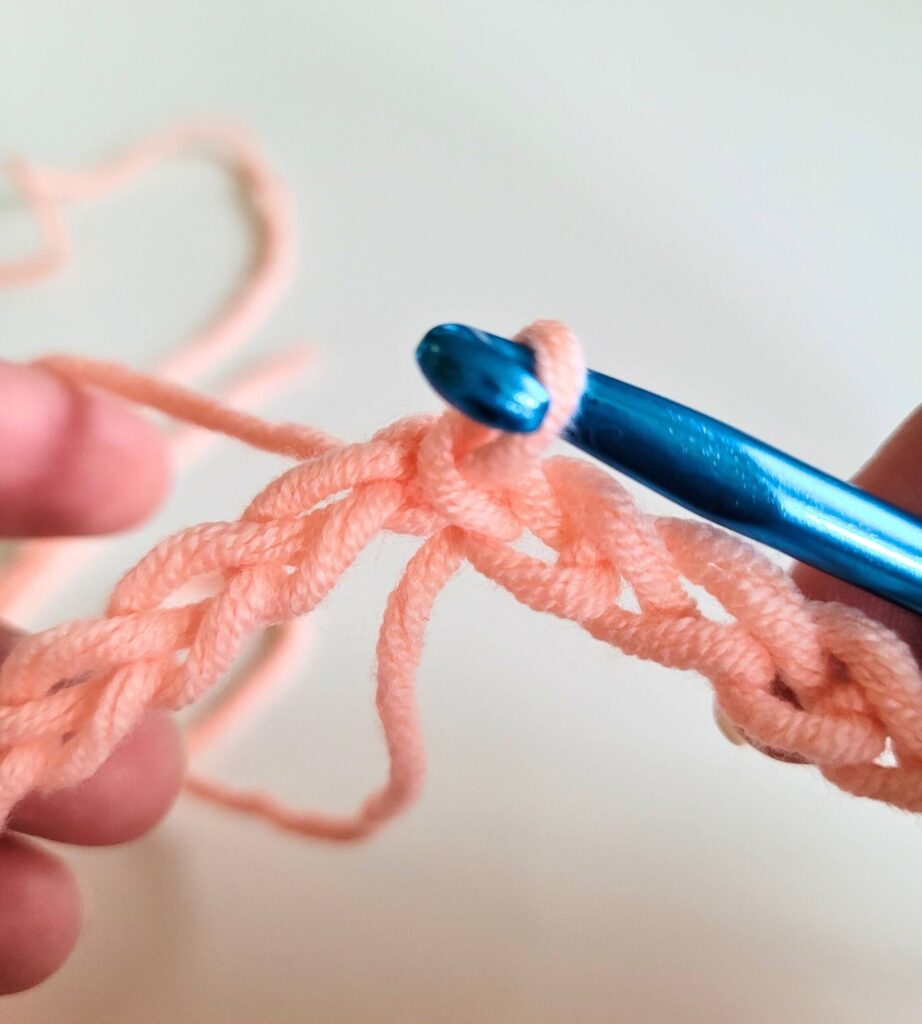
Row 1:
sc in the next st from ch 2, sc across, sl st into the 2nd ch from the start of the rnd, ch 2, turn
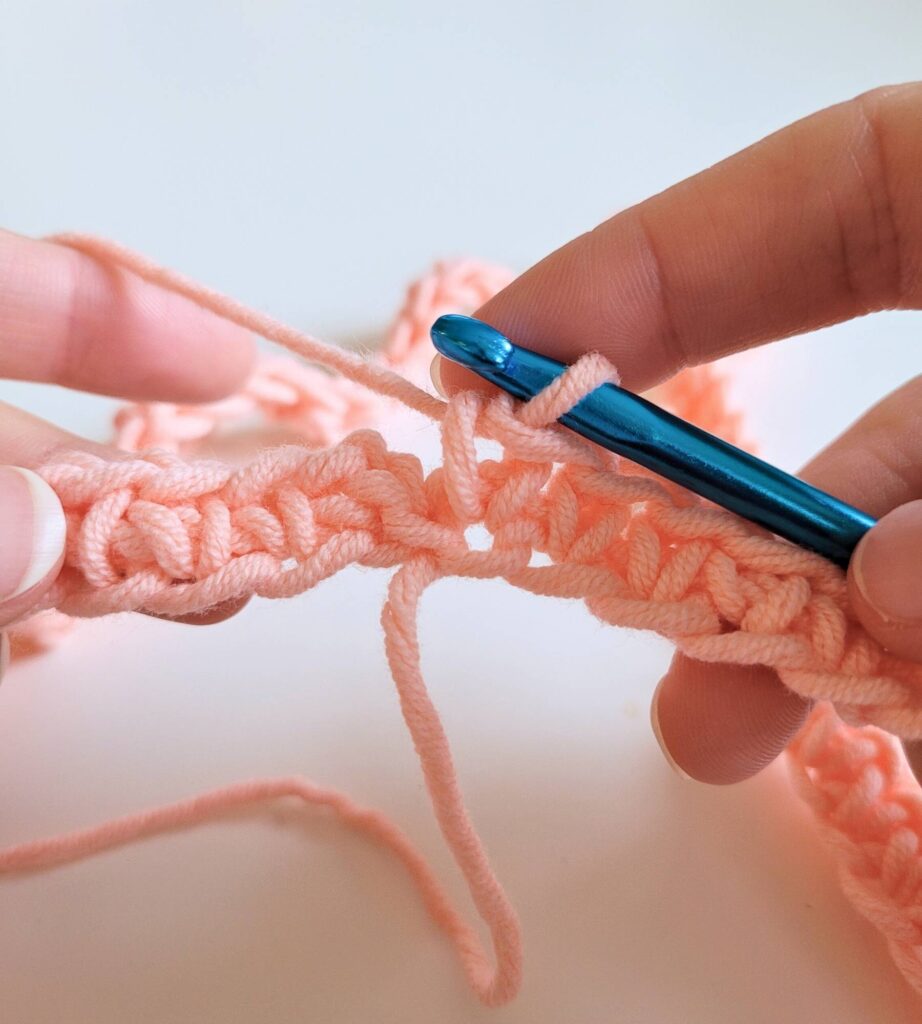

Row 2:
sc in the next st from the ch, sc across, sl st into the 2nd ch from the start of the rnd, ch 4, turn
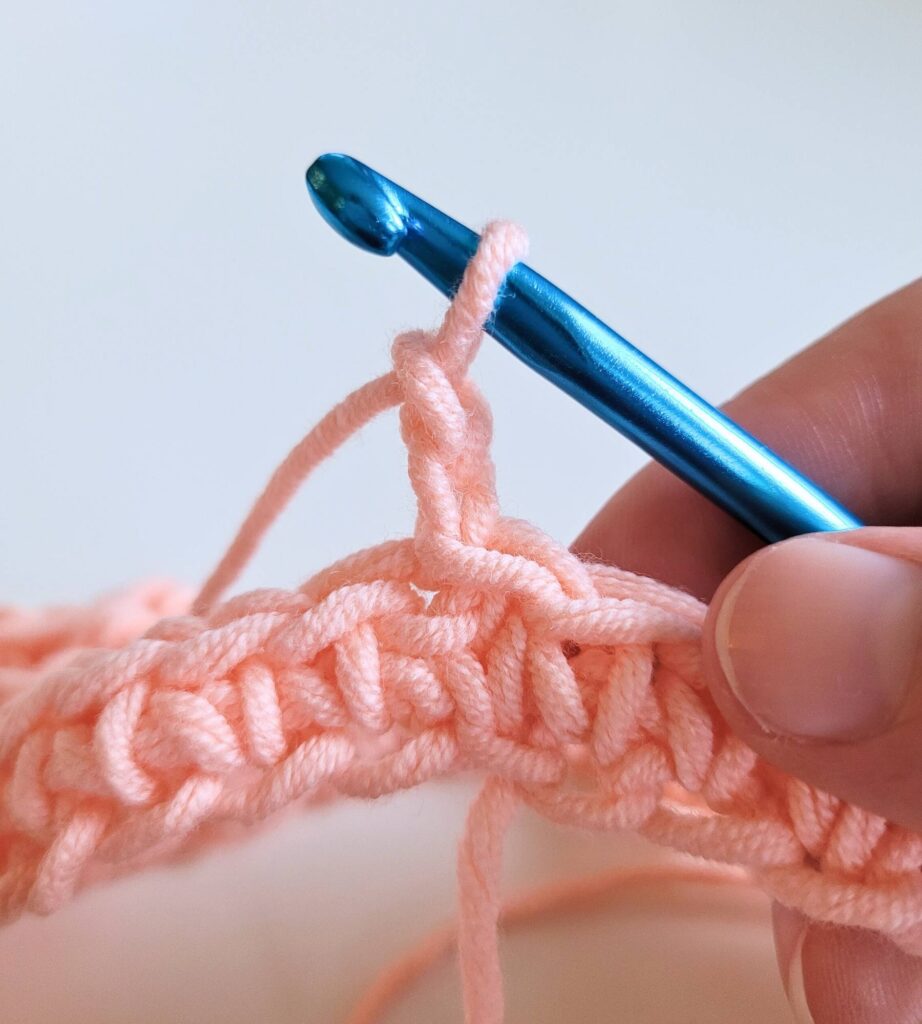


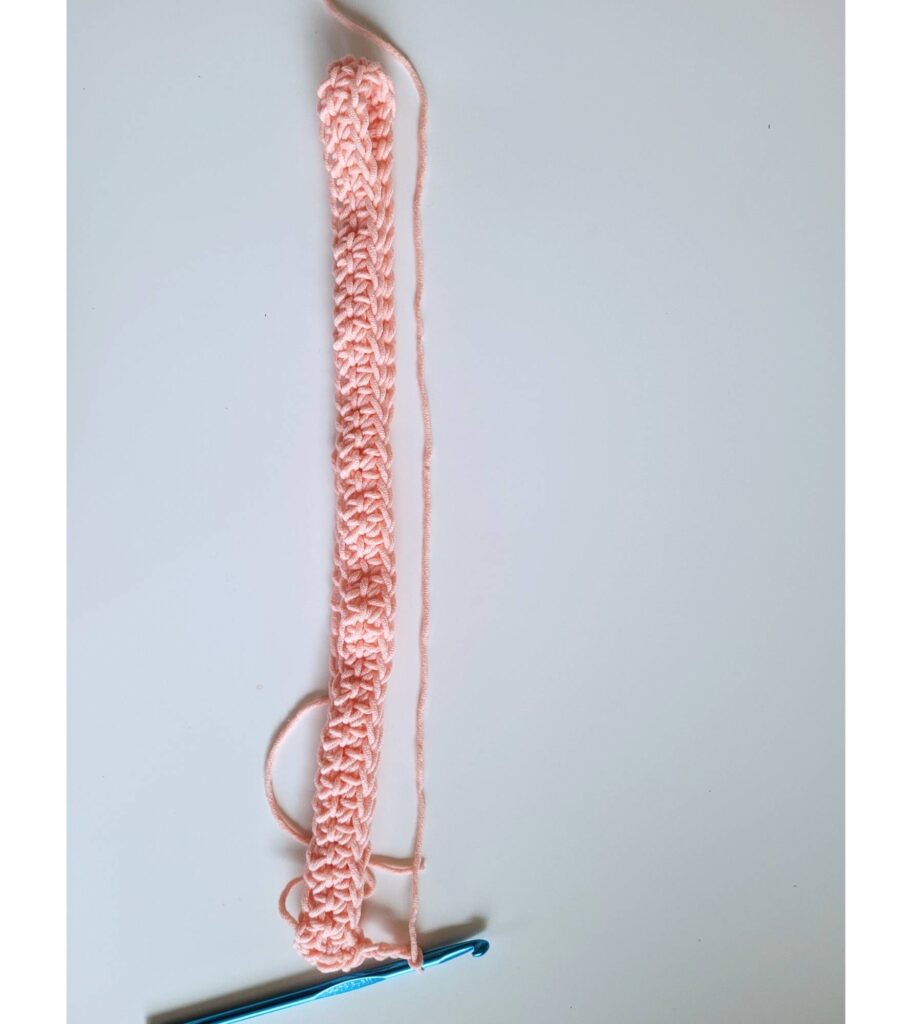
Row 3:
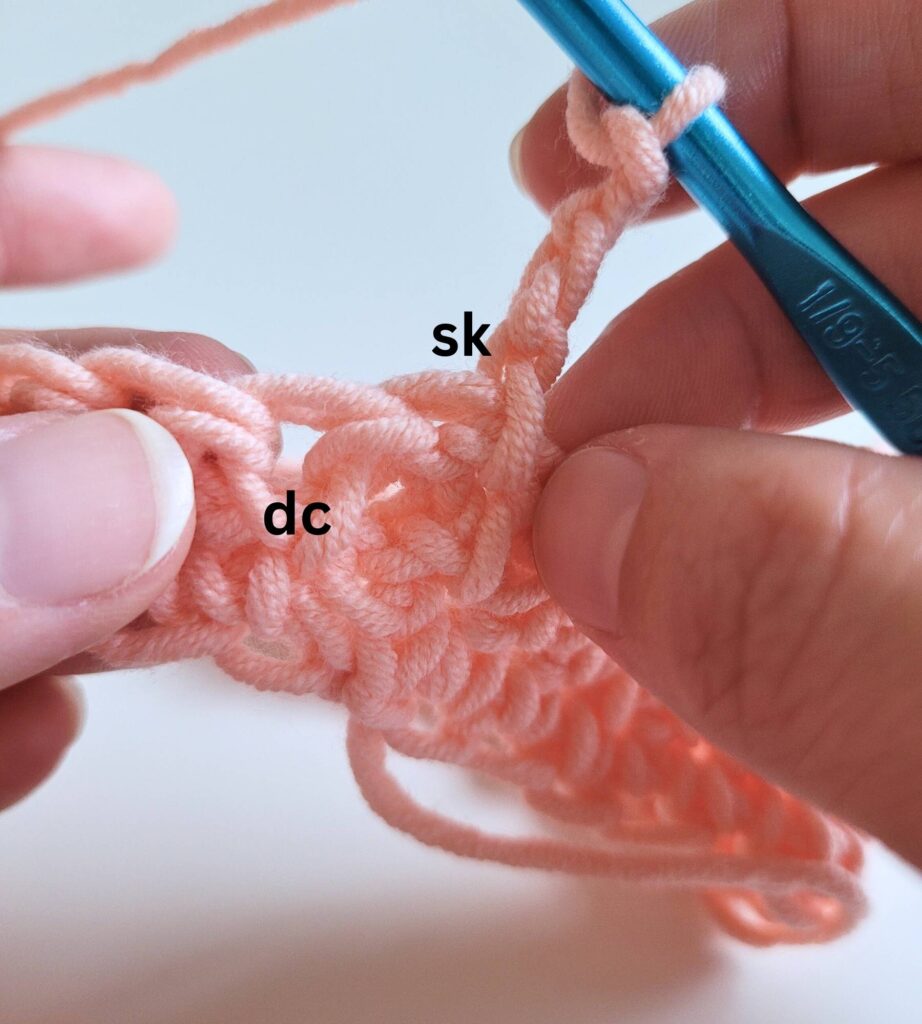
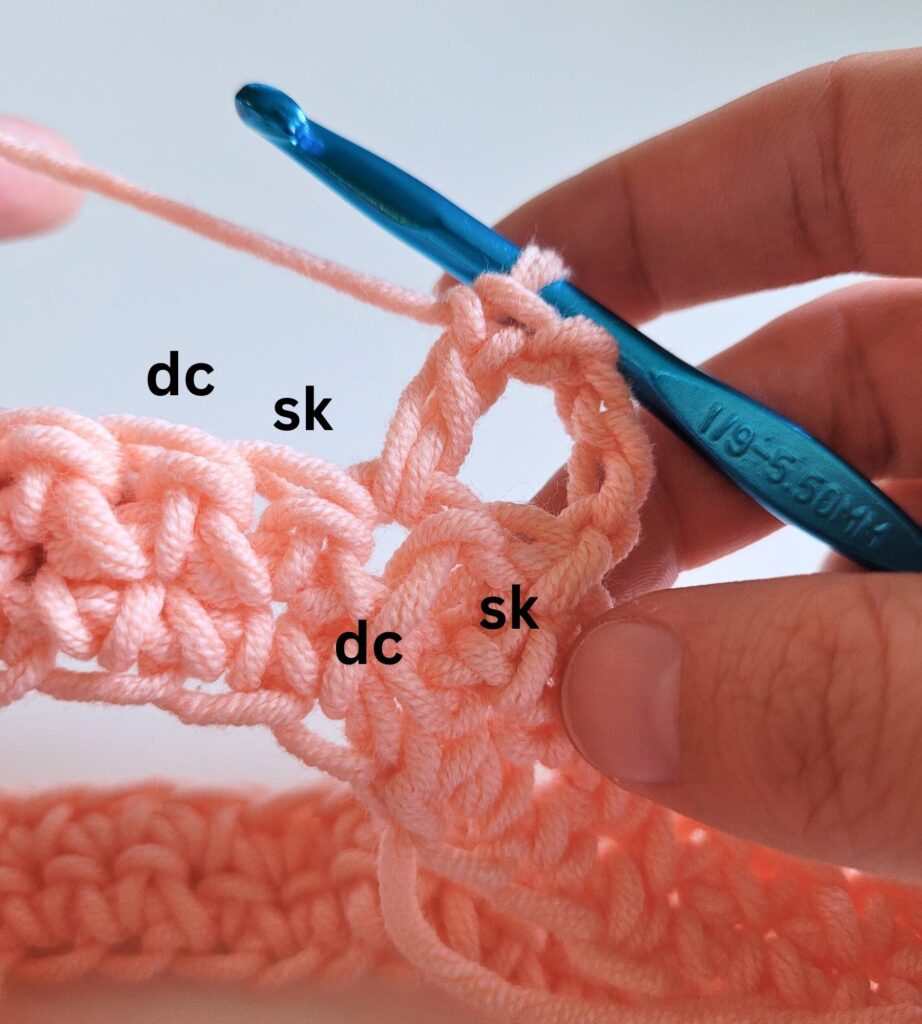
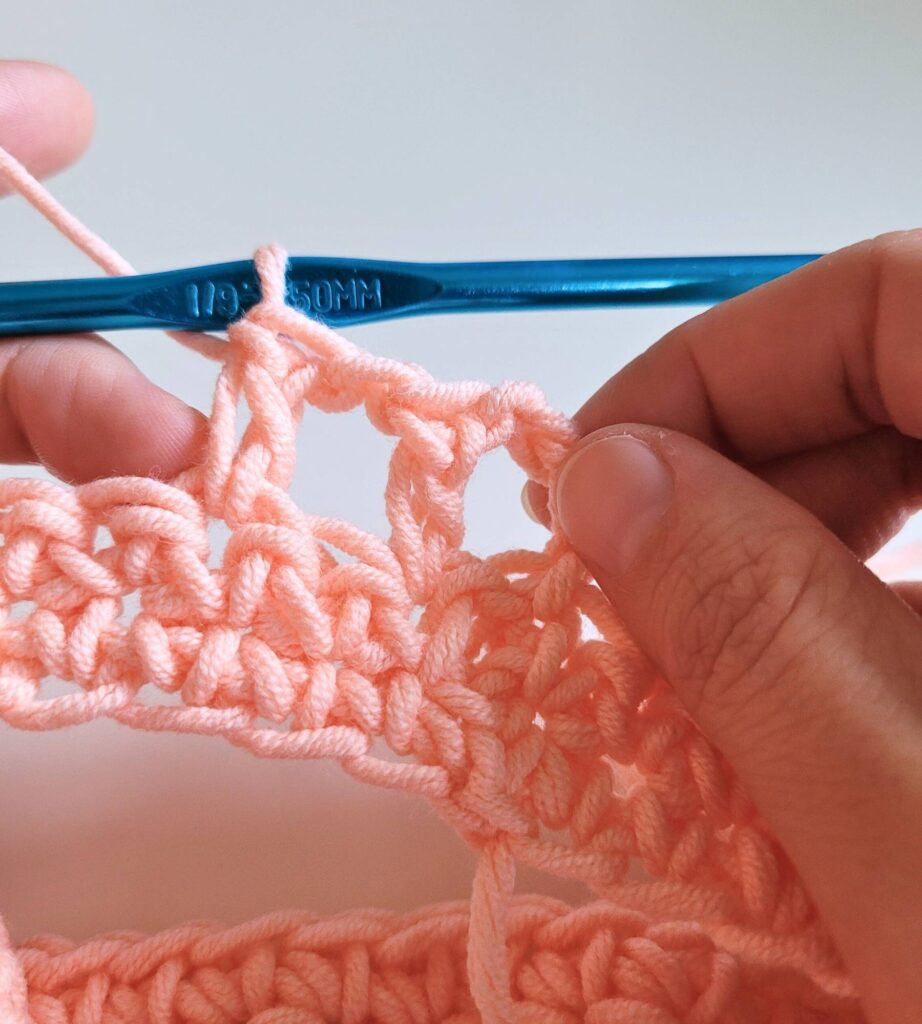
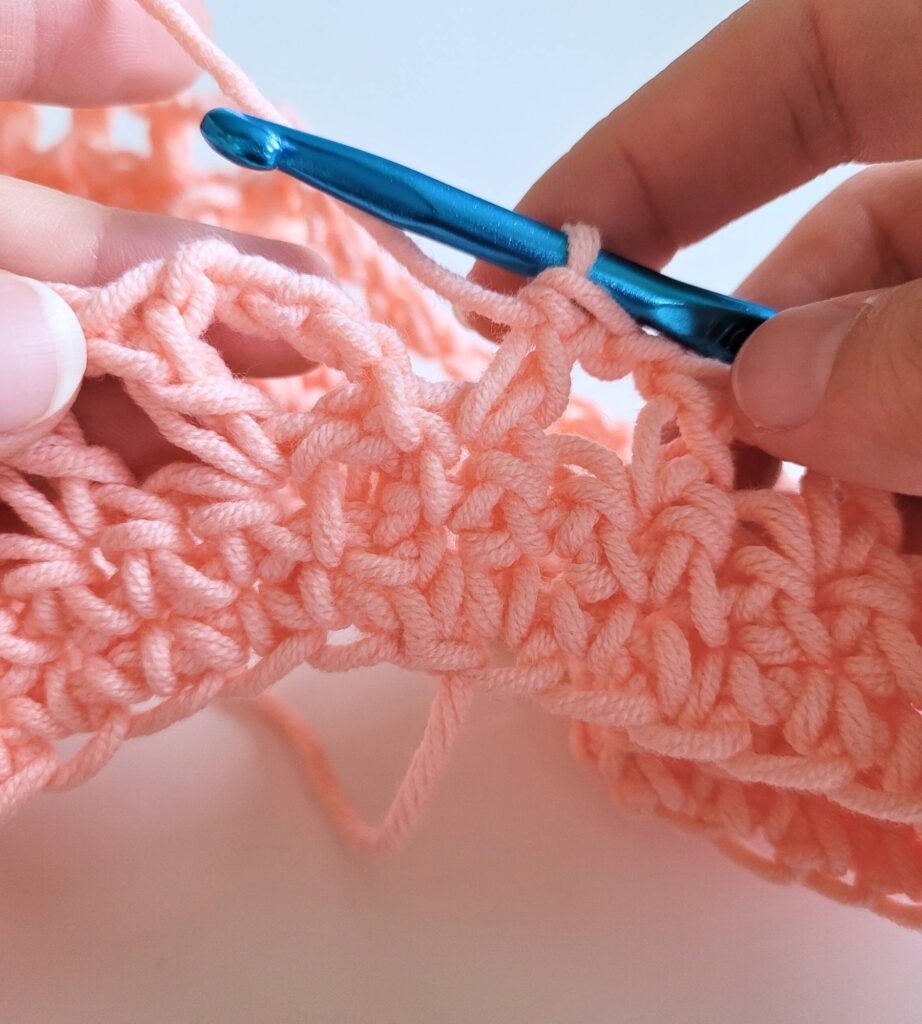
sk, dc in the next st away from the ch, *ch1, sk, dc in the next* repeat until the end of the round, sl st into the 3rd ch from the start of the rnd ch 2, turn
(If you have an extra st left over after you finish the repetition, dc in the last st, then sl st into the 3rd ch from the start of rnd)
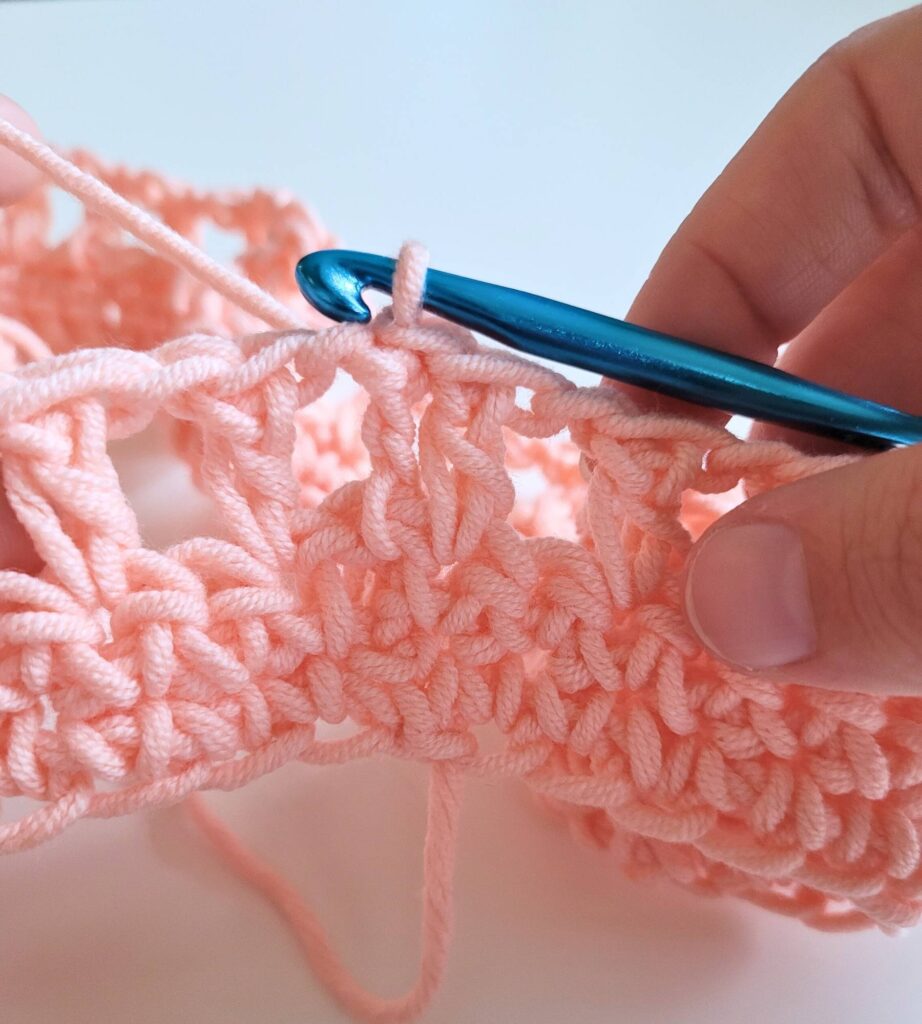

Row 4:
sc across (working in chain spaces as you encounter them, as well as working in the dc st as normal), sl st into the 2nd ch from start of rnd, ch 2, turn
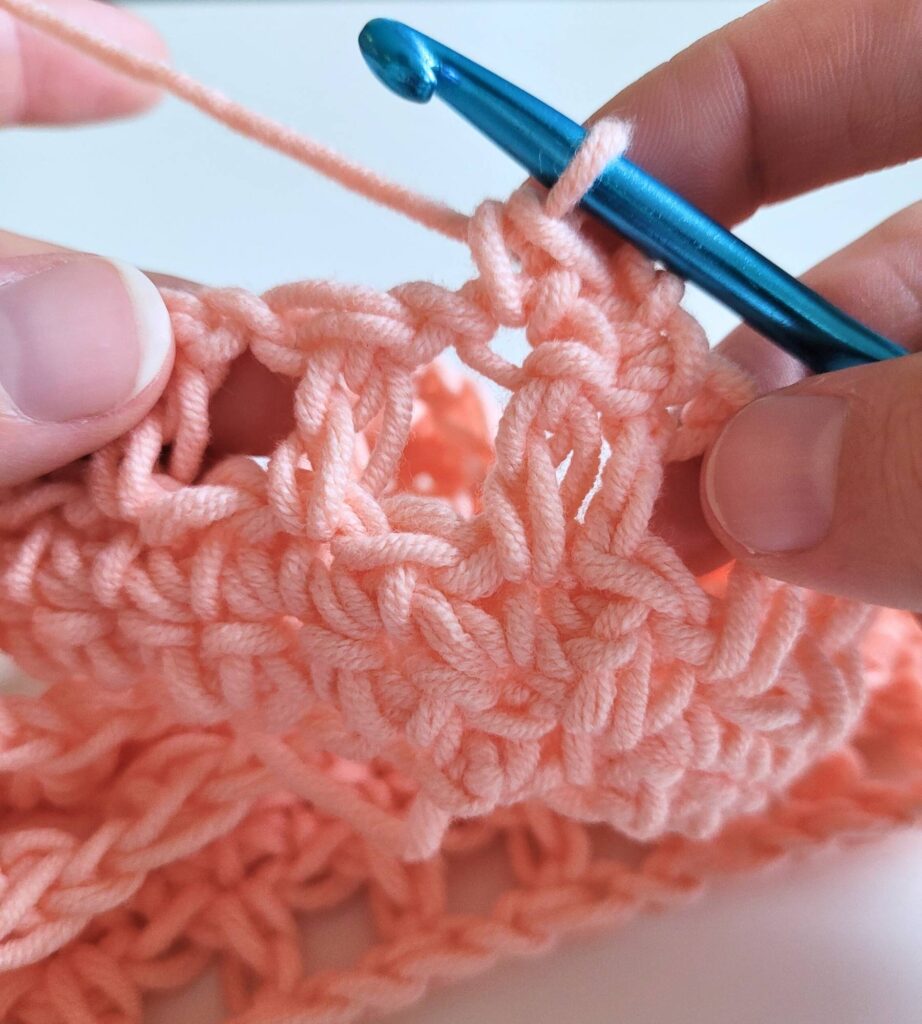
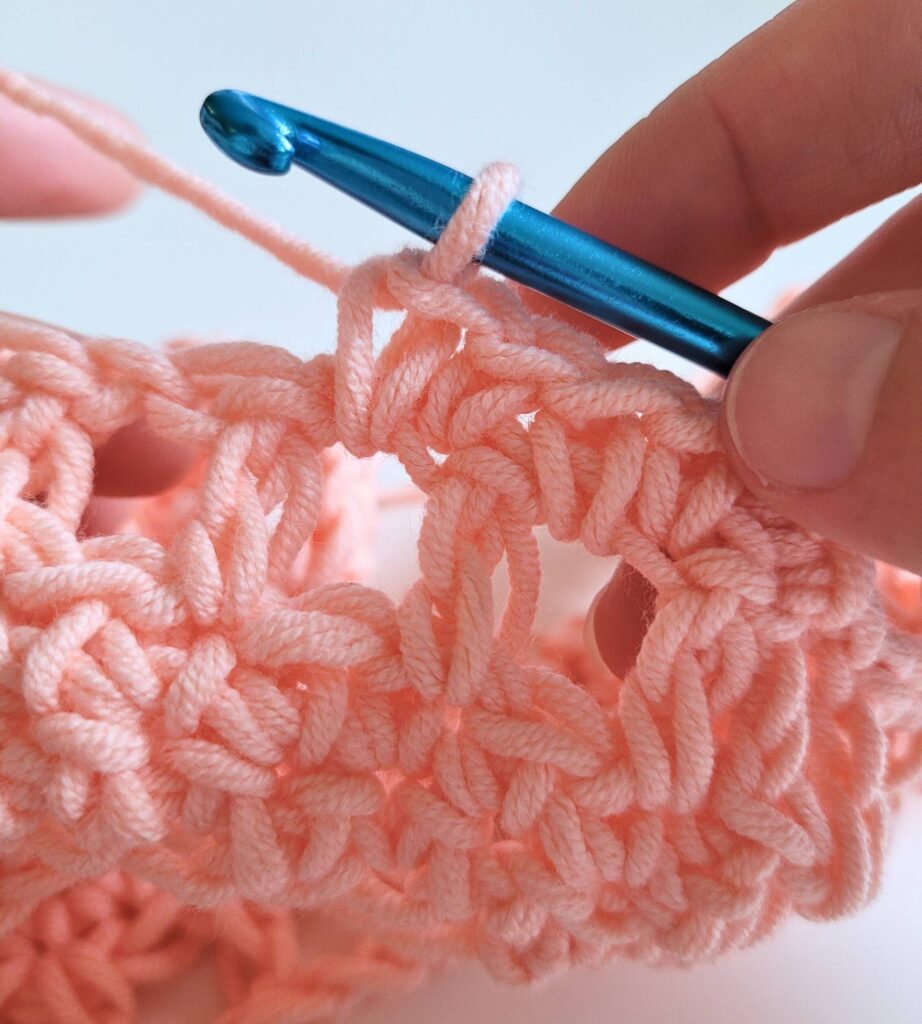
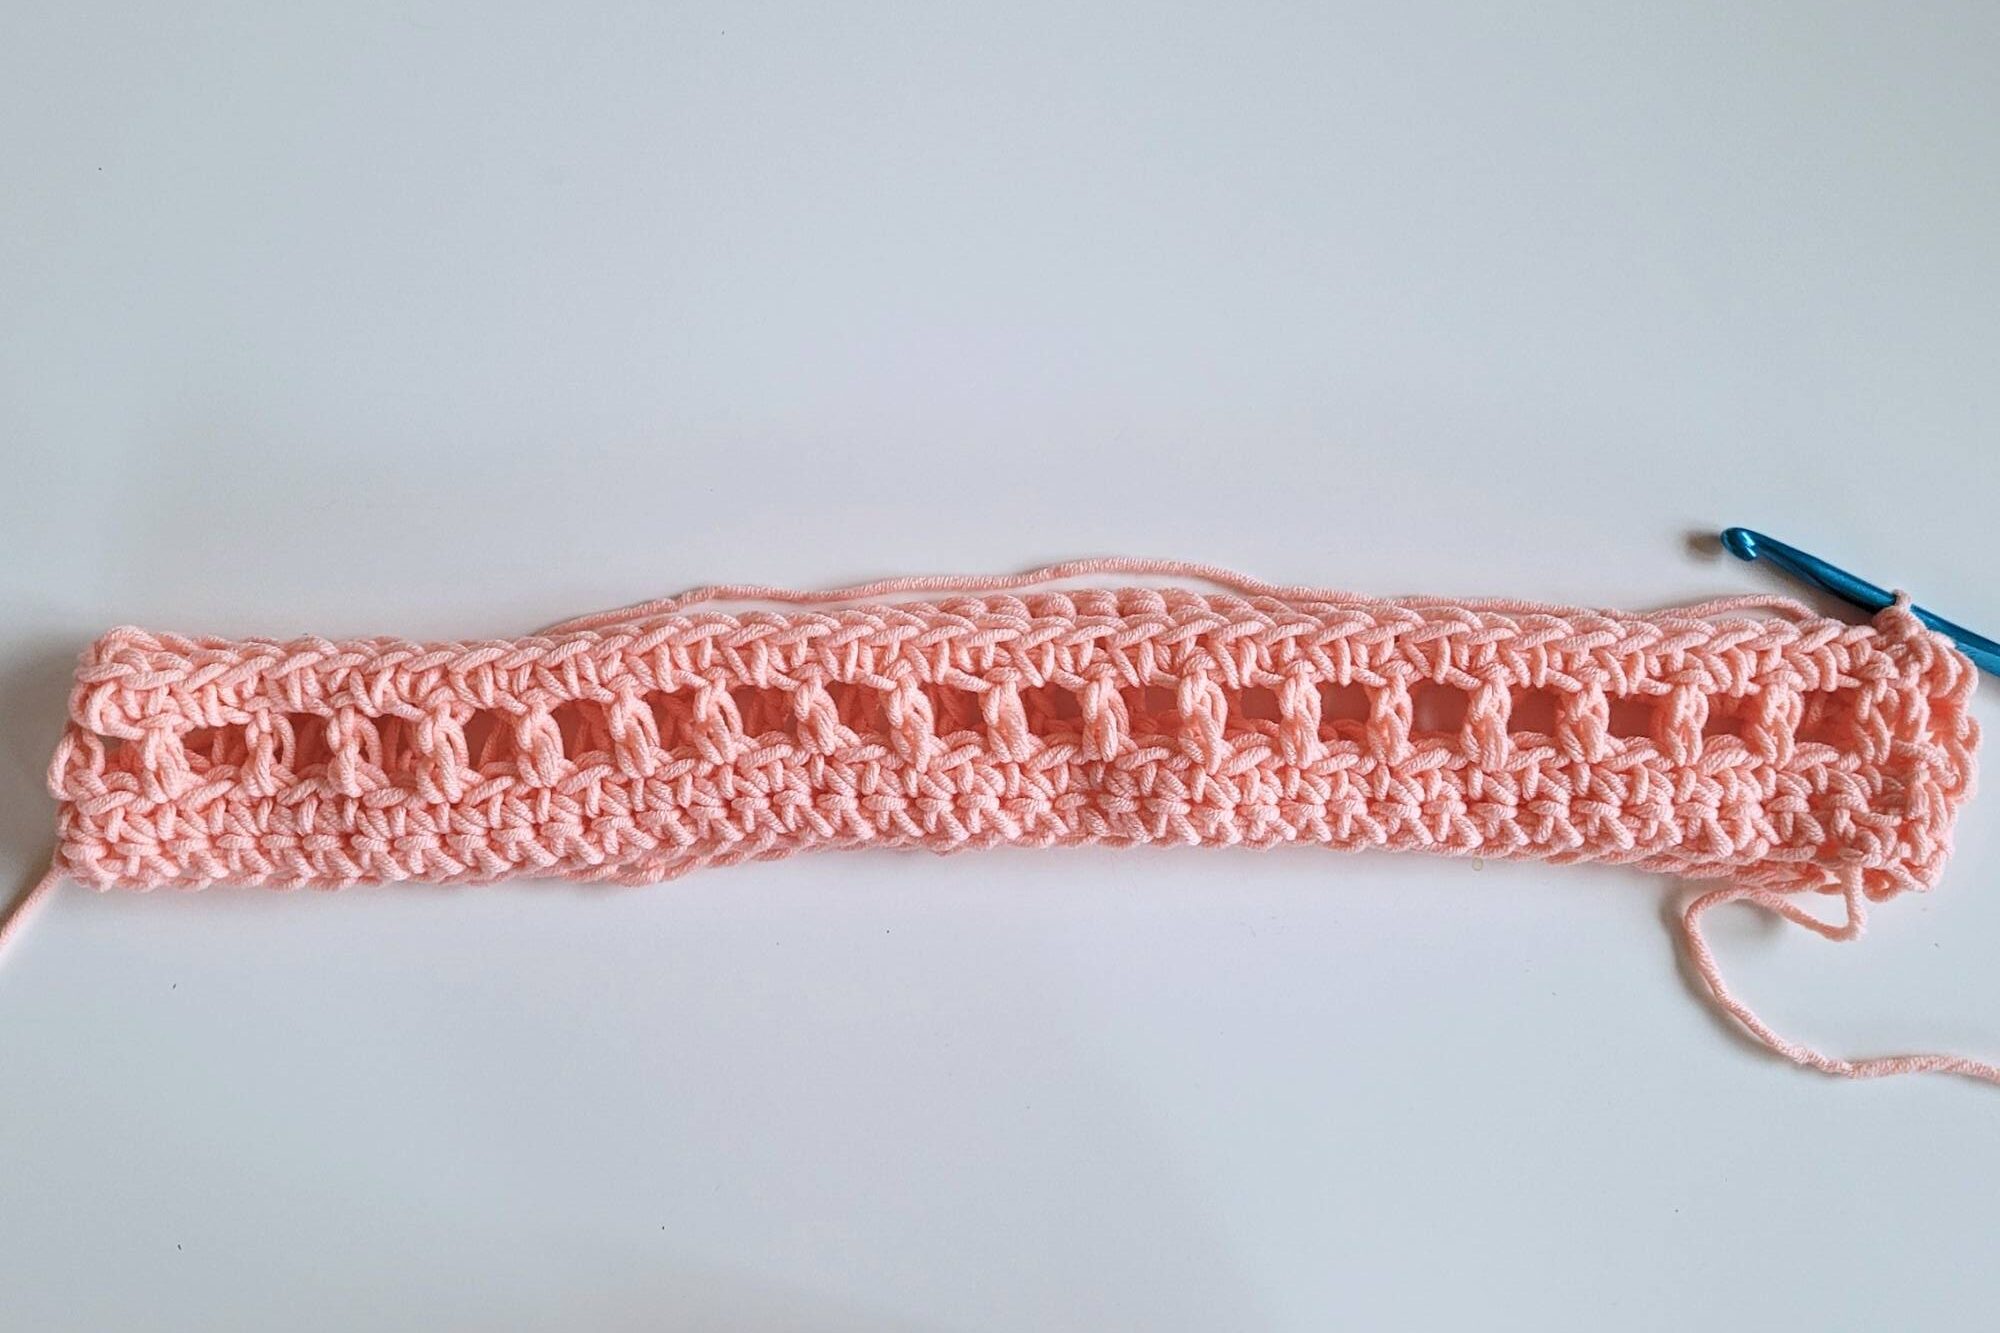
Row 5:
sc across, sl st into the 2nd ch from the start of the rnd, ch 2, turn
Row 6 - Row ?
Repeat Row 5 until desired length is reached.
In your very last row, ch 3 at the end, not ch 2.
(I continued my top for another 13 rows.)
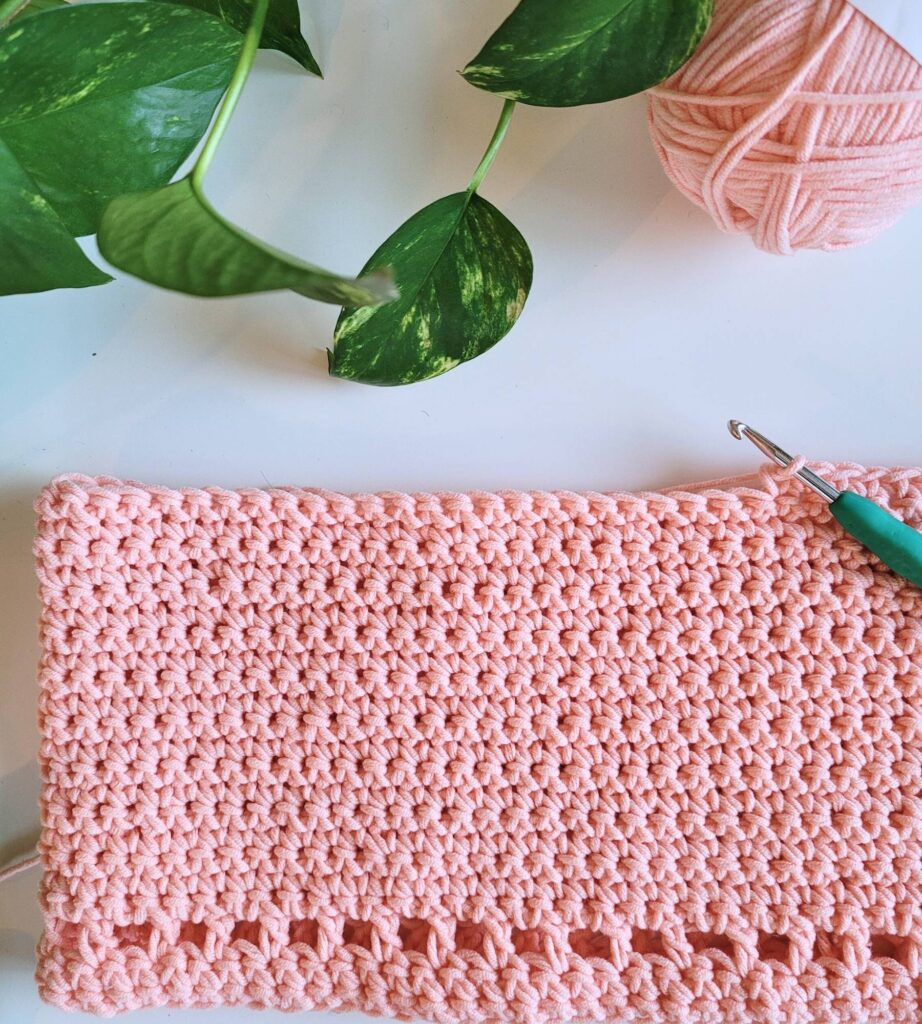

Row 18 (or whatever number you end up with at the desired length for your top):
Working in the next st after the ch, *2dc flo, 3dc flo in the next st, 2dc flo,* repeat until the end of round, sl st into the 3rd ch from the start of the rnd, ch 3, turn
(It is okay to stop the repetition in the middle of it, so it’s totally okay if you stop after doing the “3dc flo” st or if you don’t complete the full 3 st repetition).
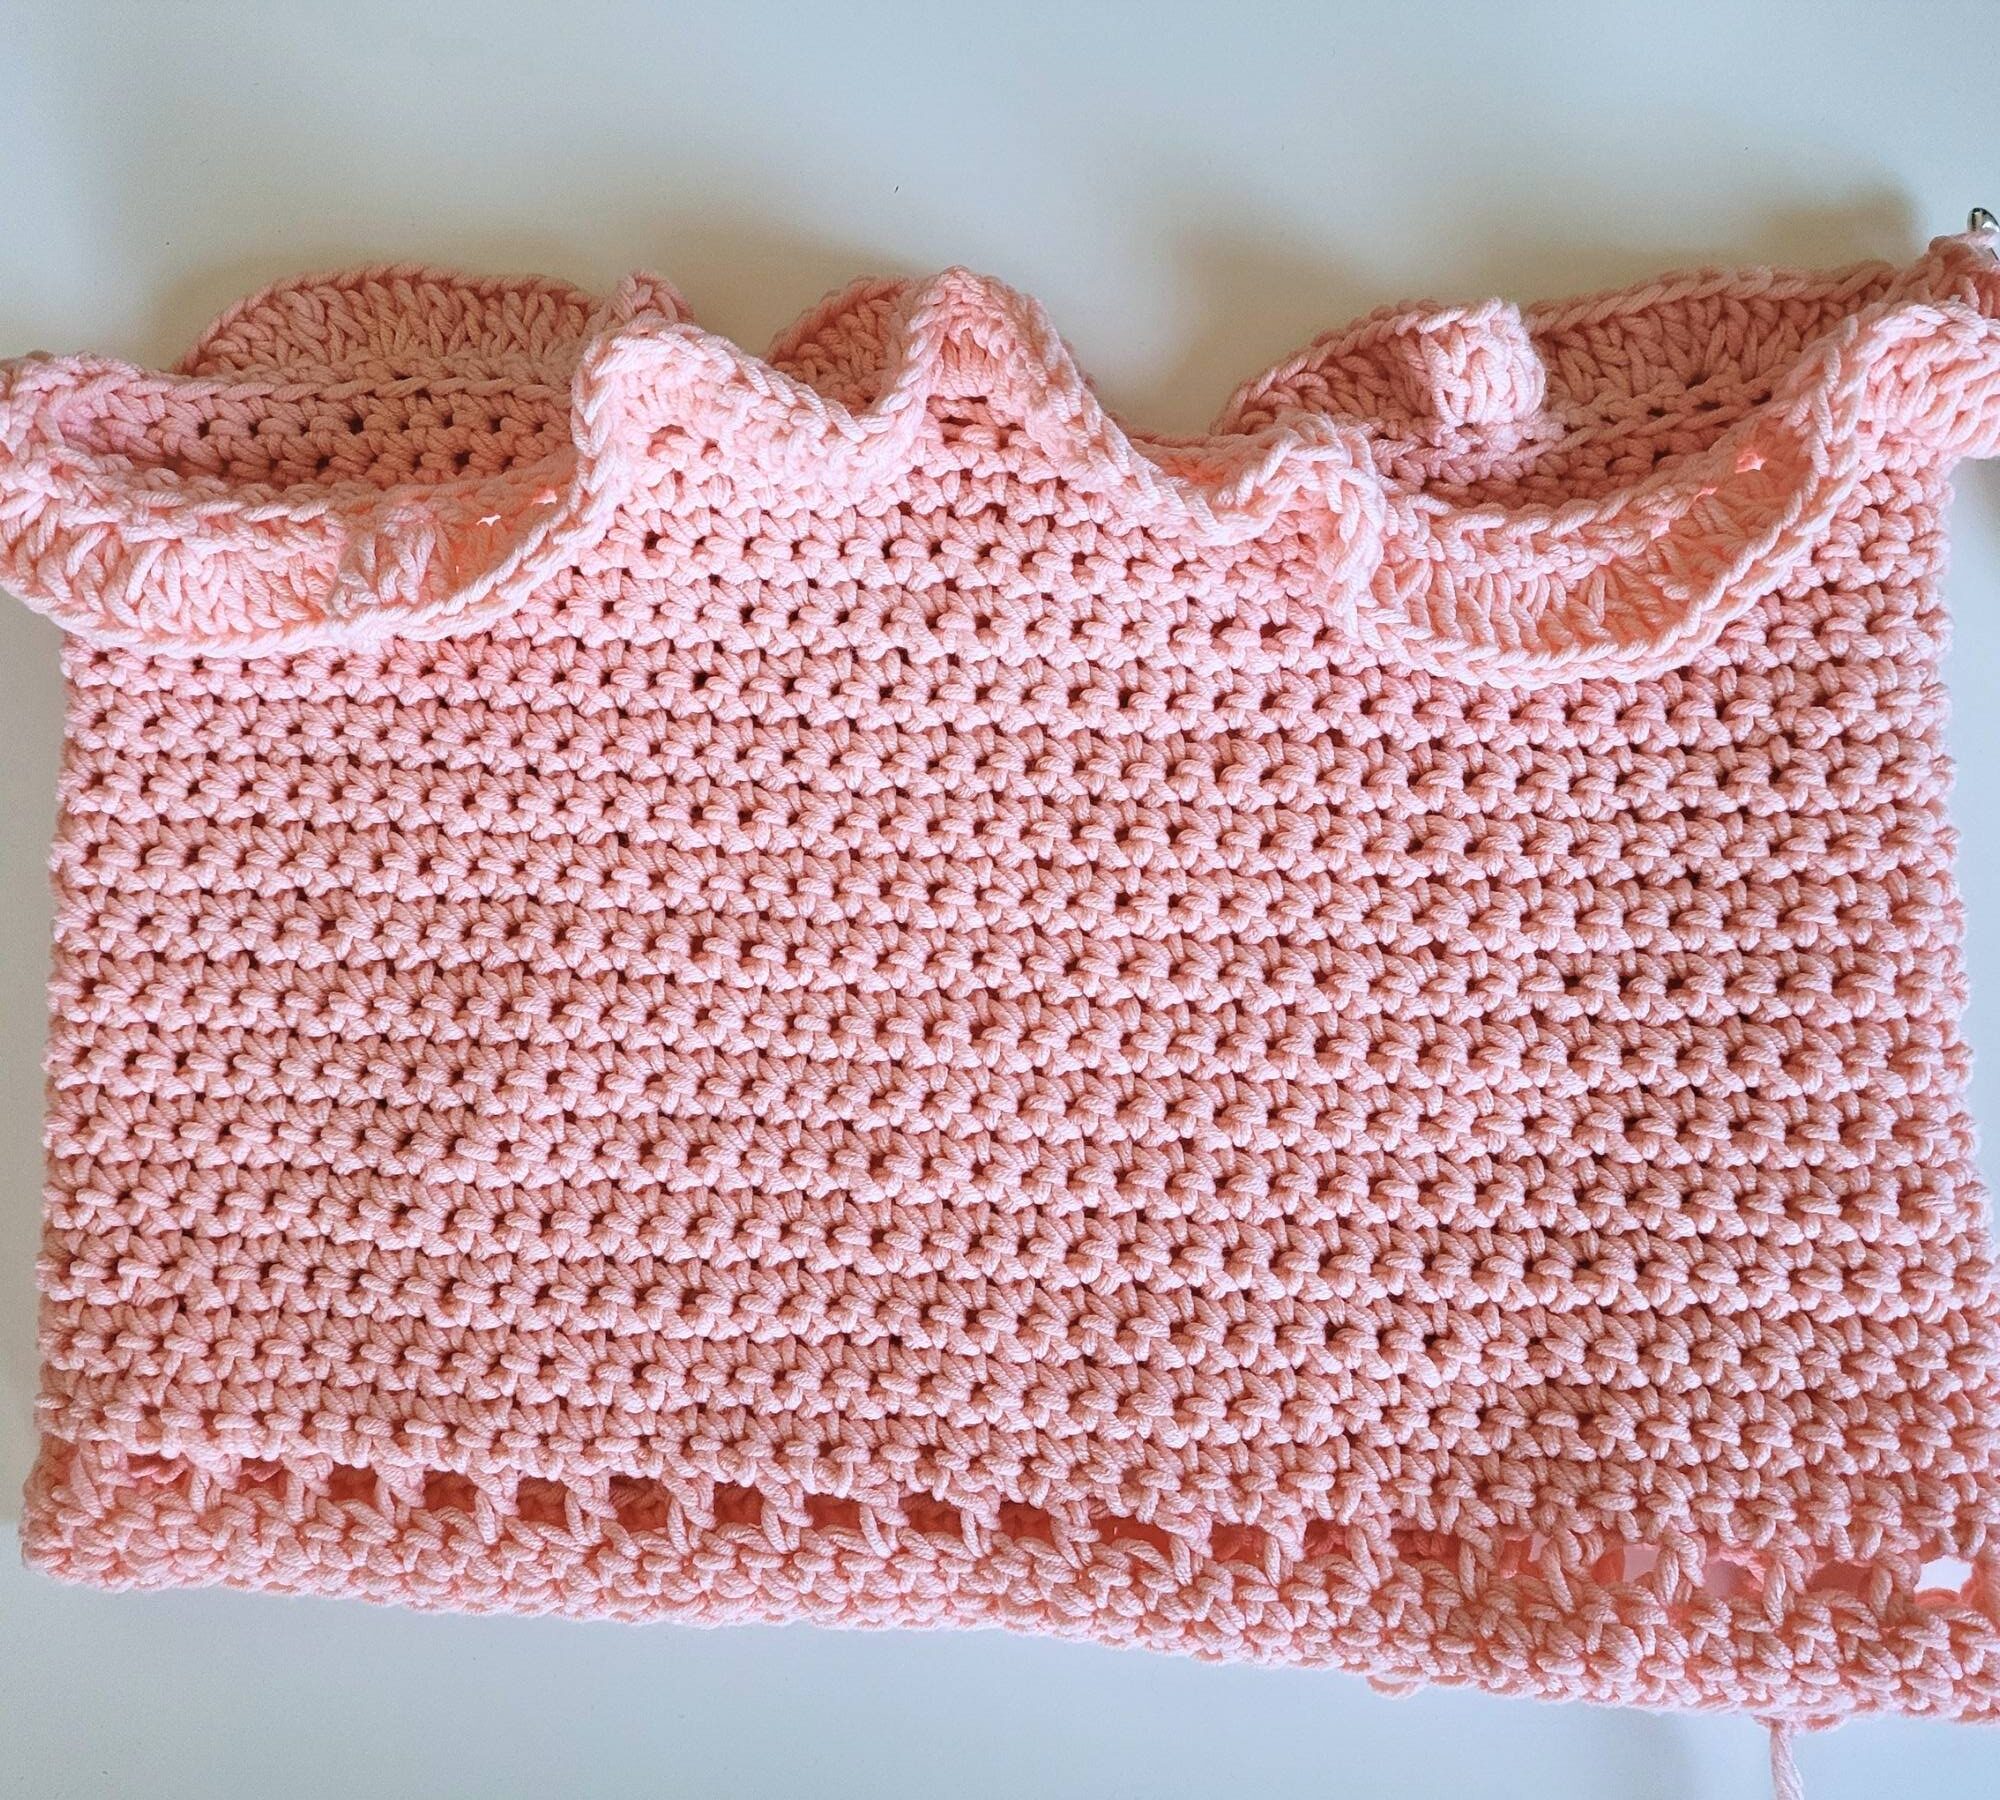
Row 19:
dc in each st across, sl st into the 3rd ch from start of rnd, ch 3, turn
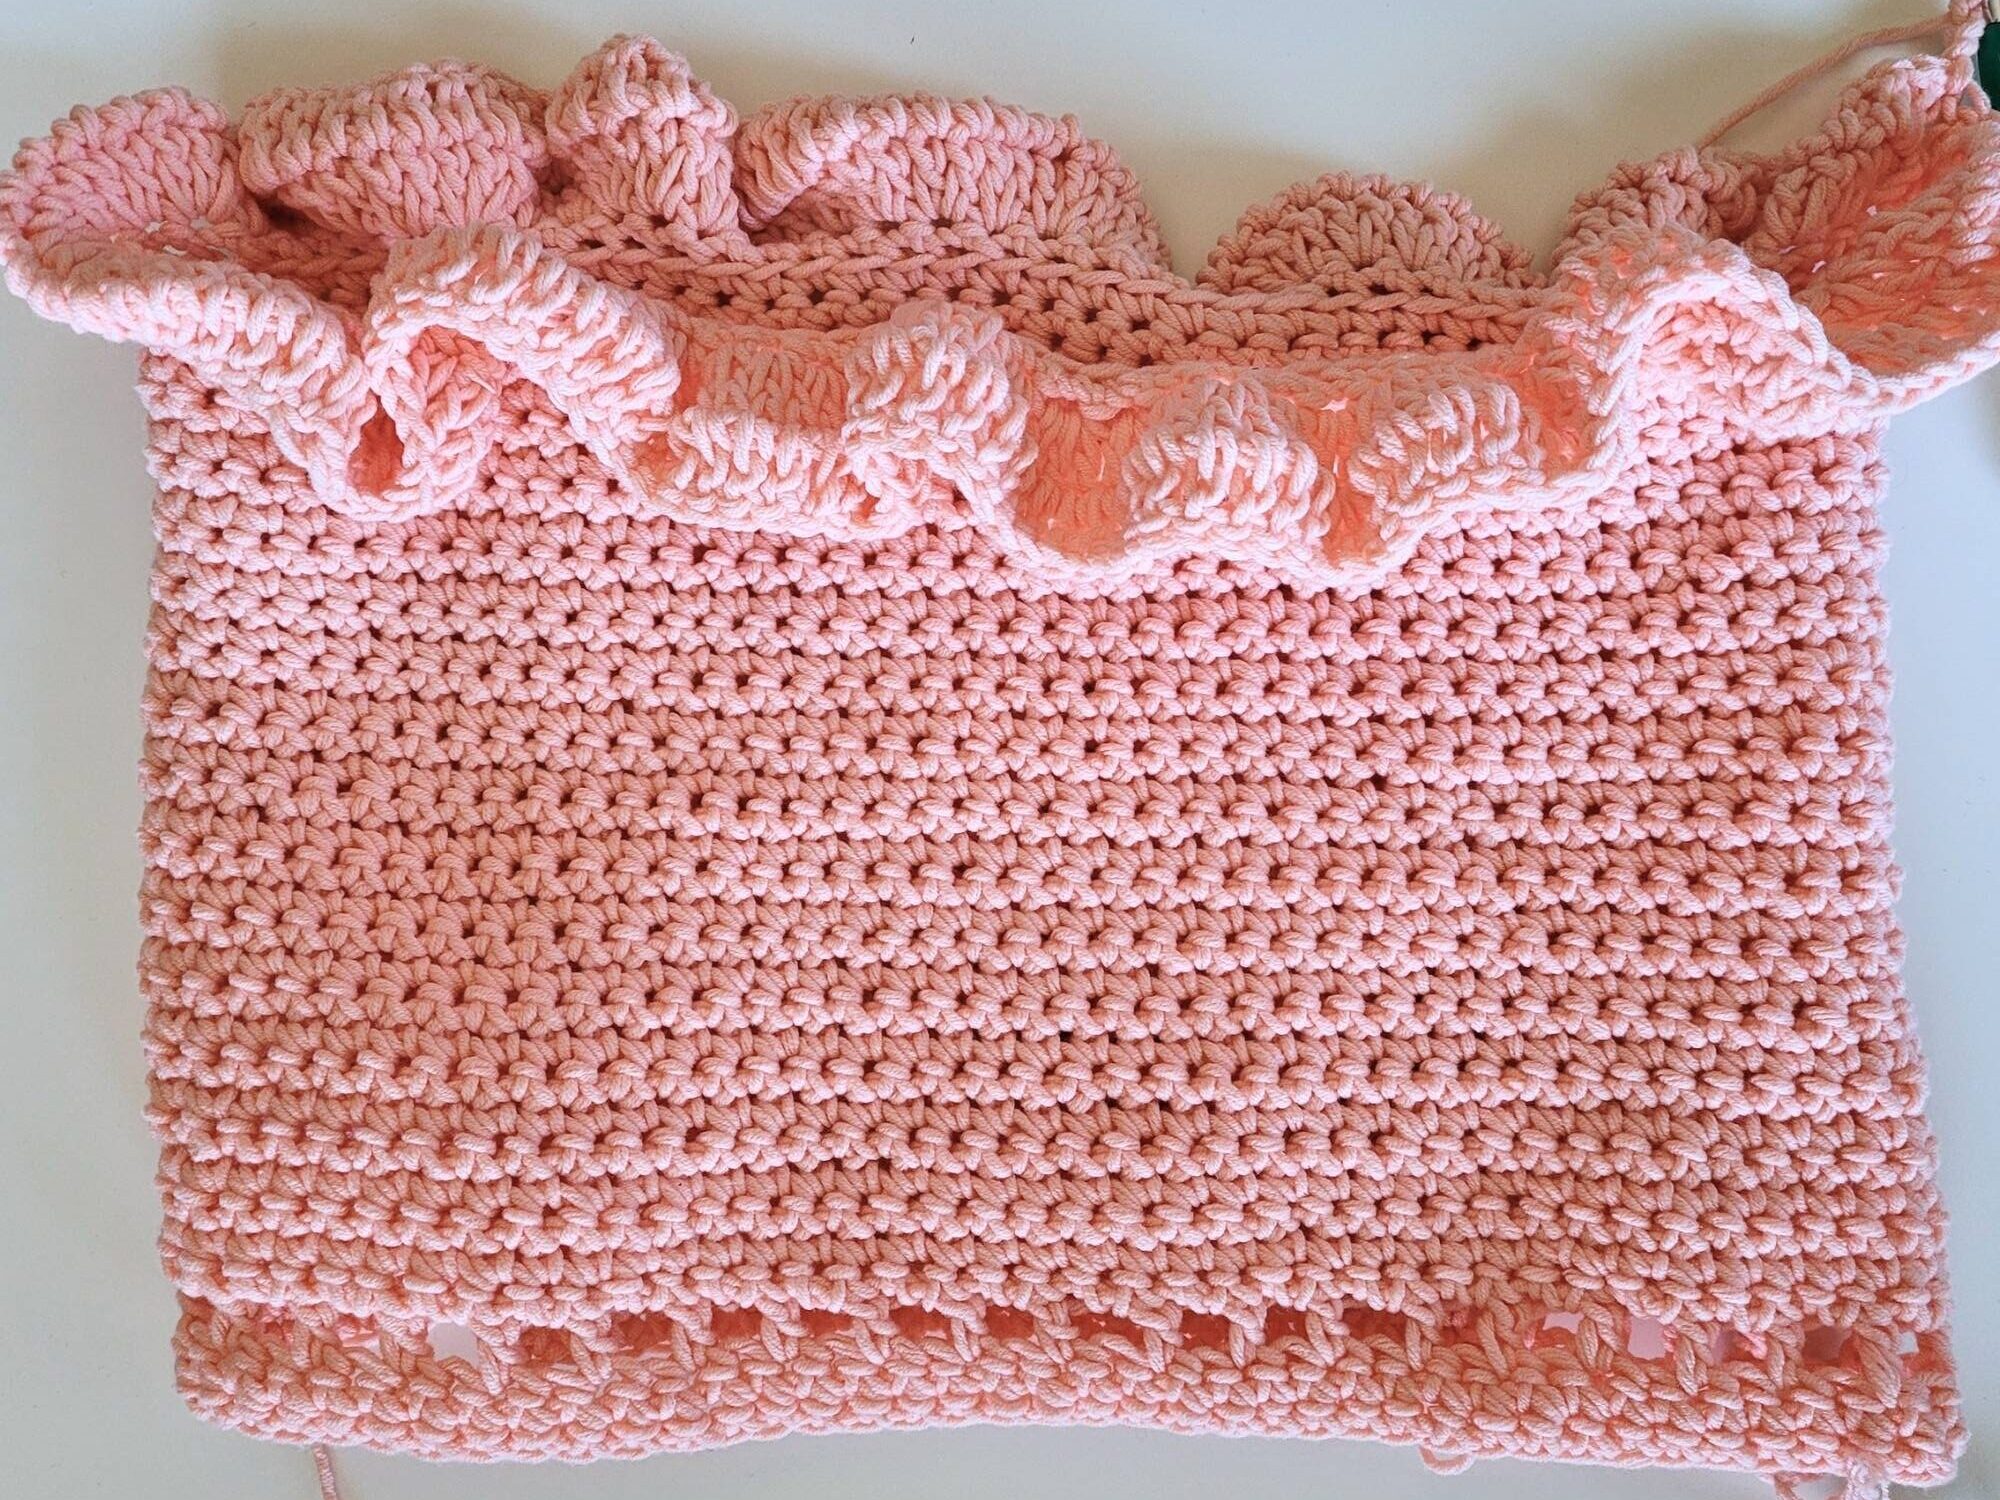
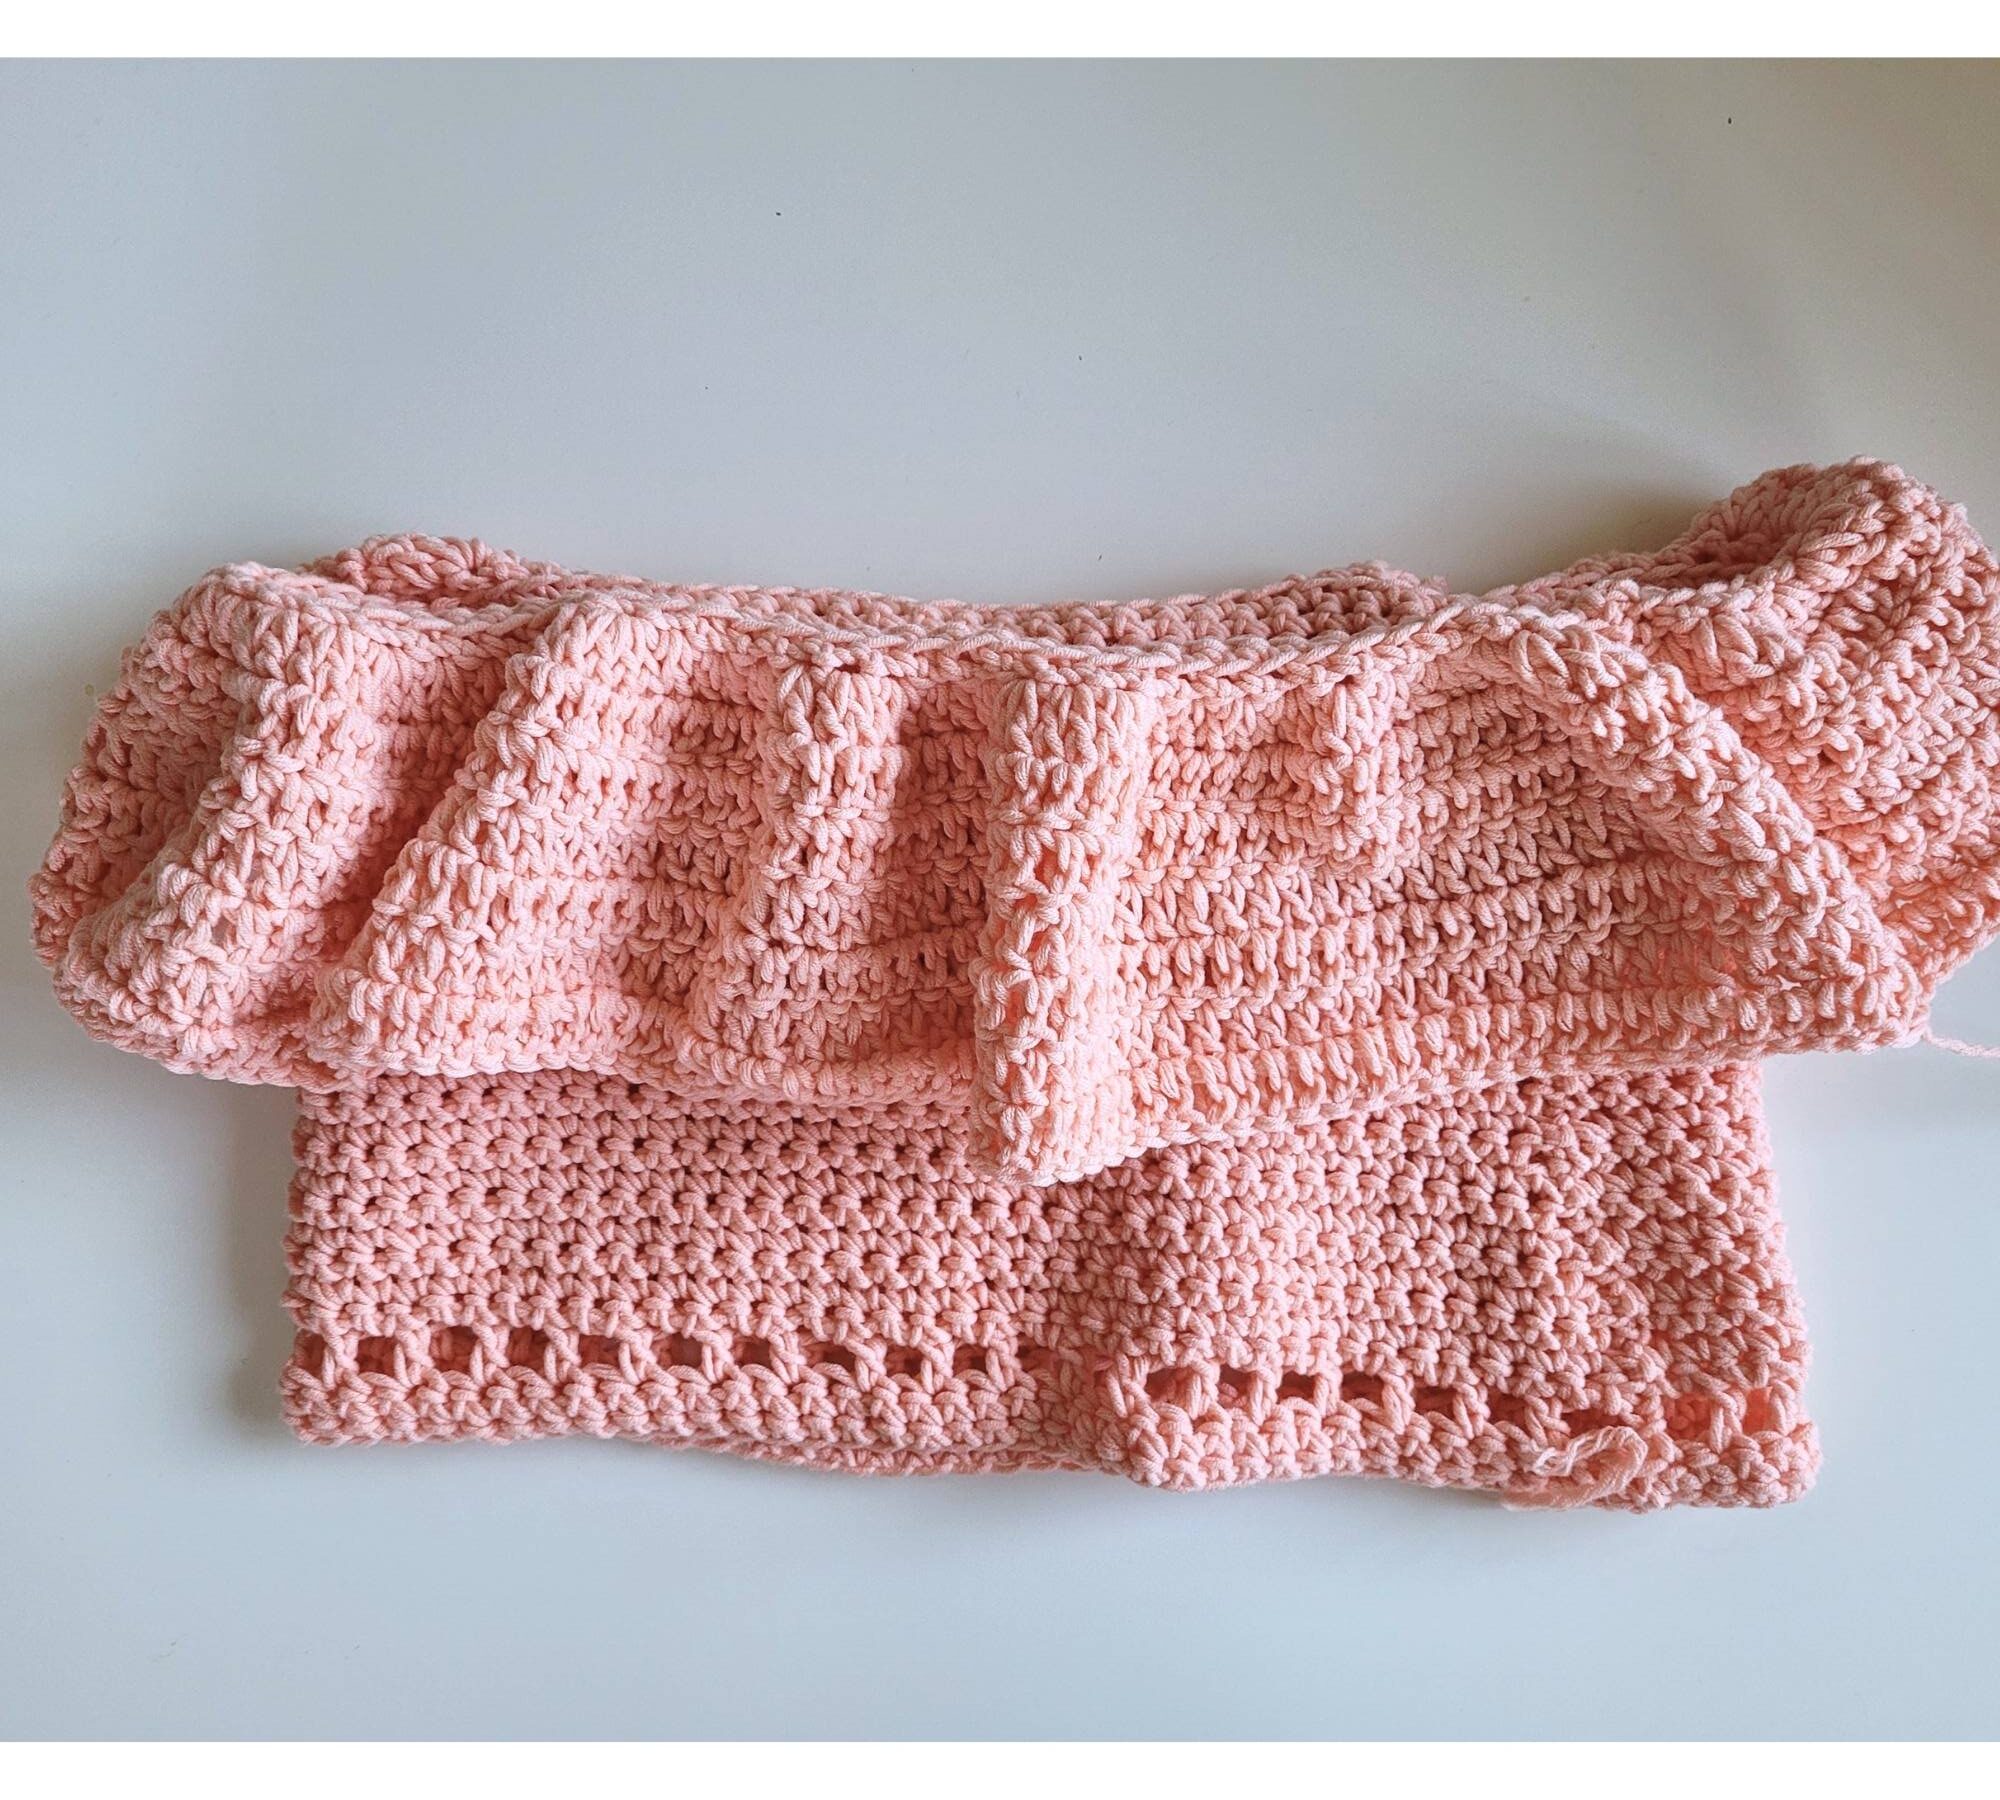
Row 20 - ?:
Repeat Row 19 until desired length of the ruffle has been reached.
(I repeated row 19, 5 more times to create my desired ruffle length).
Pattern for the Straps: (Create 2)
To figure out the best length of your straps for this top, use a bra /bralette or tank top that you like the length of straps on and use that strap for reference.


After you have chosen the bra or tank top you want to work off of for the straps, ch enough st so that your ch when stretched is the exact length of the strap on your favorite bra or tank top that you are using. Write down the number of chains that you needed for this. (This number will be called "C". - for a medium size with my yarn and hook size, for me, I needed 30 ch at this step).
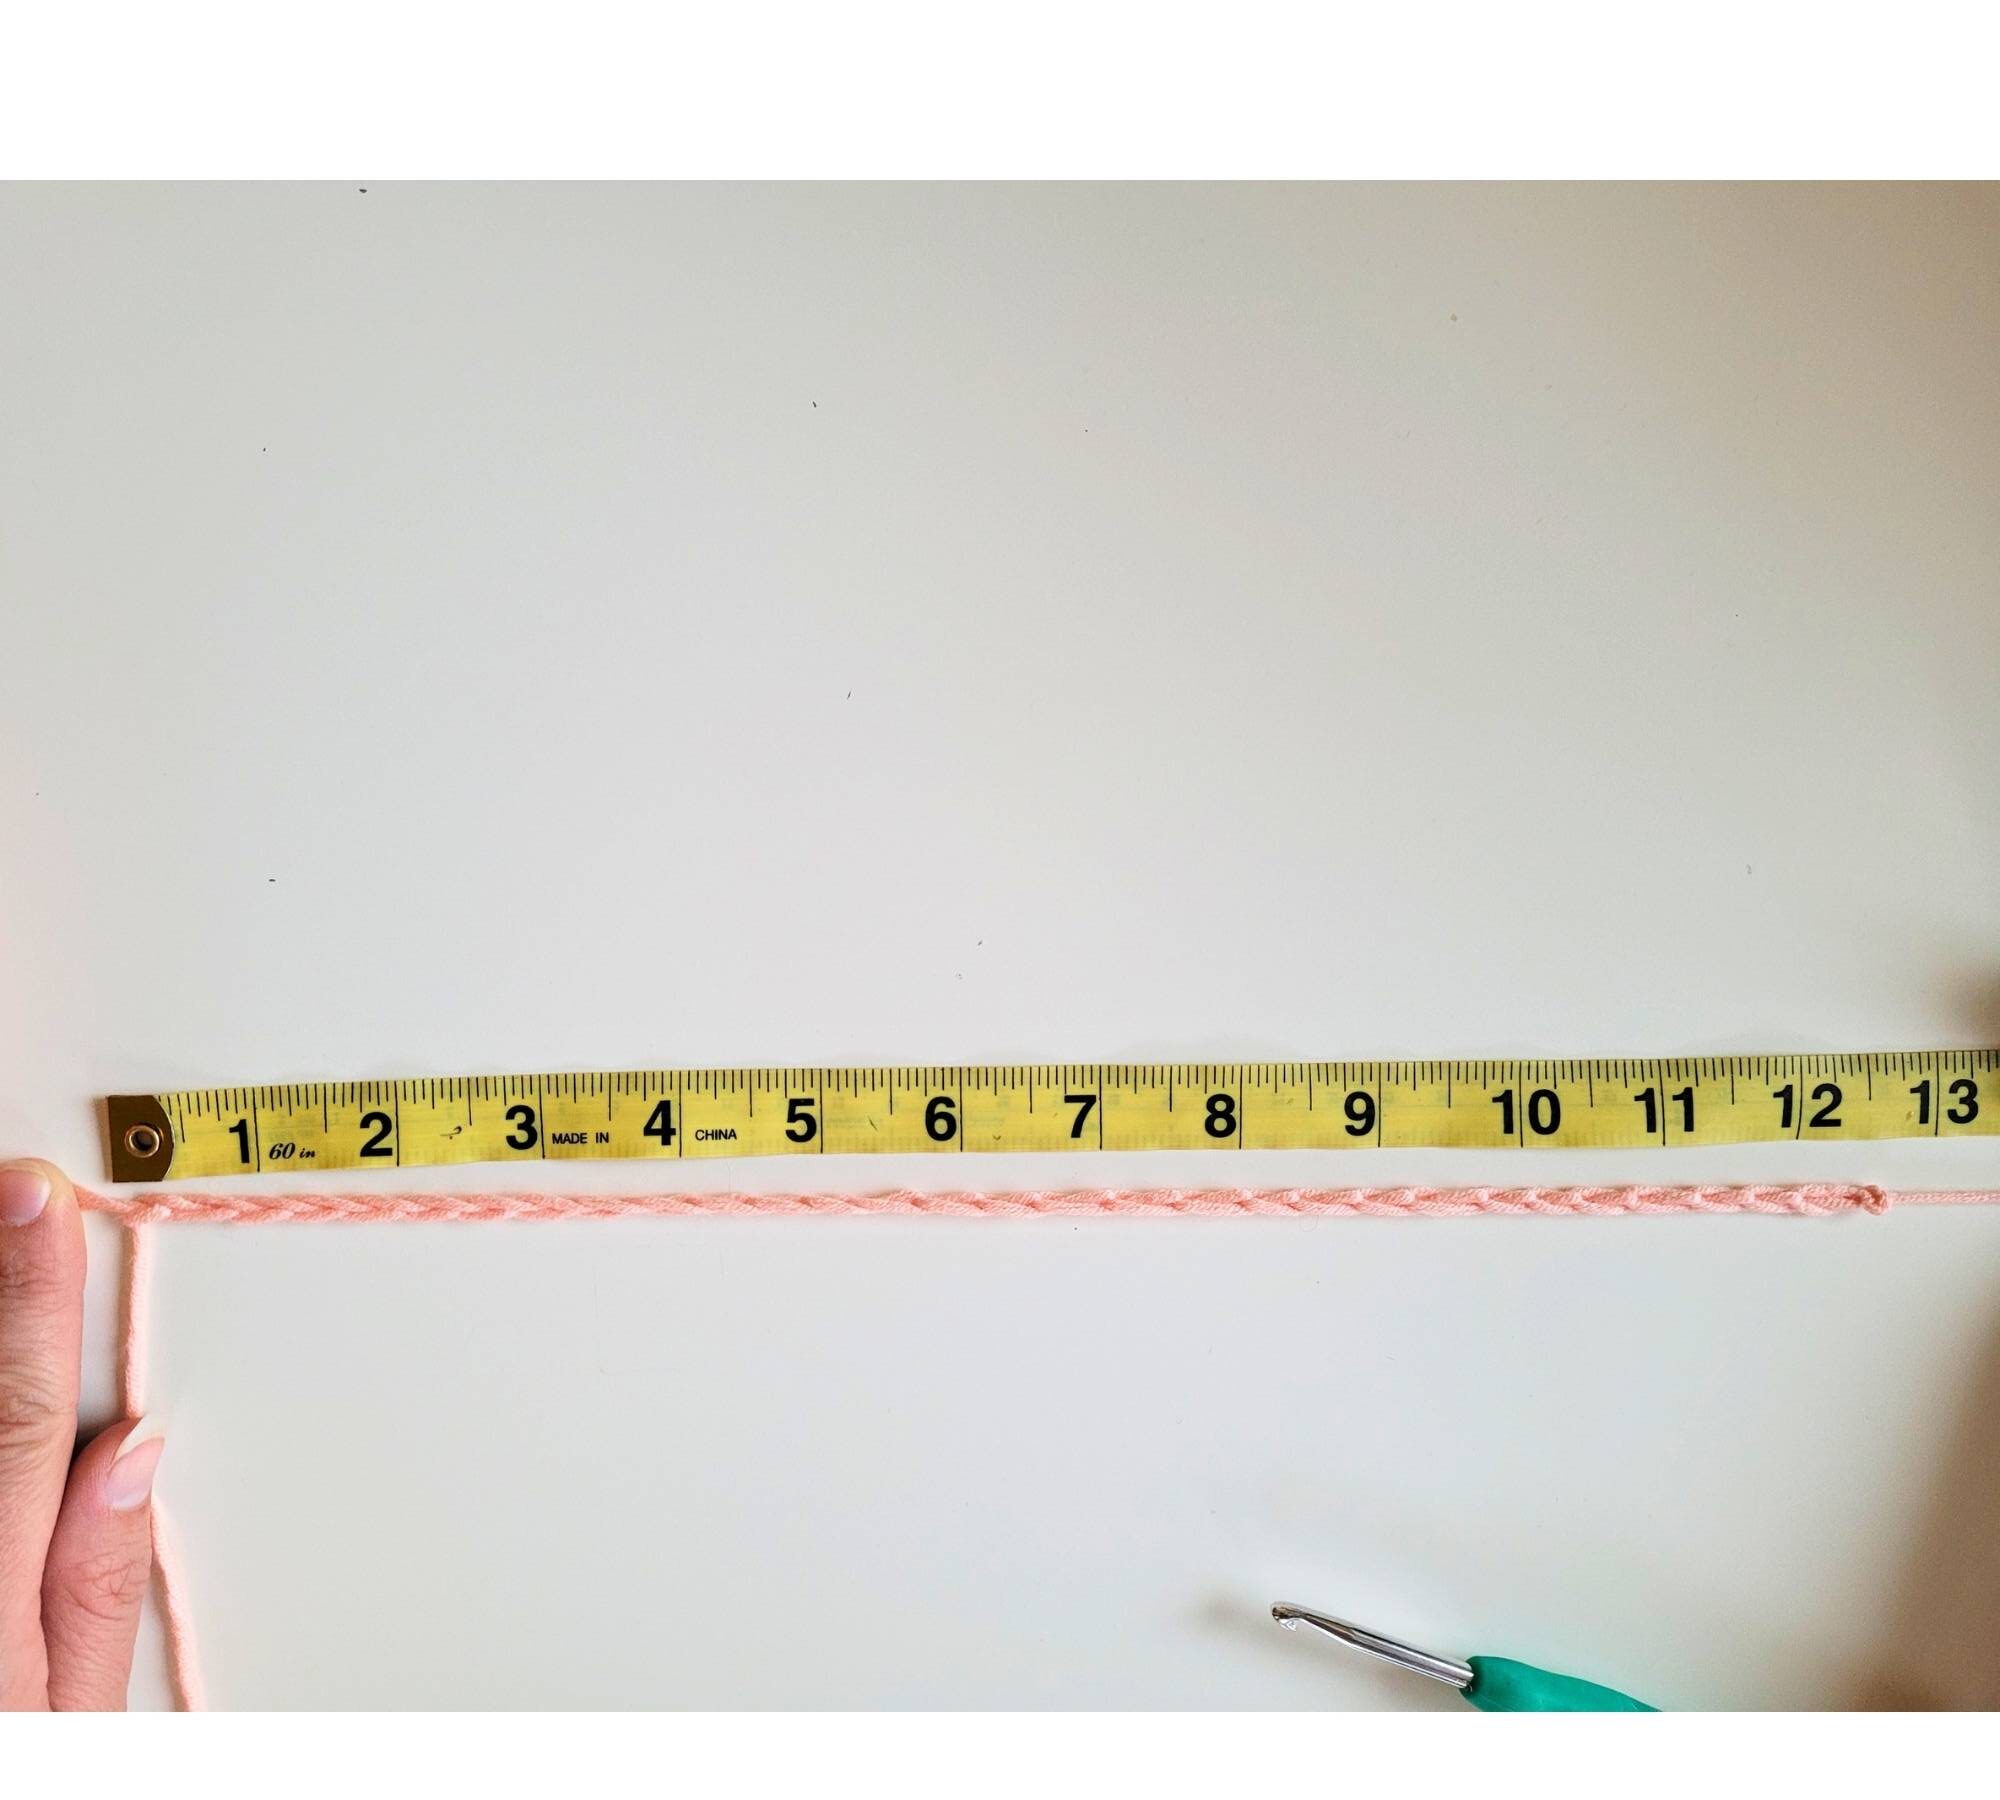
Ch C
Row 1:
ch 1, sc in the 3rd loop from the hook, sc across, ch 2, turn
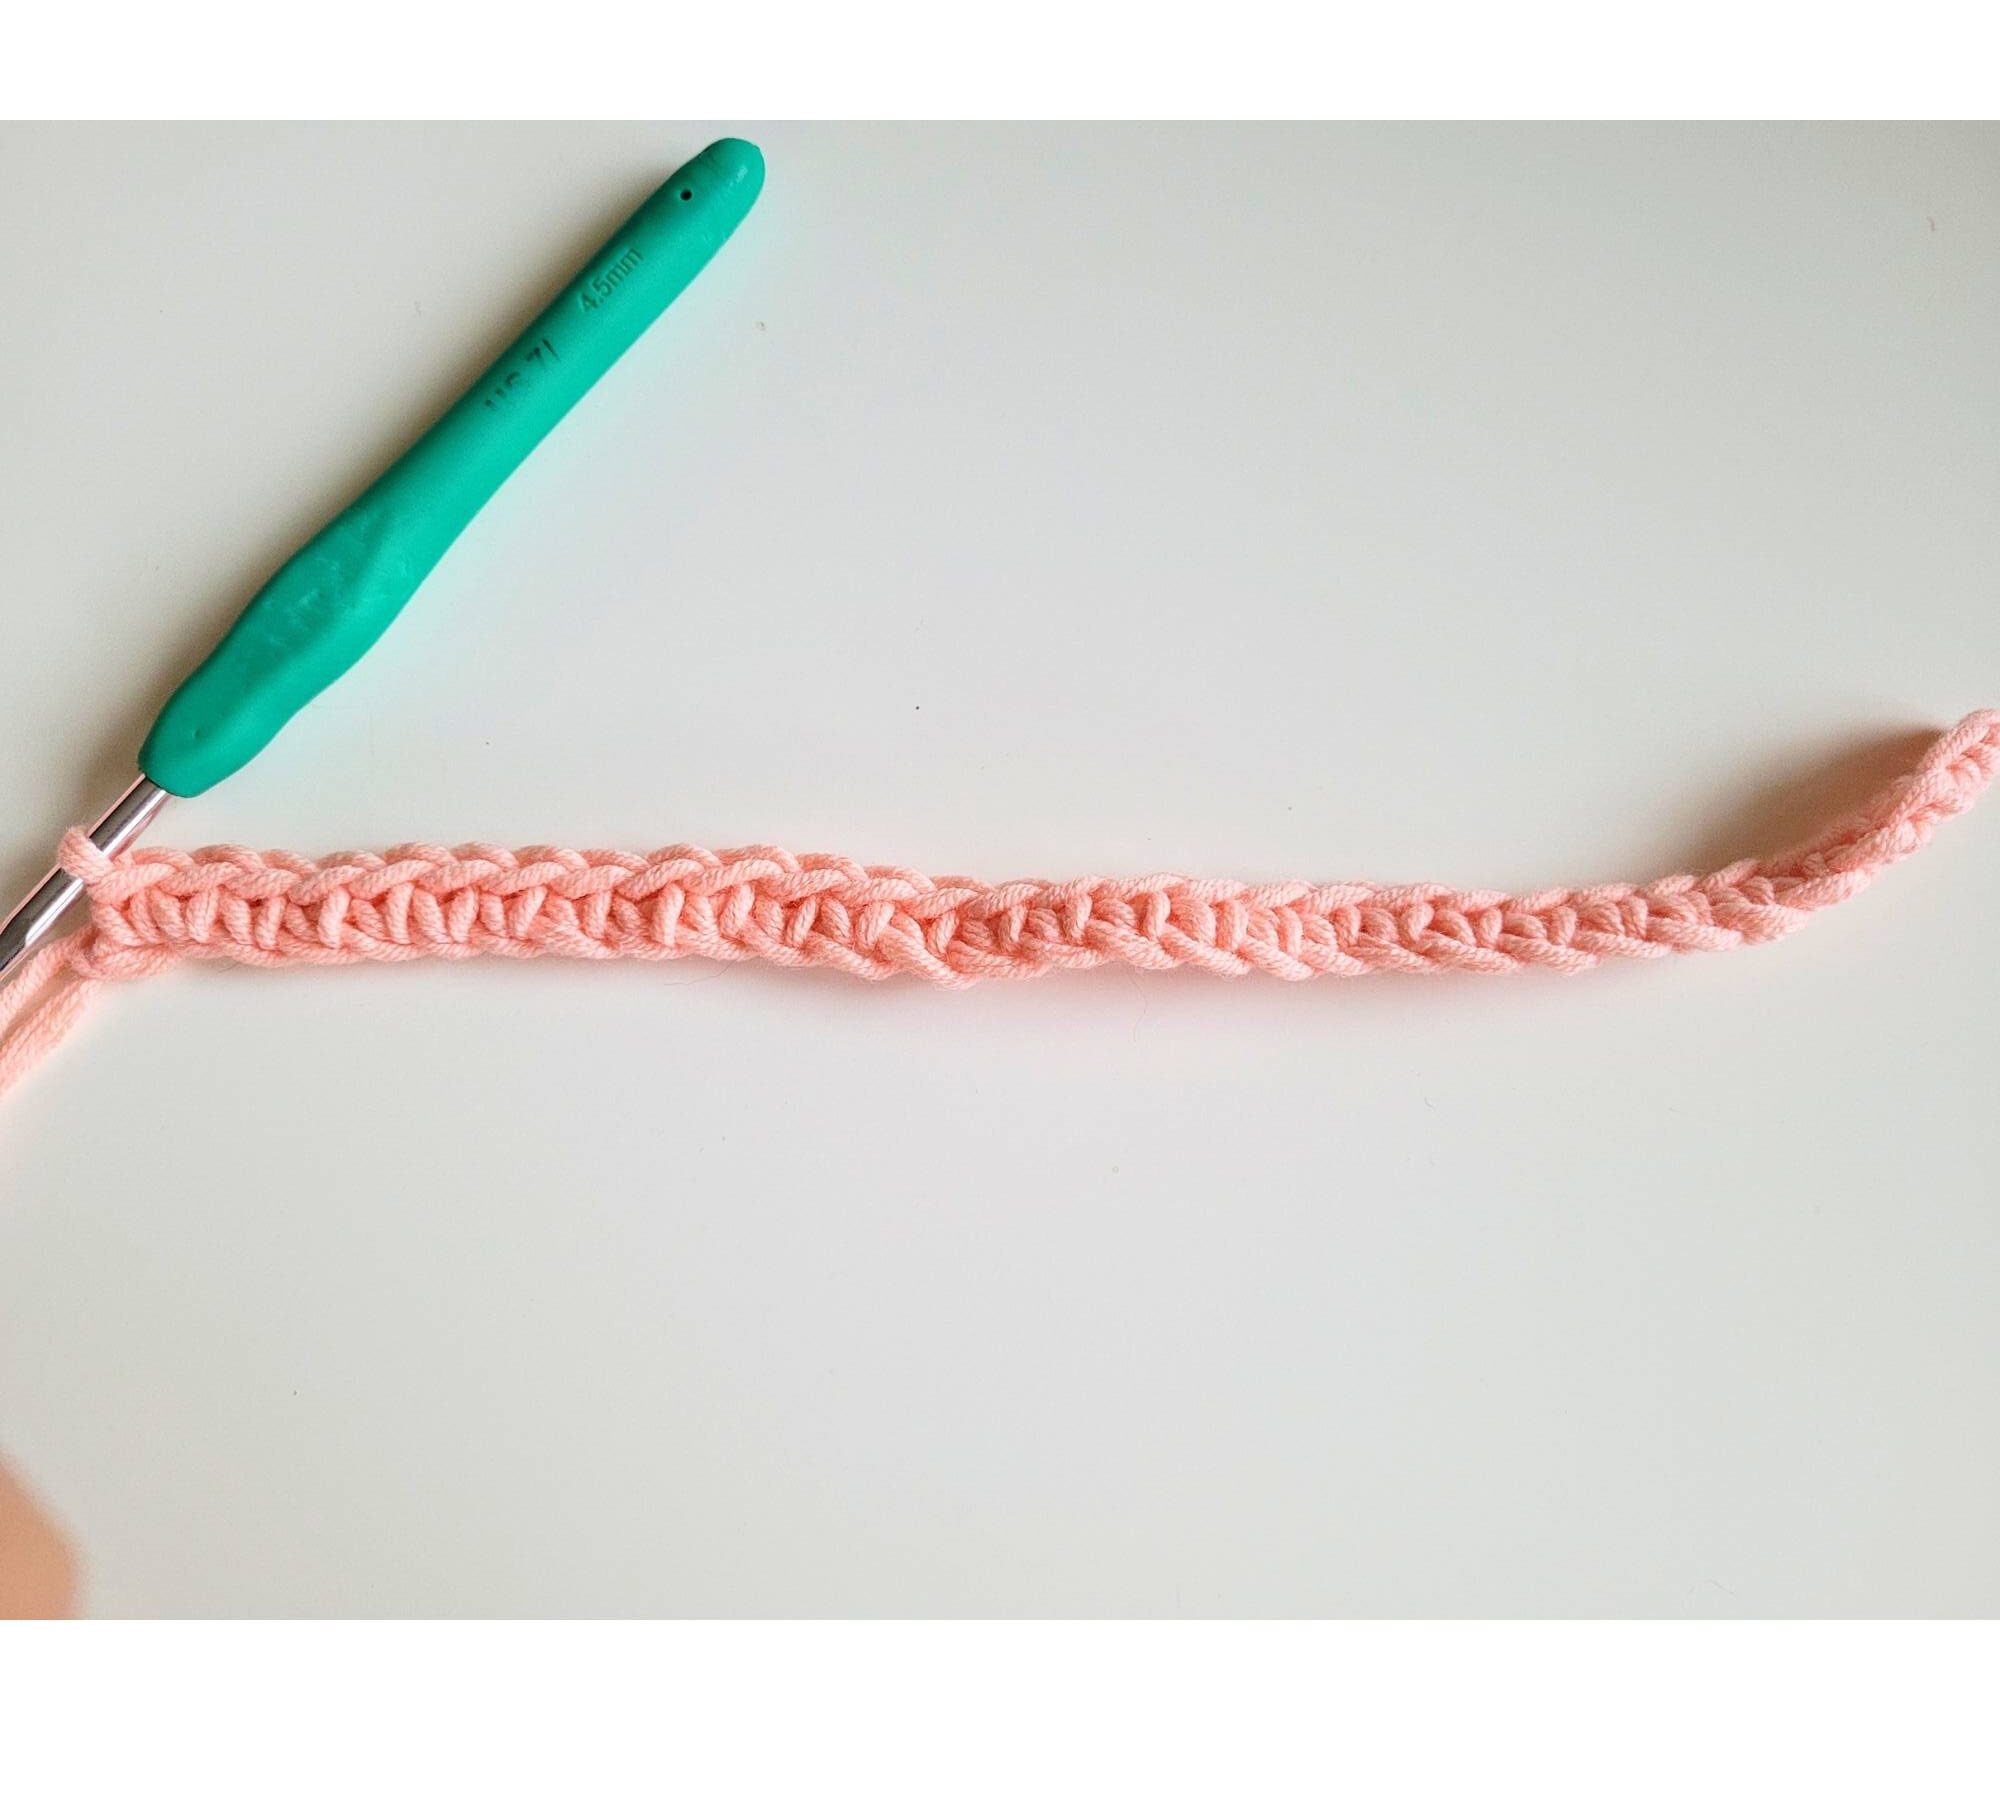
Row 2:
sc in each st across, ch 4, turn
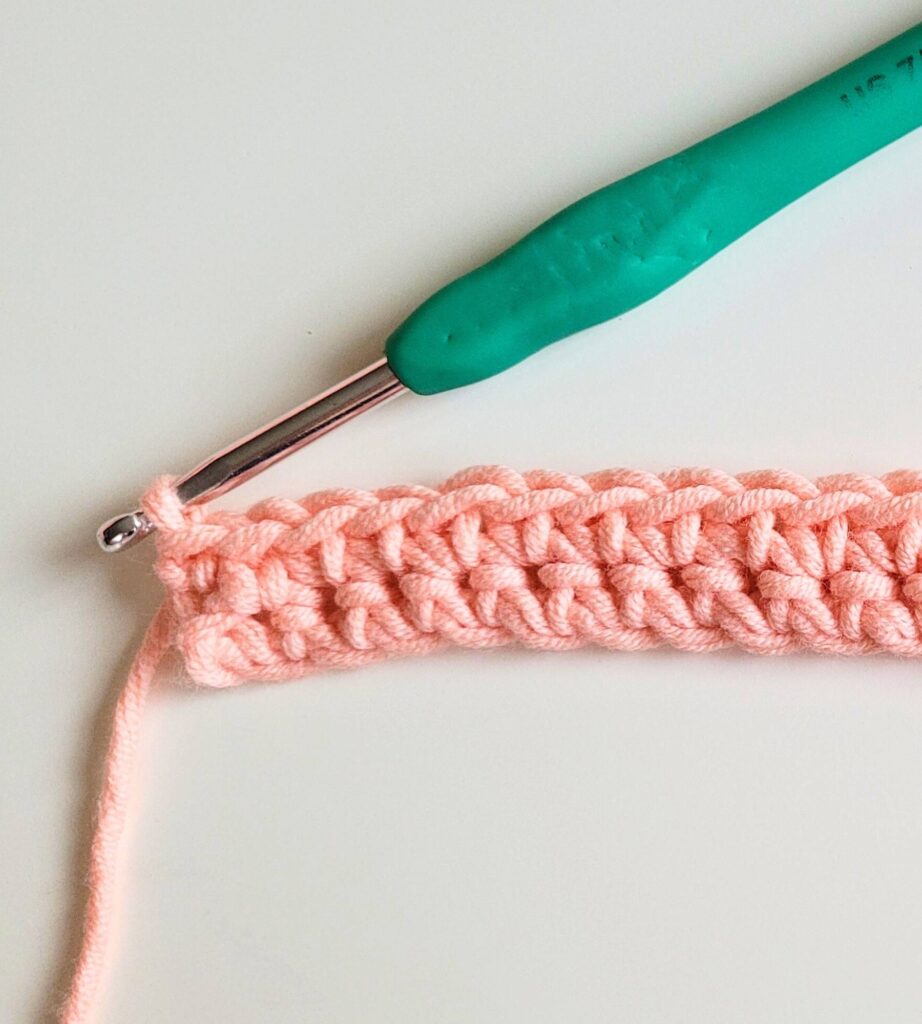
Row 3:
sk, dc in the next st away from the ch, *ch1, sk, dc in the next* repeat until the end of the round, ch 2, turn
(If you have an extra st left over after you finish the repetition, dc in the last st)
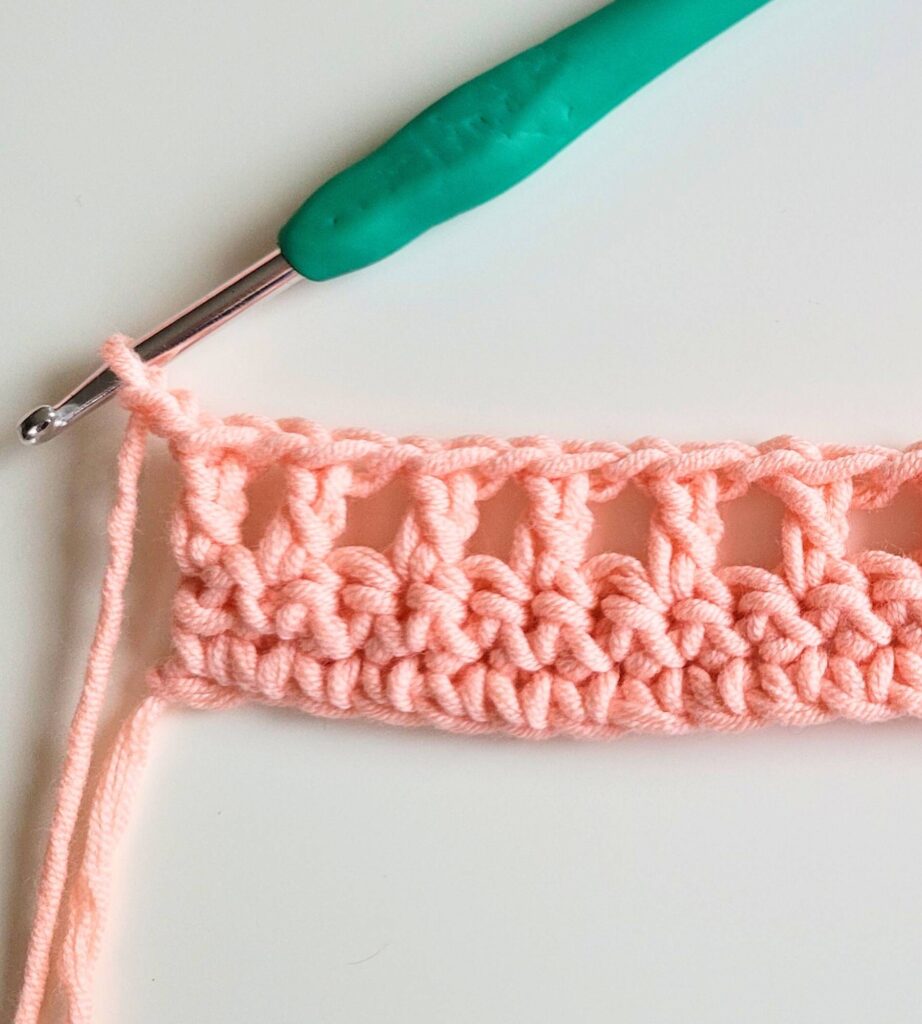
Row 4:
sc across ( working in ch spaces as you come across them, and working in the regular dc st as well), ch 2, turn
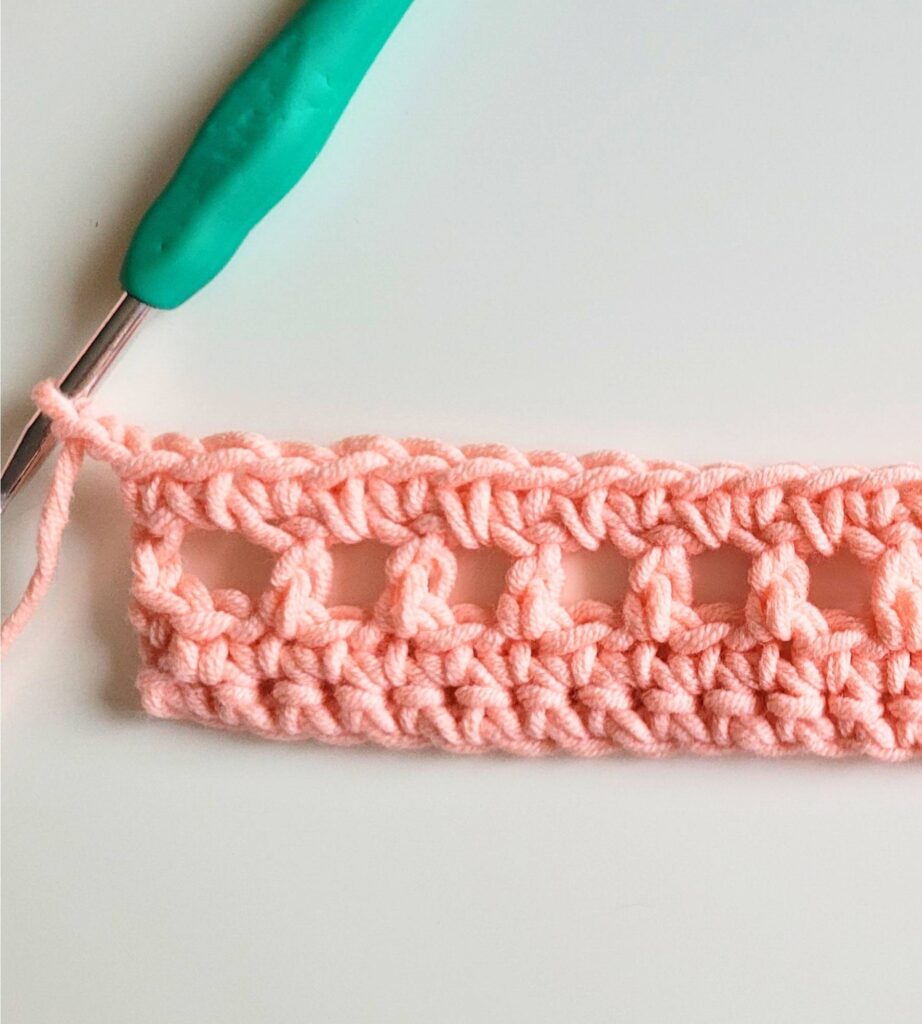
Row 5:
sc across, cut yarn, fasten off
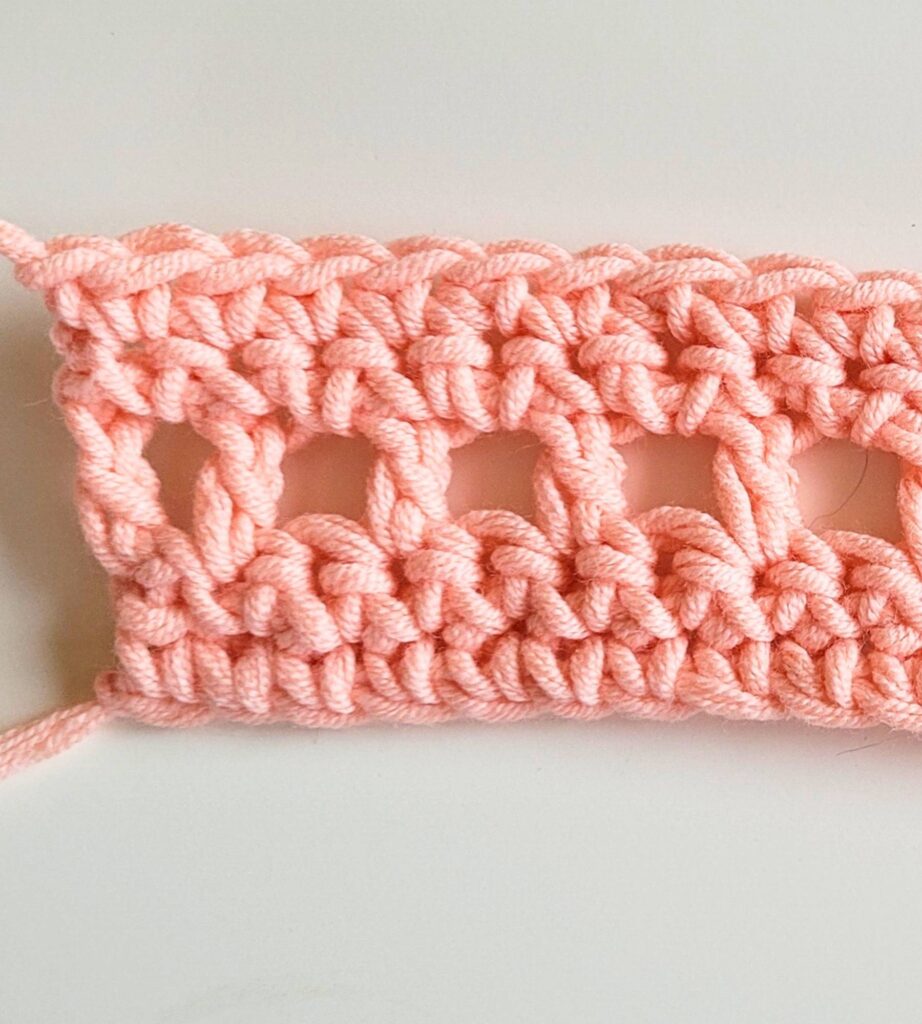
Ruffle Tank Top Assembly:
The next part of this pattern is simply figuring out where to attach the straps onto this top.
Before proceeding, try on your top, with the seam on the "tube top" of the garment placed right along your side (doesn't matter whether its on the left or the right side). To figure out the placement of your straps:
- You can either try on your top, on top of your favorite bralette/bra or tank top and place a stitch marker at the front where the straps are on both sides.
- Or you can simply choose where you would like your straps to go based on how it looks when you try it on, then place a stitch marker on both sides where you would like your straps to go.
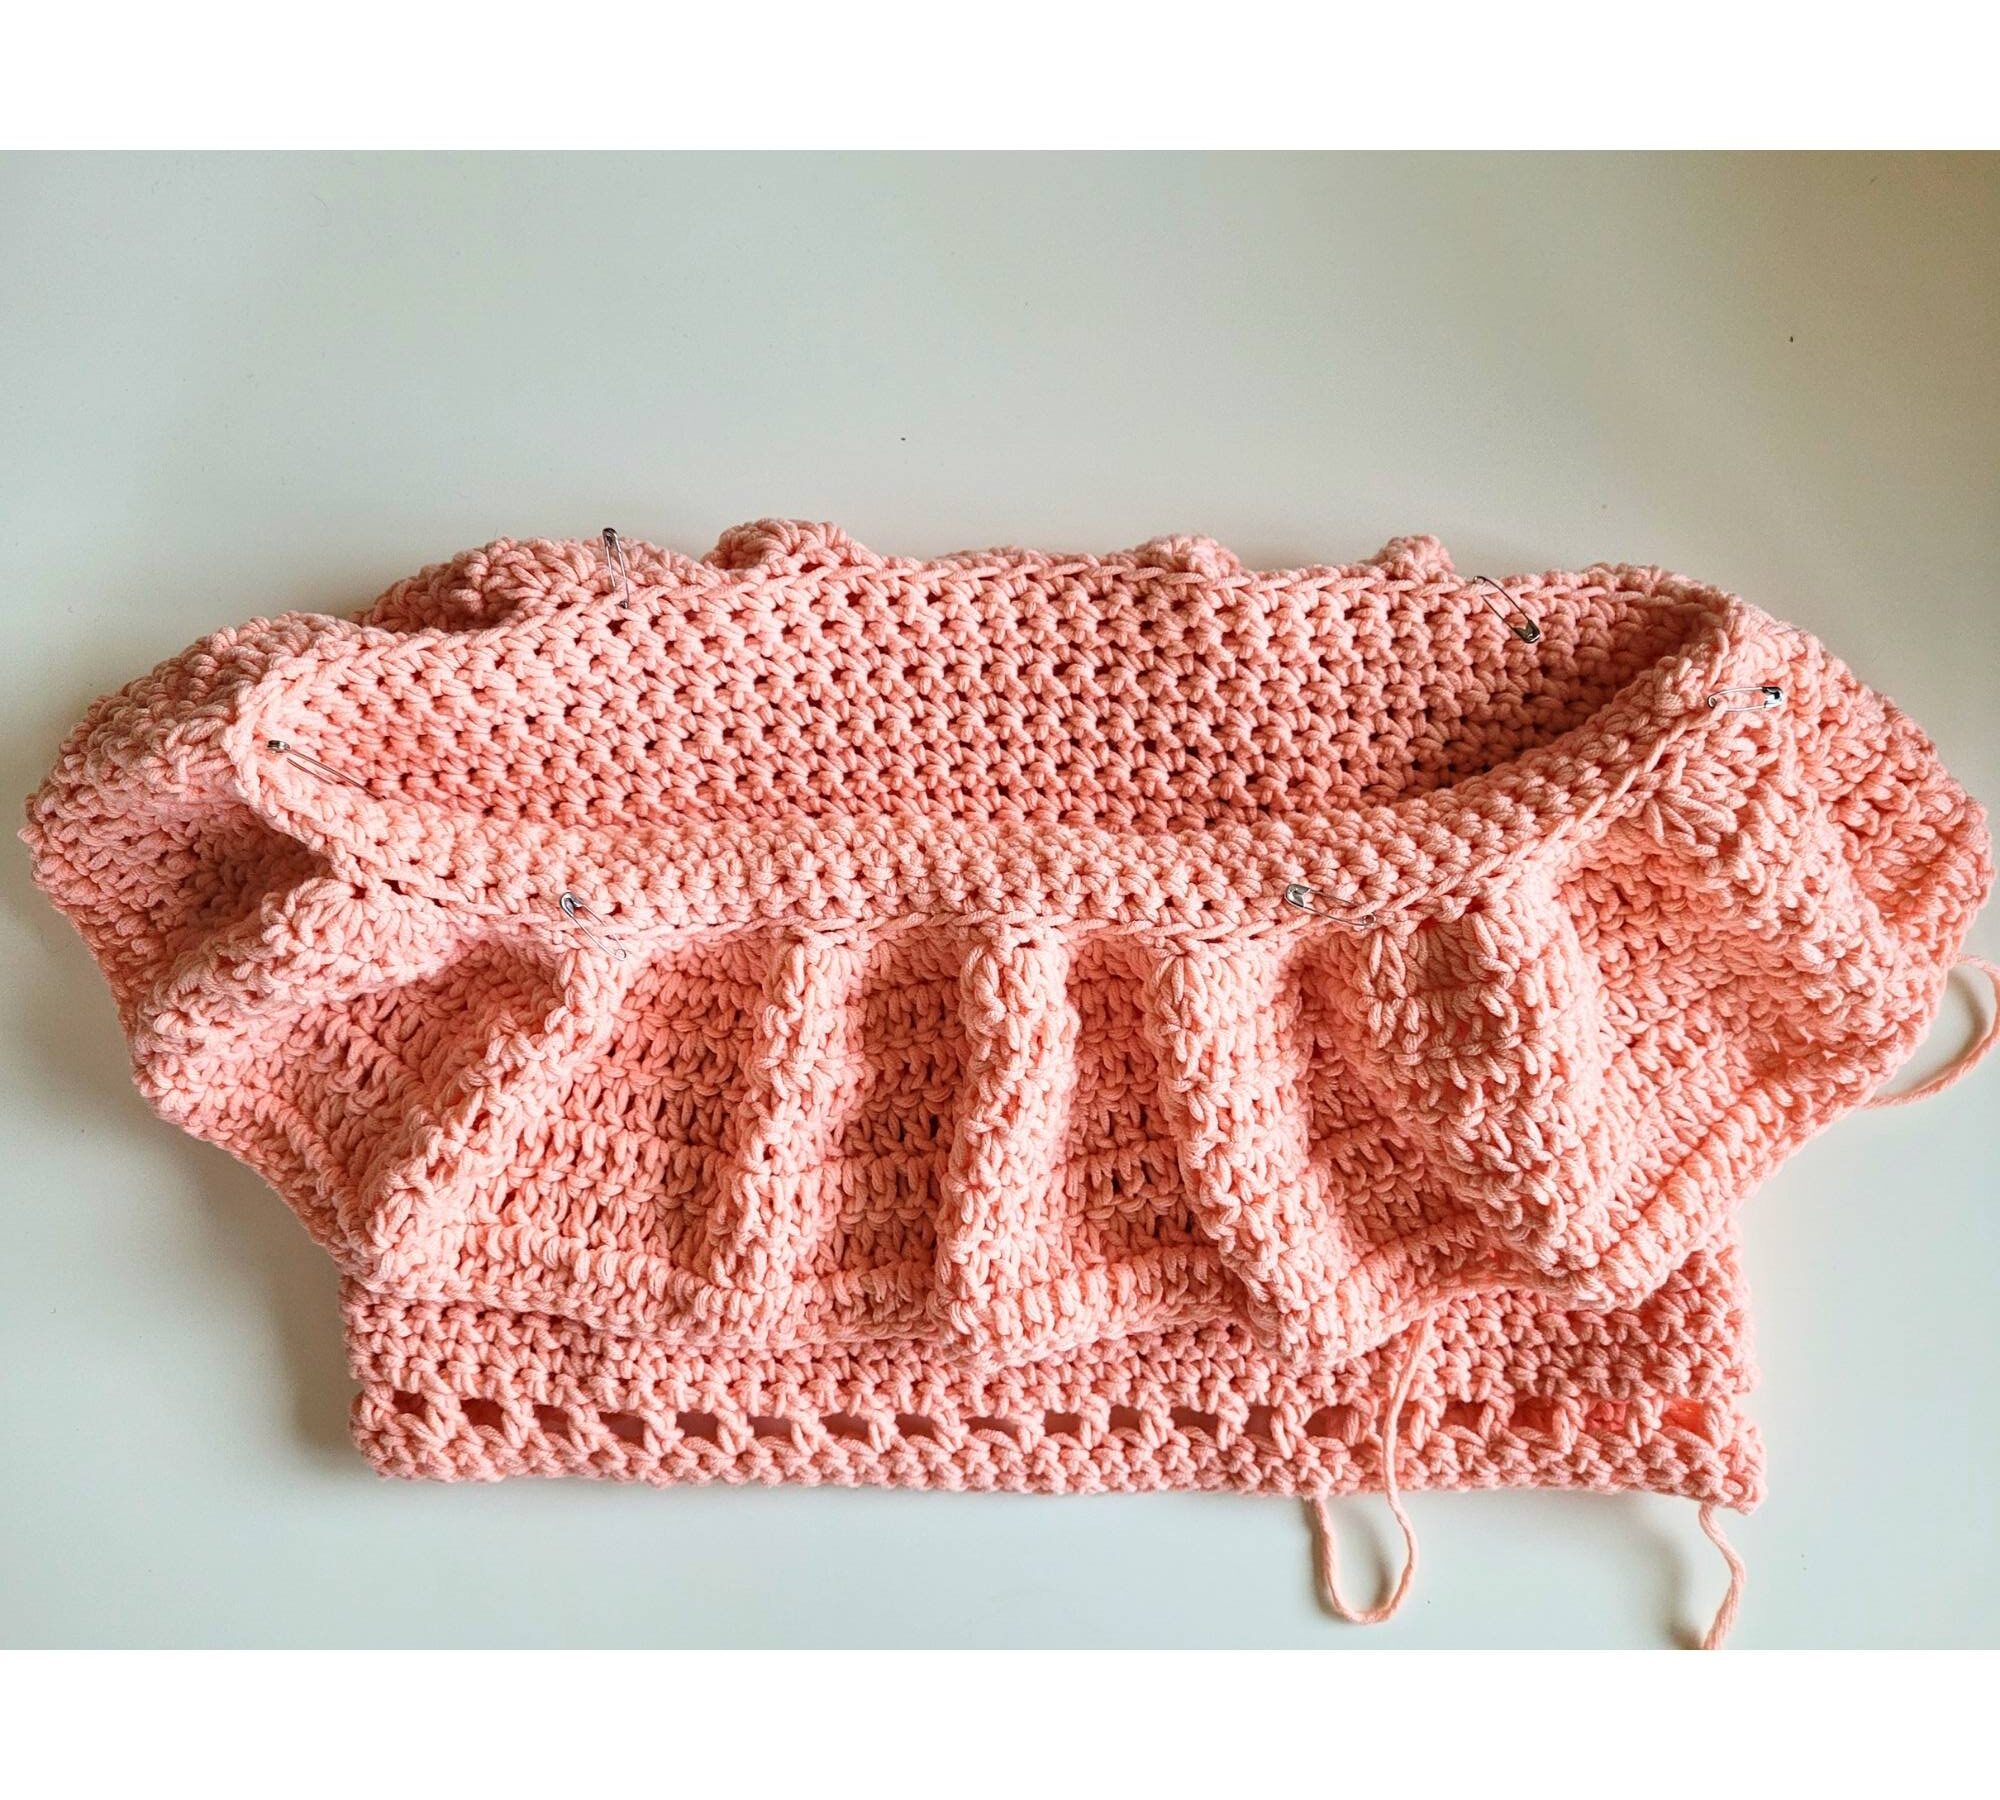

Tidying up and making sure that your straps are evenly spaced.
Align the seam of the tube top with your side, and count how many stitches away from the seam you placed your stitch marker (this is number "X")- then count X number of stitches in the opposite direction from the seam, and place another stitch marker there (this will be the front and back of your first strap).
Count how many stitches you have in total - split that number in half, then count from the seam, to the half way point of your top (place st marker #3).
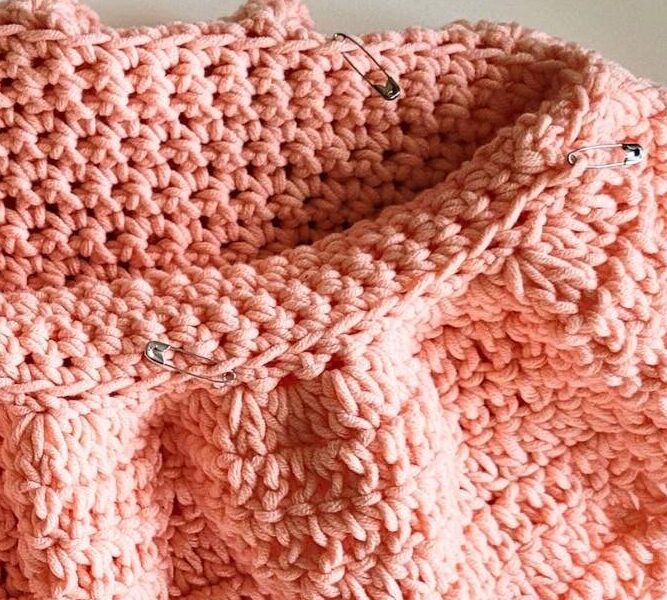
From the half way point st marker, count X stitches in one direction - place stitch marker there(#4). Then count X st from the halfway point in the other direction, place 5th st marker there (st marker 4 & 5 are now your front and back of your second strap). Remove st marker #3. (See photos for guidance)
Now, attach the center st of each strap to the stitch markers that you have.
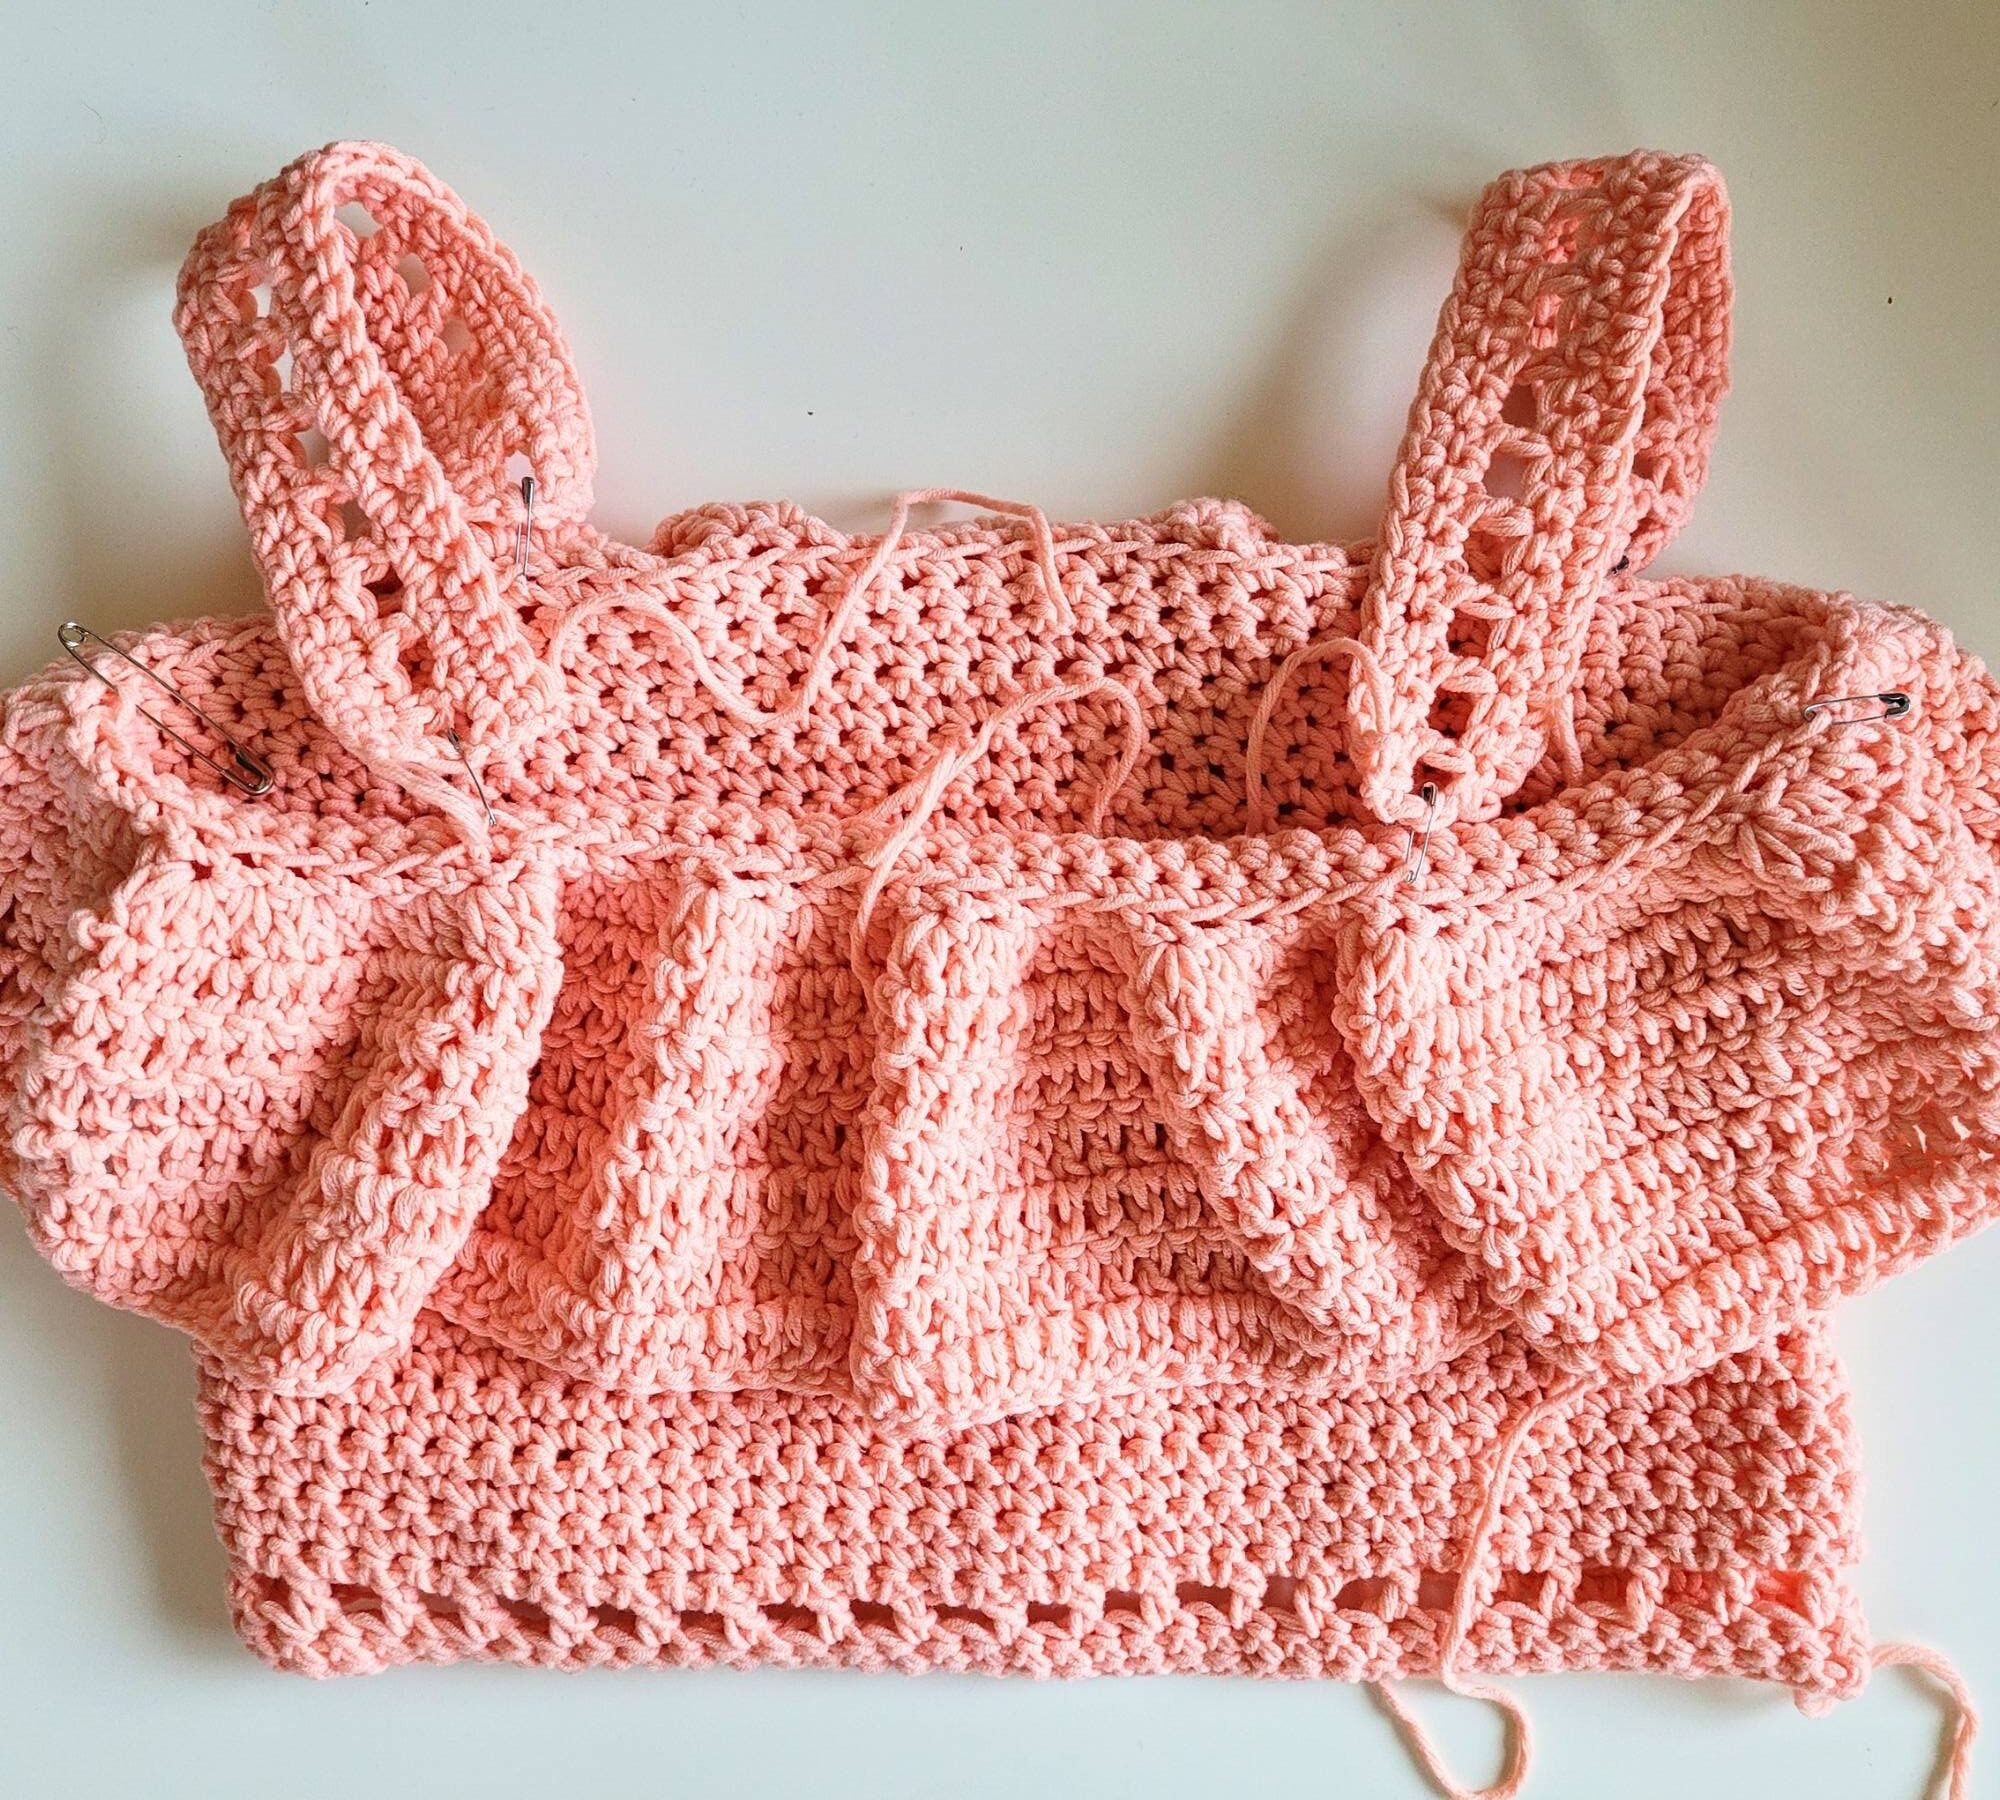
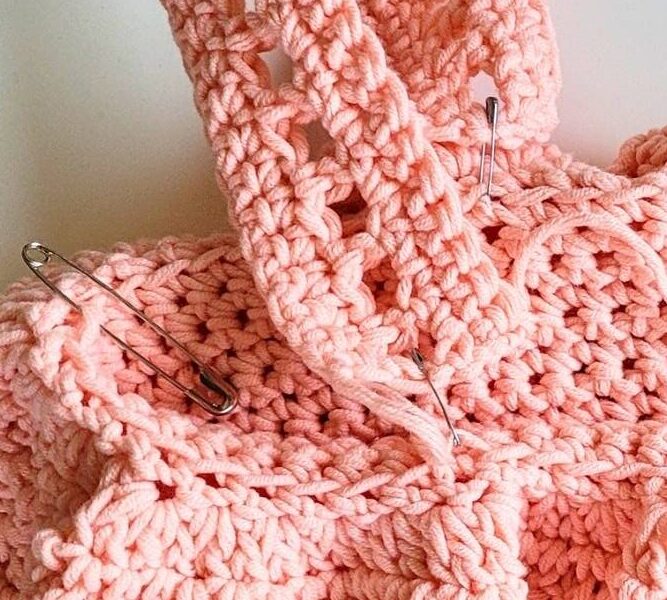
From the wrong side of the garment, sl st the straps to the tube top part. Do this for each strap and on each side ( 4 seams all together).
Weave in your ends and your Crochet Ruffle Tank Top Pattern is complete!!
If you enjoyed this pattern please check out my other free patterns below and my premium paid crochet patterns below :)


