Share


Other Yarn Options:
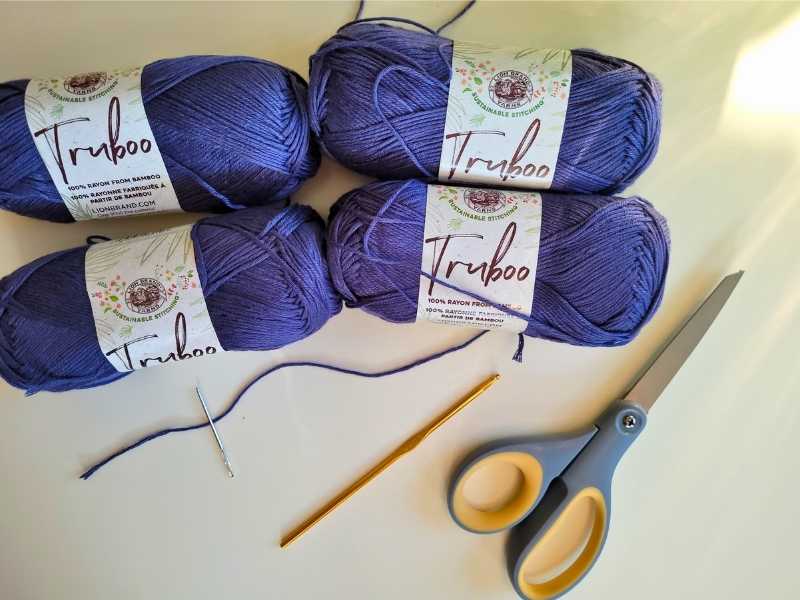
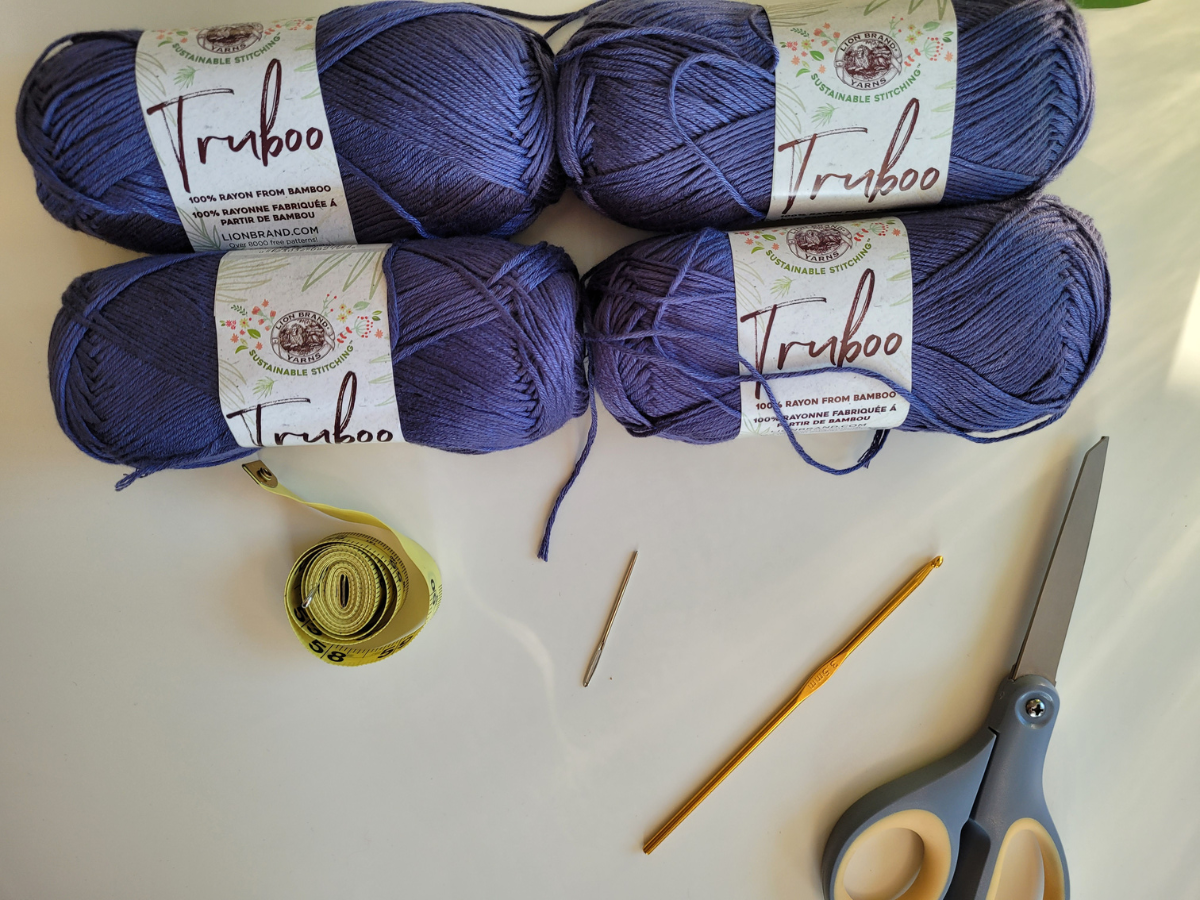
Any other light weight or medium weight yarn will do for this project. However, I strongly recommend choosing natural fibers, such as cotton, linen, viscose or rayon - and recommend avoiding polyester or acrylic yarn for this project. This is just because I am aiming for this cardi to be a summer staple, so its easiest to beat the heat in a natural fiber garment.
Regardless of the yarn chosen, you should be choosing a hook size that goes well with the yarn you are using.
Yarn Requirements for Different Sizes:
Due to this being a highly customizable crochet pattern with length, and width it is very difficult to make estimations for yarn required - so these are estimations. It is recommended to always buy a bit more yarn than the pattern recommends.


Short Version of the Cardi:
(All values are approximate and are rough estimates)
XS - 150 g - 5.5 oz
S - 200 g - 7 oz
M - 300 g - 10.5 oz
L - 400 g - 14 oz
XL - 500 g - 17.5 oz
XXL - 600 g - 21 oz
3XL - 700 g - 24.5 oz
4XL - 800 g - 28 oz
5XL - 900 g - 31.5 oz
Long Version of the Cardi:
(All values are approximate and are rough estimates)
XS - 250 g - 8.75 oz
S - 350 g - 12.25 oz
M - 450 g - 15.75 oz
L - 550 g - 19.25 oz
XL - 650 g - 22.75 oz
3XL - 850 g - 29.75 oz
XXL - 750 g - 26.25 oz
4XL - 950 g - 33.25 oz
5XL - 1050 g - 37.25 oz

Back Panel:
To figure out the width of the back panel piece, measure shoulder to shoulder (or measure desired width - doesn't have to be shoulder to shoulder if you would like for it to fall off the shoulders a bit).
The desired length will be called "A".
Ch enough stitches to create length A. Make sure that you have an odd number of stitches.
Row 1:
ch 2, sc in the 3rd st from the hook, sc across, ch 4, turn


Row 2:
sk, *tr into the next st, tr into the skipped st, sk*, repeat until 2 st left, tr, tr in the 2nd ch from last rnd, ch 4, turn
(See photos below for step by step)


yo 2 times

sk st, tr into loop #3

yo 2 times

tr crochet into skipped st

sk st, tr into next st

tr into skipped st
Row 3:
sk, *tr into the next st, tr into the skipped st, sk*, repeat until 2 st left, tr, tr in the 3rd ch from last rnd, ch 4, turn

Row 4 - ?:
Repeat Row 3 until desired length is reached. In the last row at the desired length, ch 2 at the end of the row (not ch4), turn
(I continued until I had a total of 21 rows for the cropped navy cardi, and 32 for the longer red cardi)

Row 22:
sc across
Cut yarn, fasten off.

Your back panel of the garment is complete!!
Front Panel (Make two):
To figure out the number of stitches required for the front panels, count how many stitches you have in the back panel - call this number "A". (I had 77 stitches = A)
Take the number of stitches that you have "A", and divide by 5, round up or down from a decimal to make sure that your number is a whole number - call this number "B".
A / 5 = B (rounded to the nearest whole number)
For my navy cardi this equation looked like this: 77 / 5 = 15.4 (round to 15)
Now, multiply B by 2, and round up or down to an ODD number - call this number "C".
B x 2 = C
For my navy cardi this equation looked like this: 15 x 2 = 30, but since 30 is an even number + 1, so 31 stitches was my number "C".
Row 1:
ch 2, sc in the 3rd st from the hook, sc across, ch 4, turn

Row 2:
sk, *tr into the next st, tr into the skipped st, sk*, repeat until 2 st left, tr, tr in the 2nd ch from last rnd, ch 4, turn

Row 3:
sk, *tr into the next st, tr into the skipped st, sk*, repeat until 2 st left, tr, tr in the 3rd ch from last rnd, ch 4, turn

Row 4 - ?:
Repeat Row 3 until desired length is reached. In the last row at the desired length, ch 2 at the end of the row (not ch4), turn
(I continued until I had a total of 21 rows for the cropped navy cardi, and 32 for the longer red cardi)
Make sure that the front panels have the exact same number of rows as the back panel.

Row 22:
sc across
Cut yarn, fasten off.

Assembly:
Step 1:
Sl St front panels to the back panel at the top.

Step 2:
Try on your cardi, and decide how far down, and how much you would like it to be stitched on the sides.
For my cropped blue cardi, I chose to only stitch together about 2 cm (a little less than 1 inch), and I stitched together at Row 6 (counting from the bottom of the panel).
Sl st together the front and back panels on the side (however far you would like, but exactly the same on both sides)

Step 3:
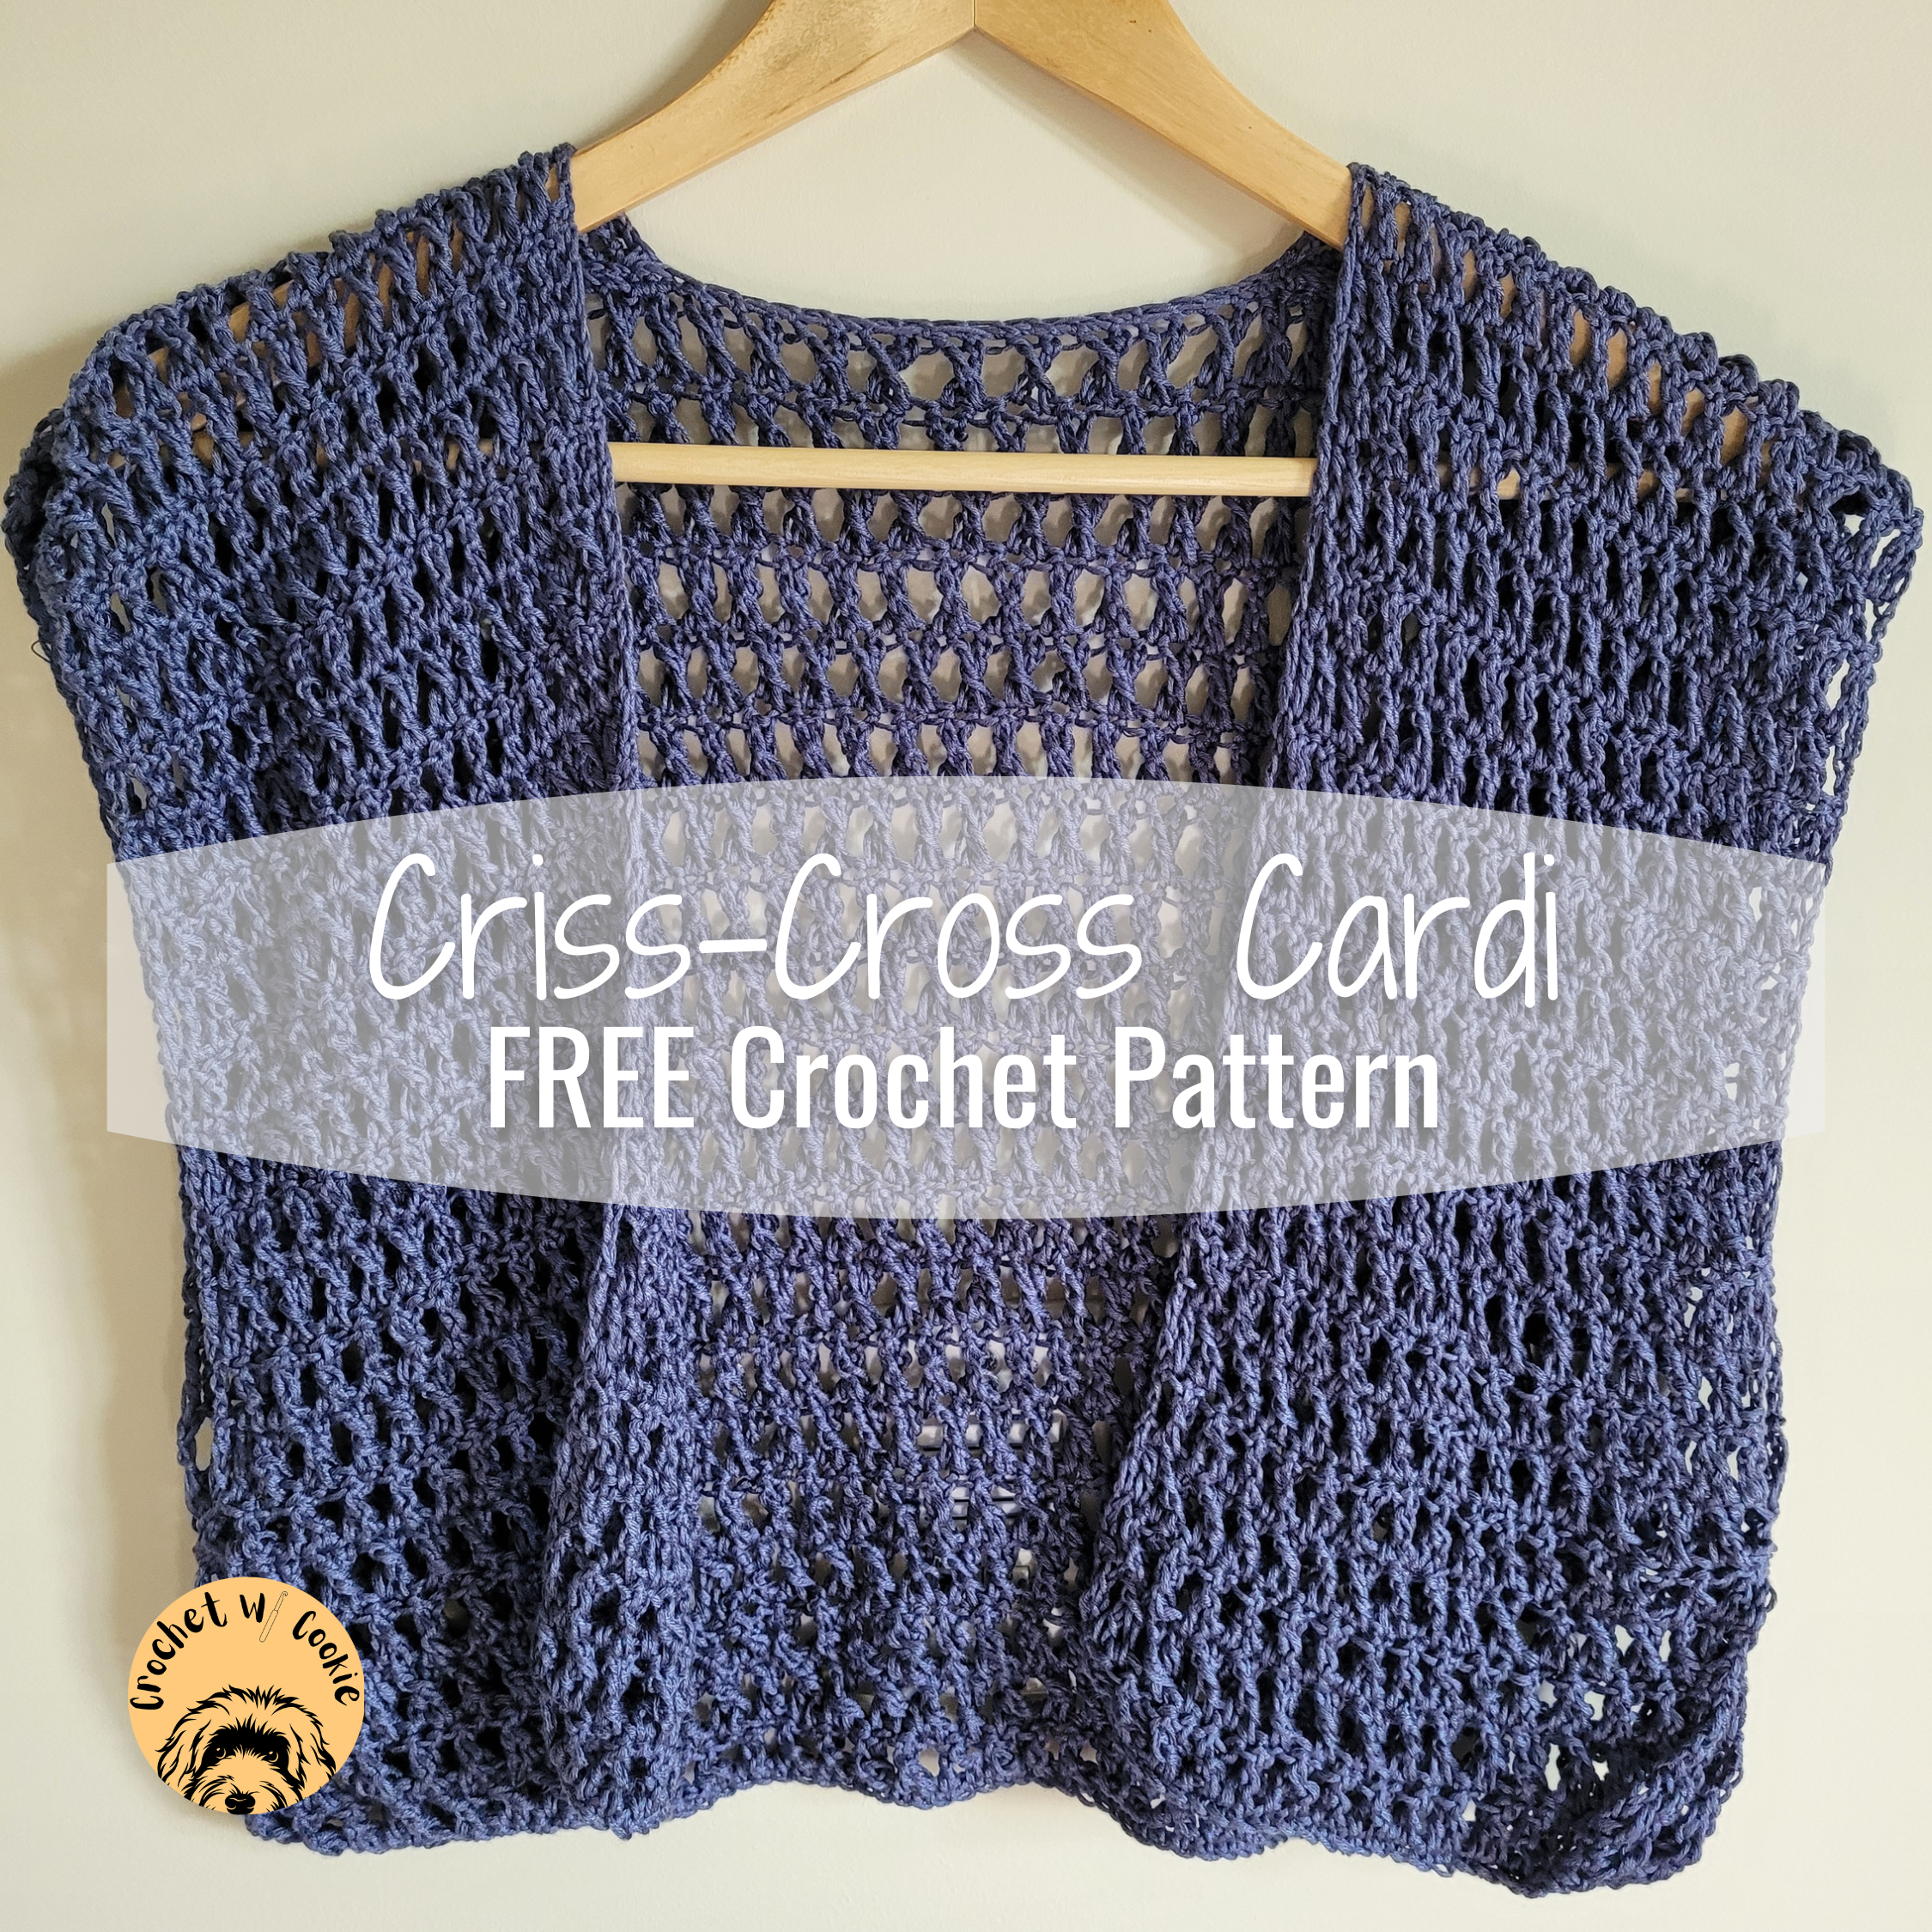
Weave in your ends, and your criss-cross crochet cardigan is complete!!


Congratulations!! Your brand new Criss-Cross Cardi is complete!!
Please leave a comment below if you have any questions, or if you enjoyed my pattern and would like to see more!!


