Share

Sizing:
To create a Medium to Large Sized vest for myself - I used ALL needled on the Sentro Knitting Machine. After the dropped stitches are subtracted - the real number of needles will be 45.
To create a larger vest - one of the options is using bulkier yarn - such as weight 4 or weight 5. This is the best way to enlarge the vest.
If you are looking to make your vest SMALLER than Medium - you can subtract about 3 Needles for each size down.
XS - Cast on 39 needles
S - Cast on 42 needles
M - Use ALL Needles
L - Use ALL needles
If you would like a looser fit with a bit more ease - size up!
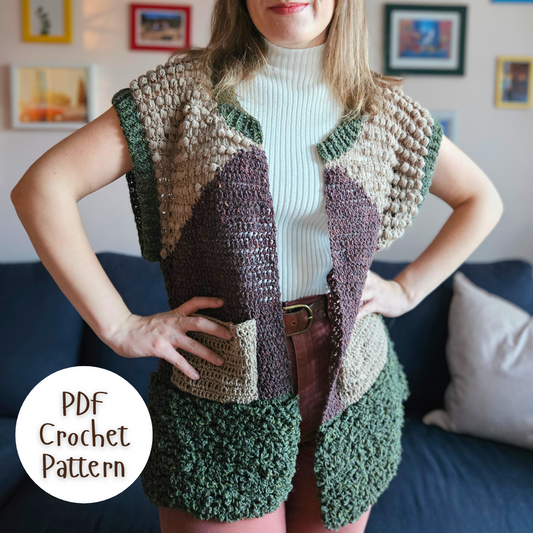
Cordelia Vest - Free Knitting Machine Pattern:
Step 1 - Back Panel:
Cast onto your machine with your scrap yarn - then complete about 15 rows using your scrap yarn.
At the end of about 15 ish rows (no need to count)!, change colors to your actual project yarn.
Then spin until you have reached the desired length for your vest (you can measure directly on the machine - no need to remove your yarn).
After you have measured the length of your project yarn on your machine and are satisfied with the length - change colors back to your scrap yarn and complete another 15 rows.
Then remove the scrap yarn from the feeder and spin around your machine 2 more times for the yarn to fall off.
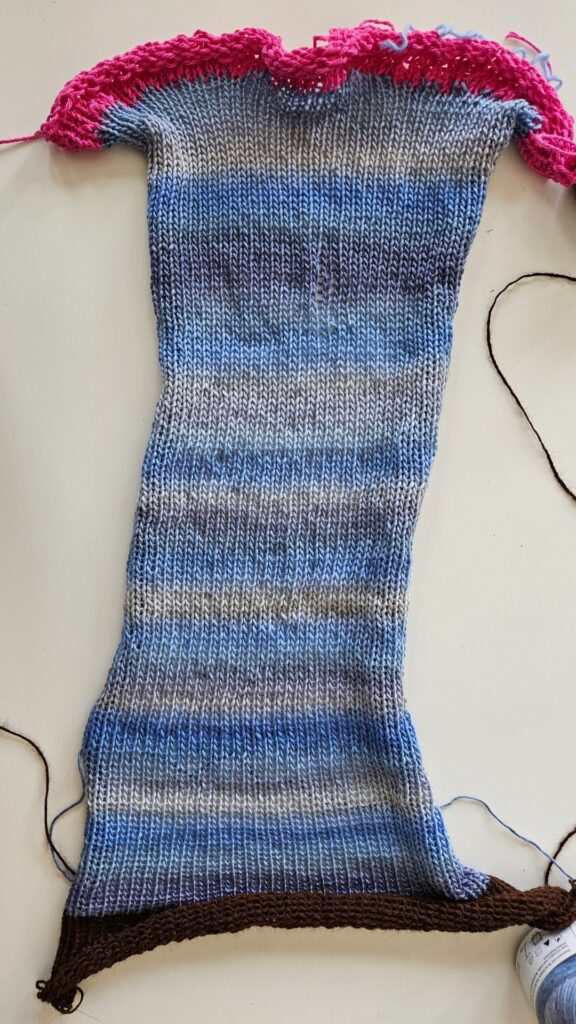
Your back panel is complete!!
The last step is to lay your back panel flat now, and take measurements all around it. Ignoring scrap yarn at the top and bottom - measure along the left, along the top, and then again along the right - add up all of these measurements. This number is the length that your front panel will need to be (not including scrap yarn).

Step 2 - Front Panel:
For the front panel, begin with about 15 rows of scrap yarn once again.
Then continue on to do as many rows as required in order to reach the measurement outlines above (at the end of the "Back panel" section.


Once you have reached that measurement - reattach your scrap yarn, and complete about 15 more rows.
Then remove the scrap yarn from your yarn feeder and run the machine for two more rows until the yarn falls off.
Step 3 - Removing Scrap Yarn from Your Panels:
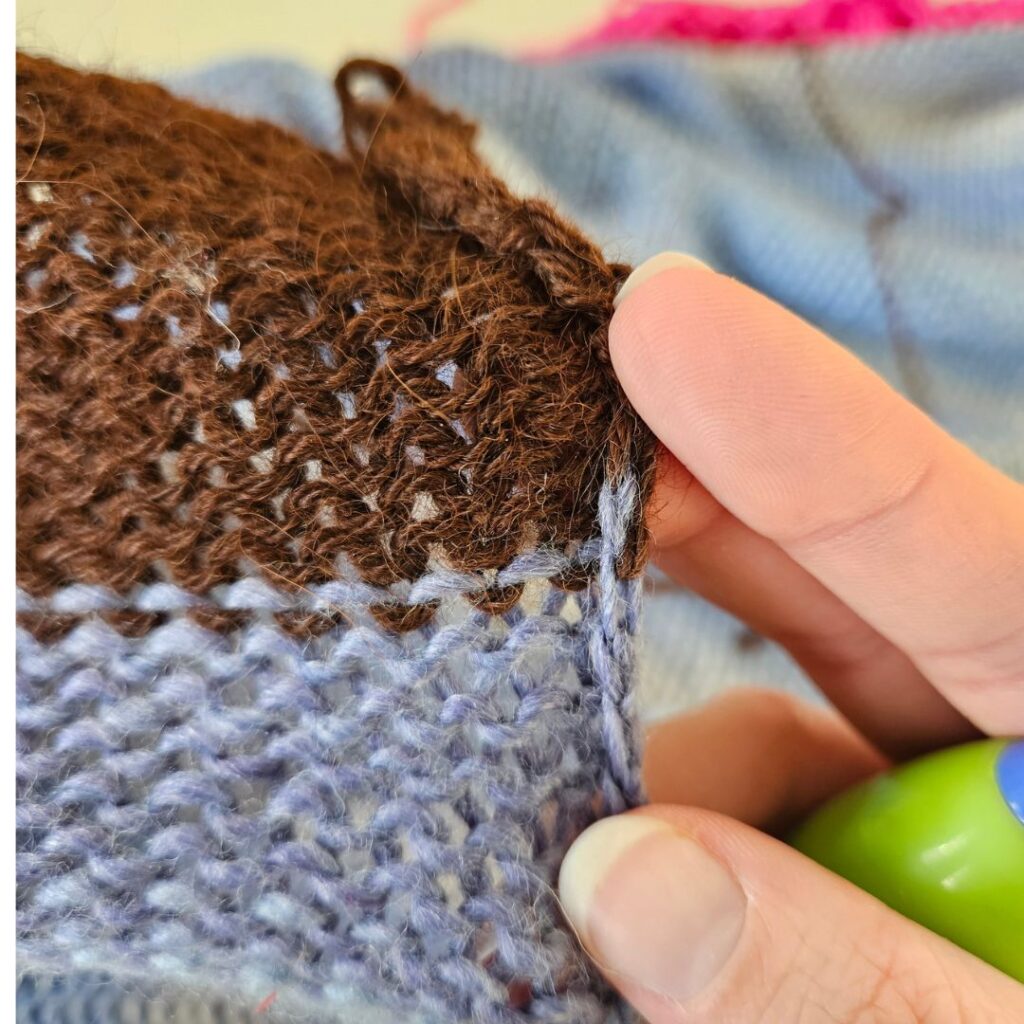
Now that your panels are all finished, we need to remove the scrap yarn at the top and bottom of each panel.
From the wrong side of the panel, take a look at the row where your scrap yarn ends, and your actual project yarn begins.
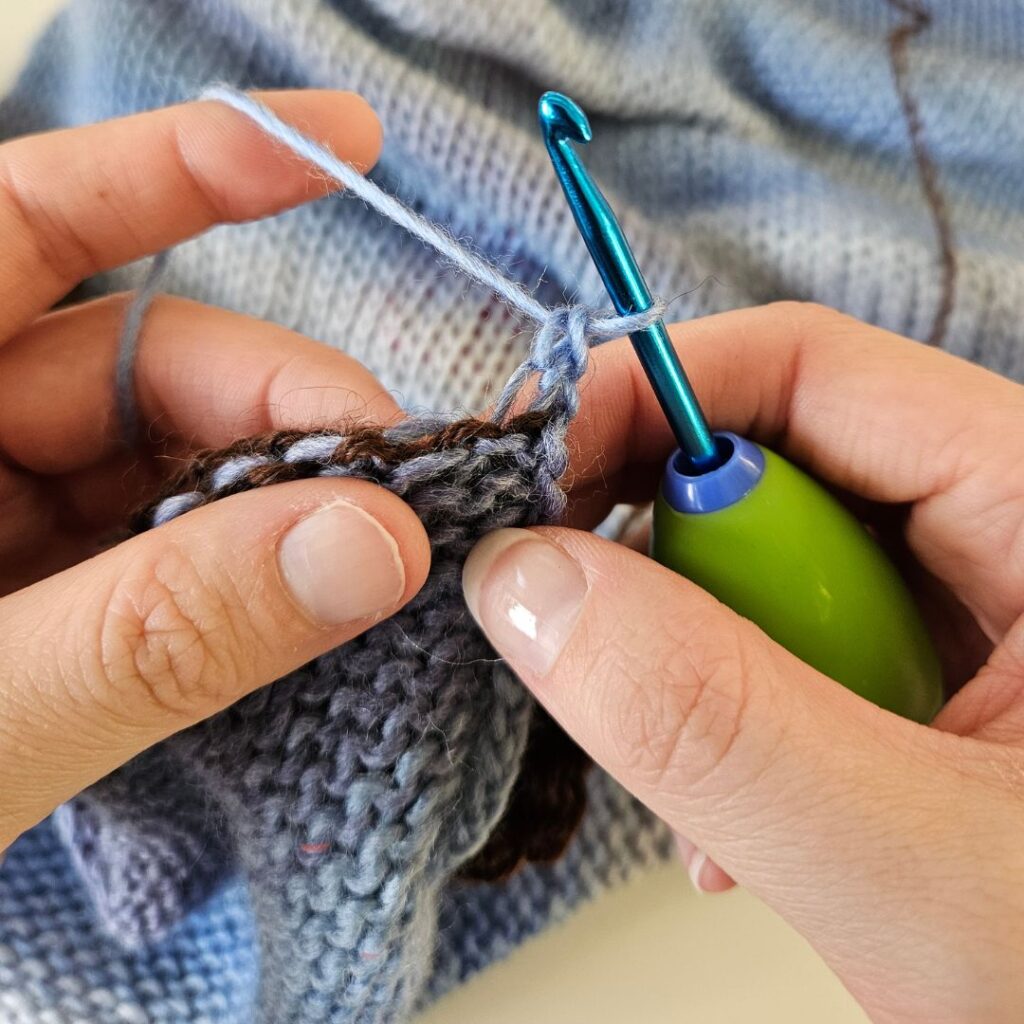
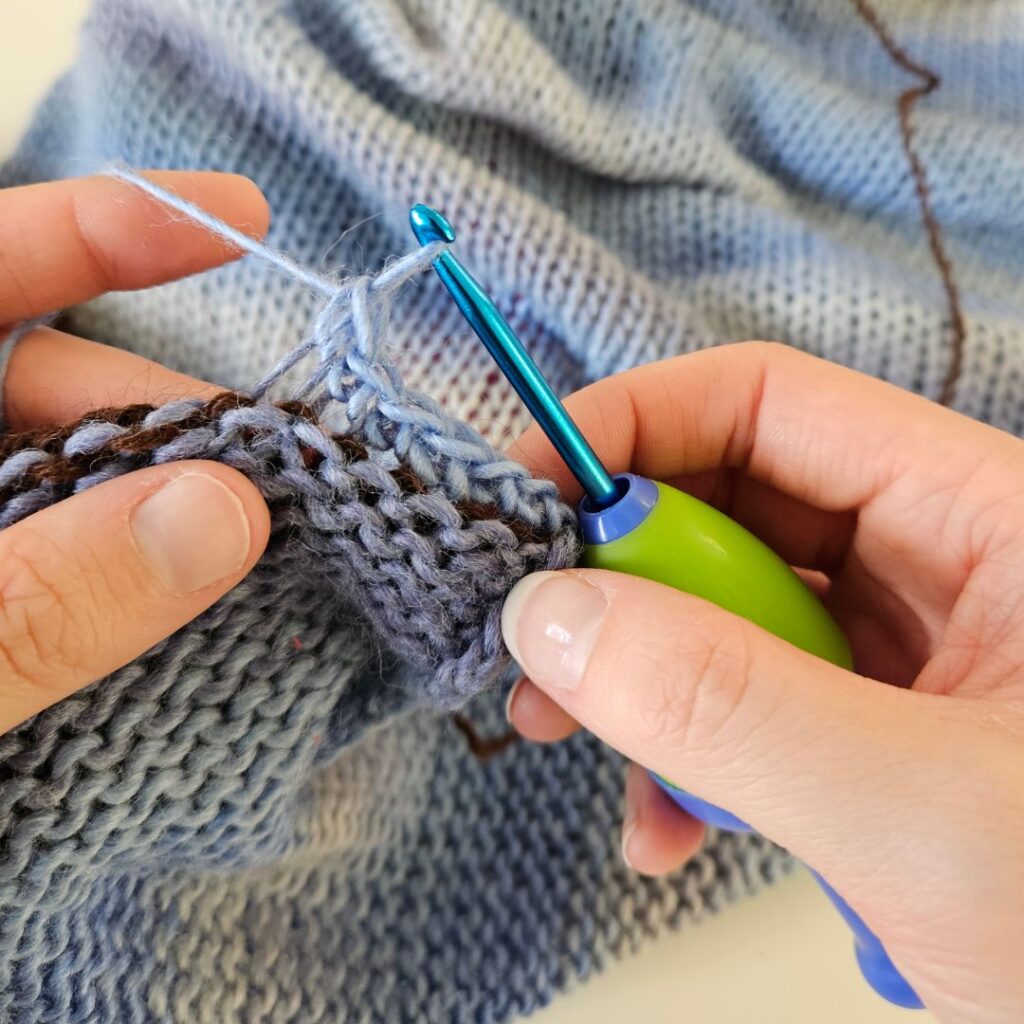
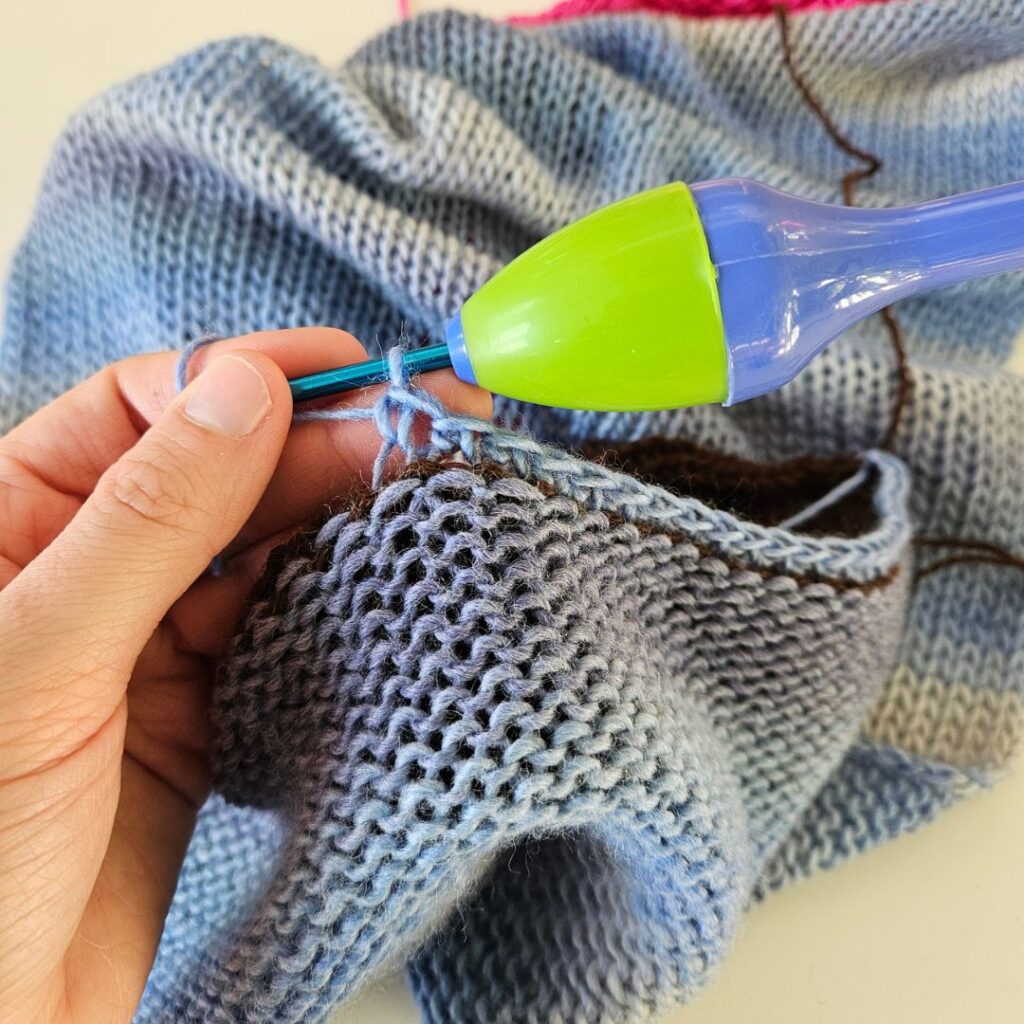
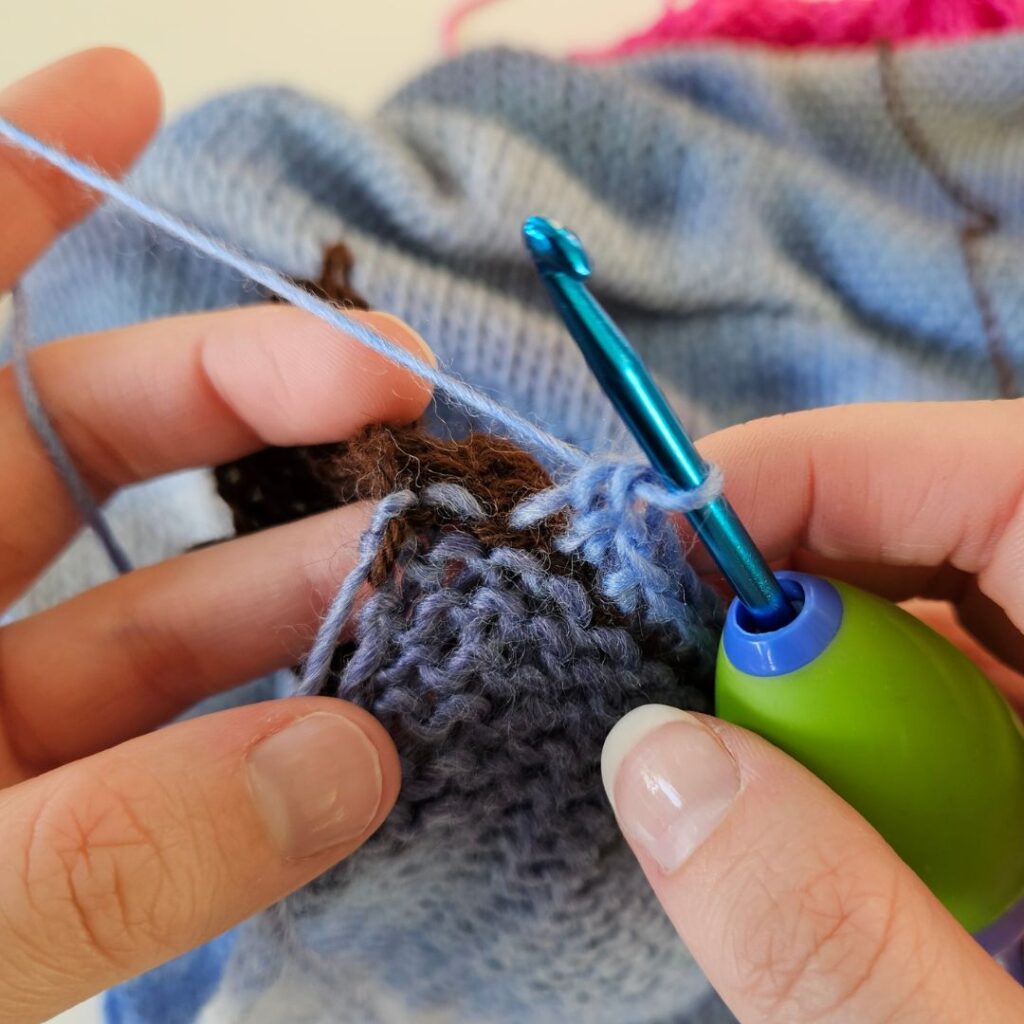
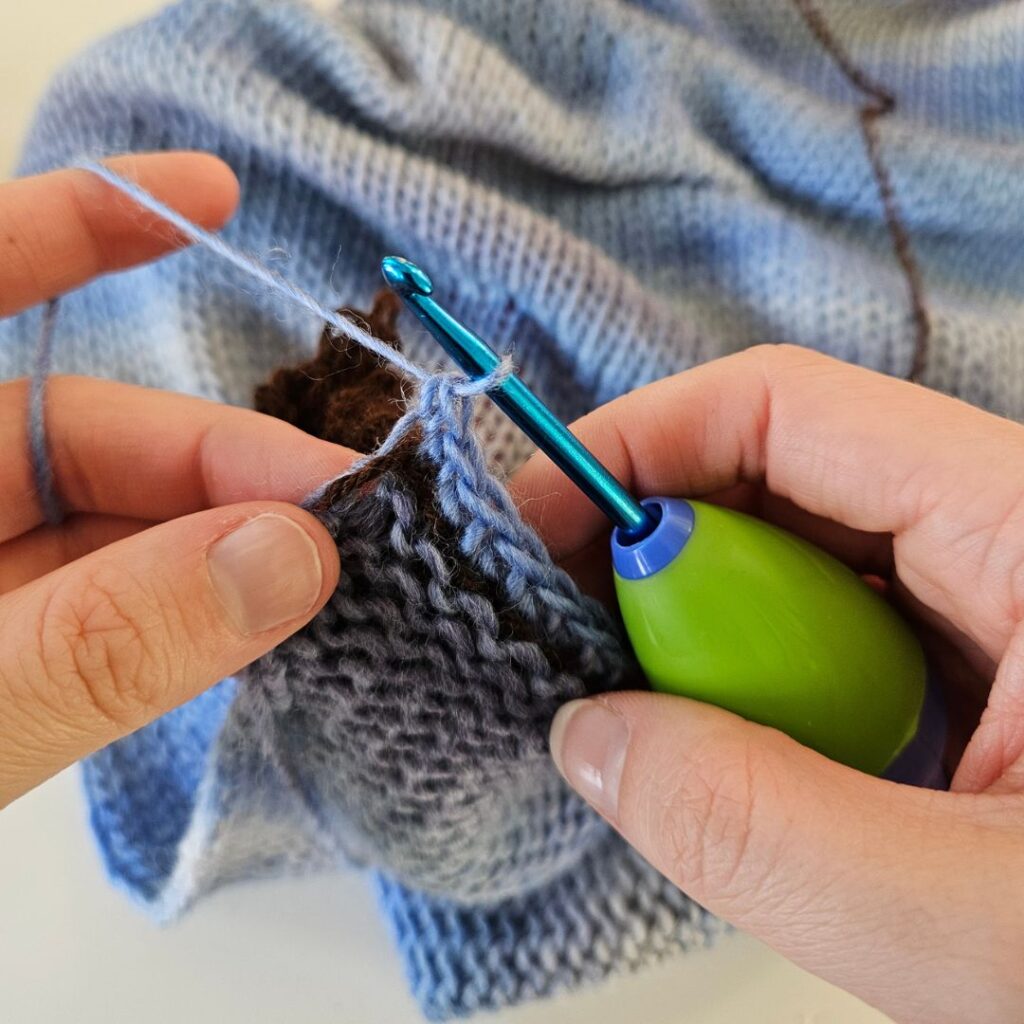
We are going to sc in each of the stitches in the very first row of actual project yarn that you can see.
Detailed Row instructions:
Insert hook into the first st of project yarn, ch 1, sc across in each st of project yarn, then when you get to the last st, sc in the last st and cut yarn, fasten off.


Step 4 - Blocking the Pieces
Before assembling your garment, you must block the pieces. The circular knitting machines create a bit of a rolled edge and its important to straighten out the edges before assembly.
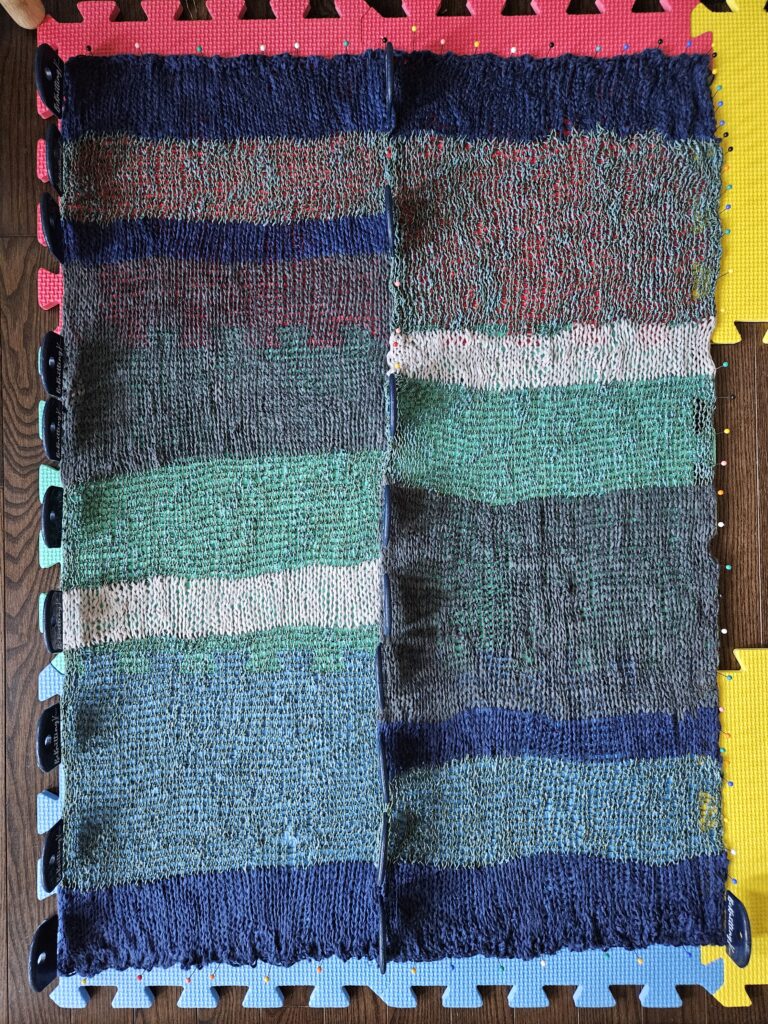
To block the pieces, submerge the panels in water, then gently wring out excess water using a towel. Then lay flat on blocking mats and pin in the exact shape/length/width that you would like the piece to look like after it is dry.
Even though I don't have the perfect blocking set - and if you don't either - I used some of the blocking combs that I had, and then used just regular sewing pins for the rest - and it worked like a charm. If you don't have blocking mats, you can also use exercise mats like me, or you can even layer multiple towels, and pin your panels onto those!
Step 5 - Assembly:
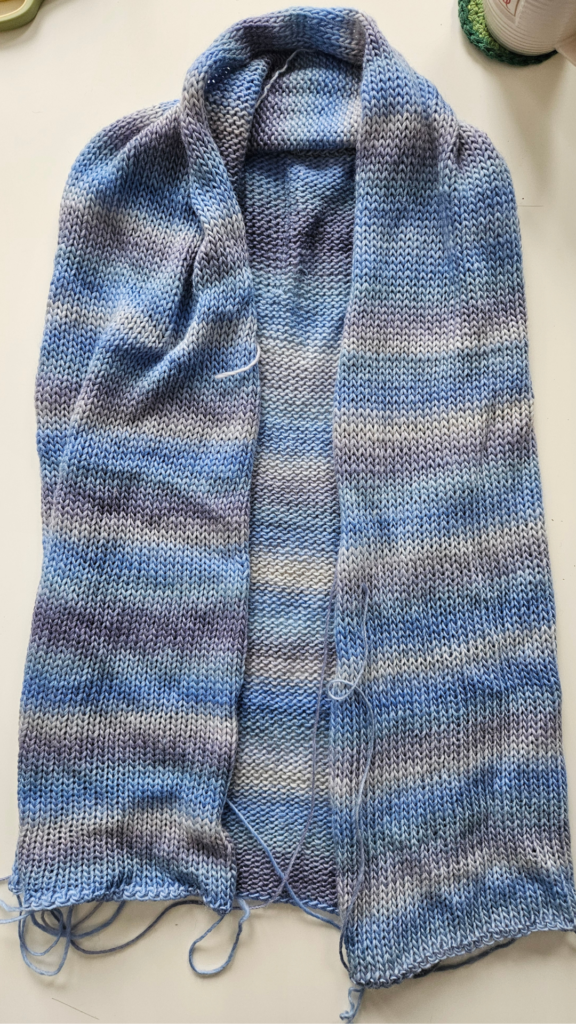
To assemble the pieces - lay the "back panel" WS facing, then place the "Front Panel" around it (also WS facing).
Then place st markers to attach the pieces together at the sides (leaving space for the arms) and along the top of the garment.
Sl st along all of the above.


Step 6 - Ribbing:
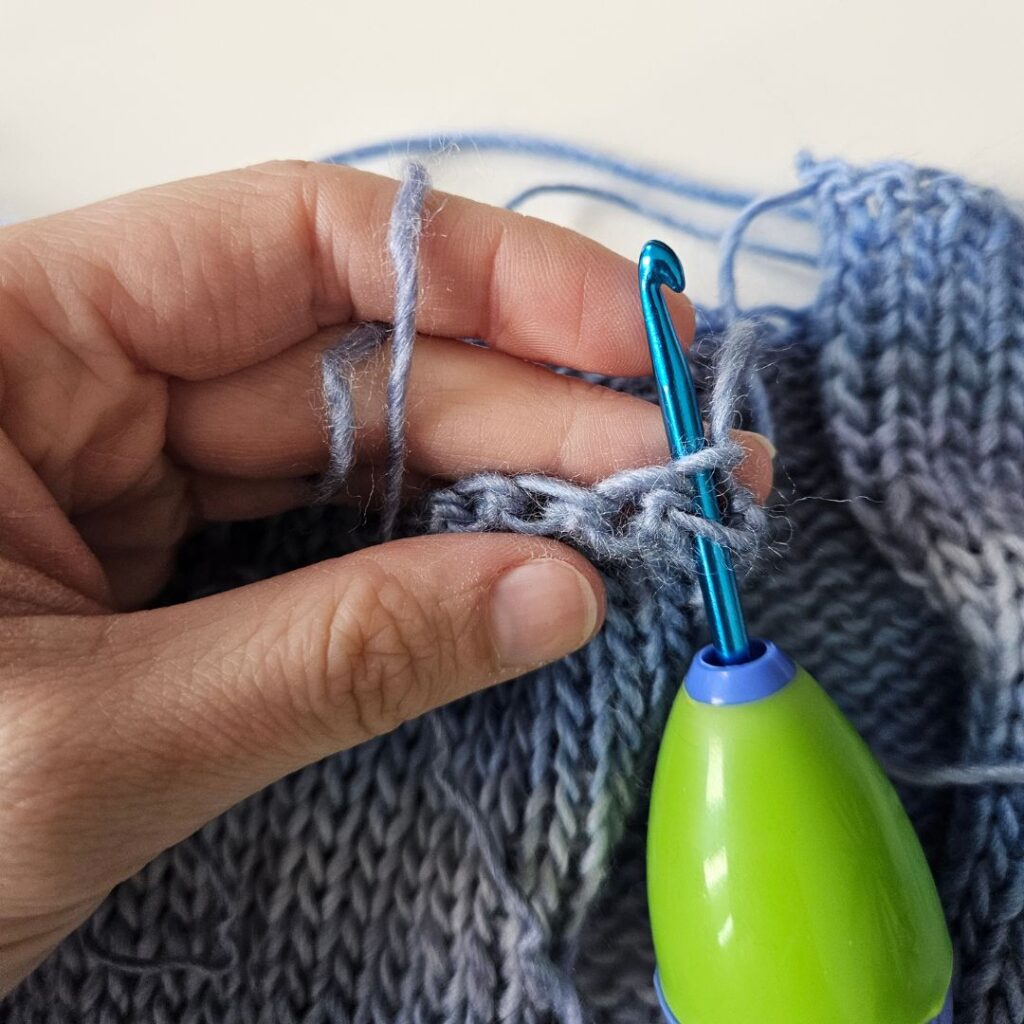
The ribbing is completed with a crochet hook - to match the yarn that you used for the vest.
To complete the ribbing at the bottom of the vest - place the vest in front of you, with the front facing you. Then insert hook into lower left corner of the top panel - with the RS facing you, and begin there.

Row 1:
Insert hook, ch 4, sc in the 2nd loop from hook, sc, sc, then sl st into the next 2 st on the actual panel, turn


Row 2:
Sk those two st where you sl st last rnd, sc blo into the next 3 st, then place the last sc in the ch st from last row, ch 1, turn

Row 3:
Sc blo into the next 3 st, sl st into the next 2 st on the garment, turn
Repeat rows 2 & 3 across the bottom of the garment.
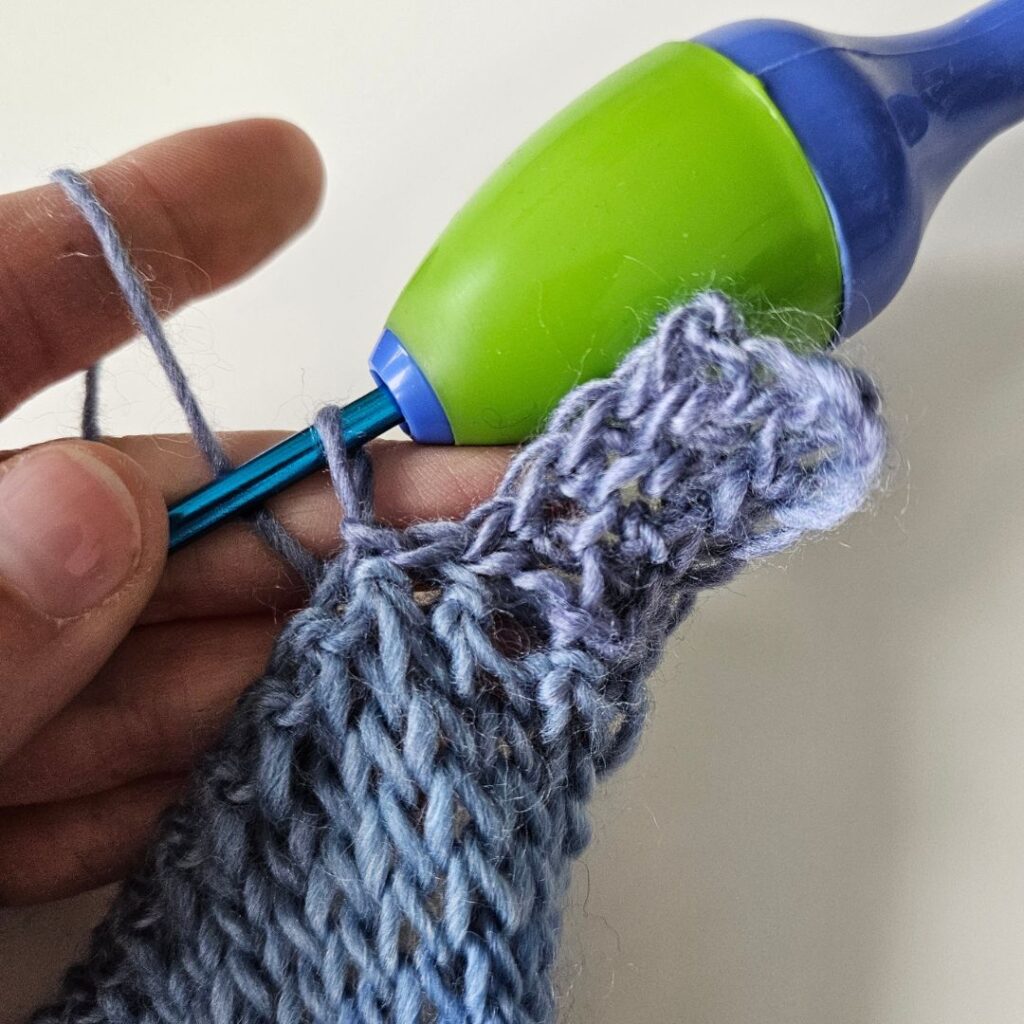
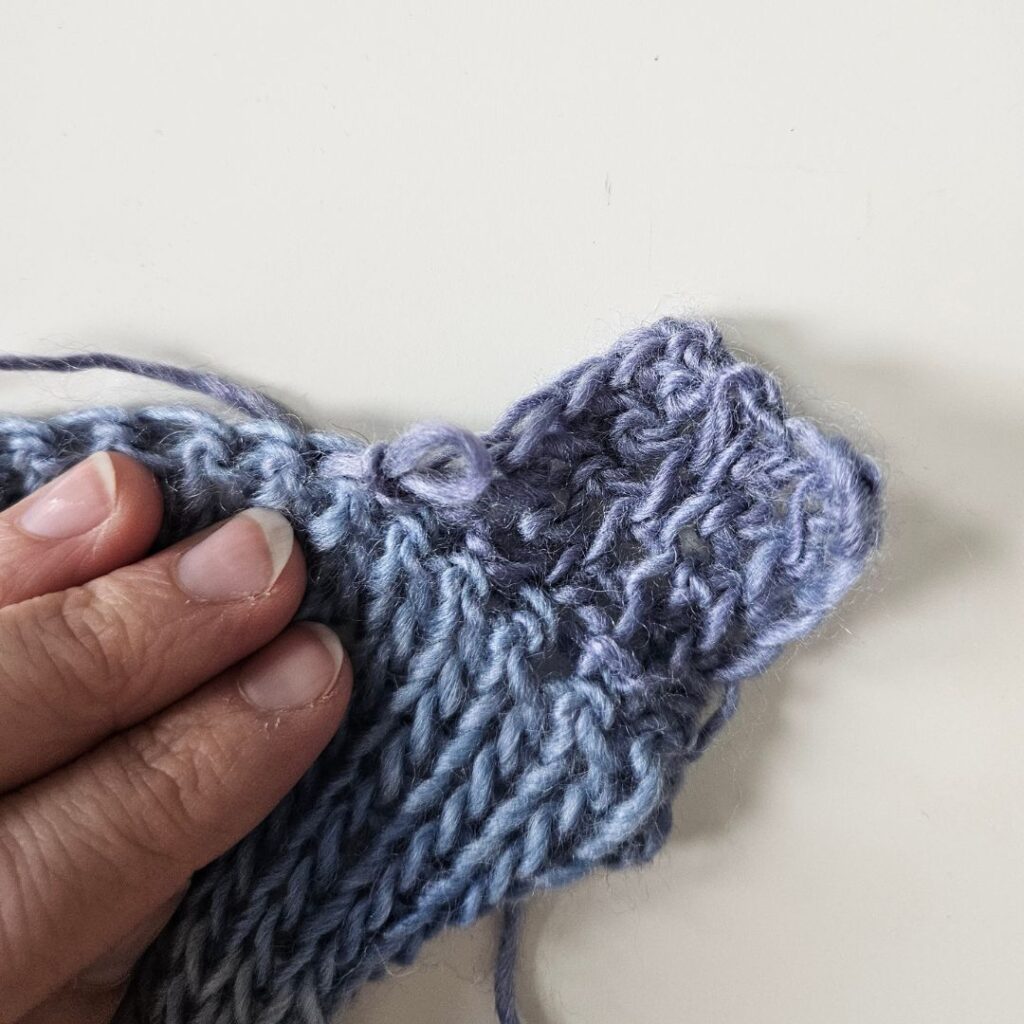
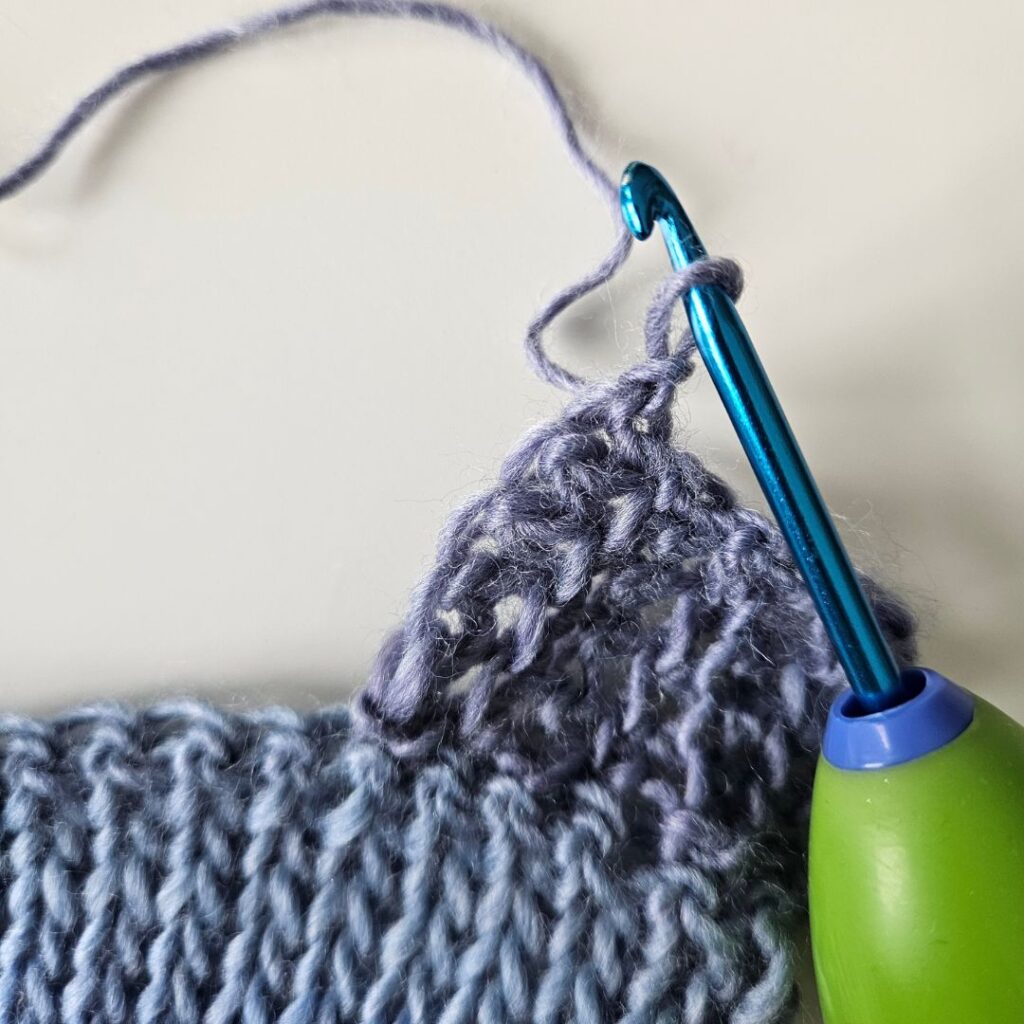
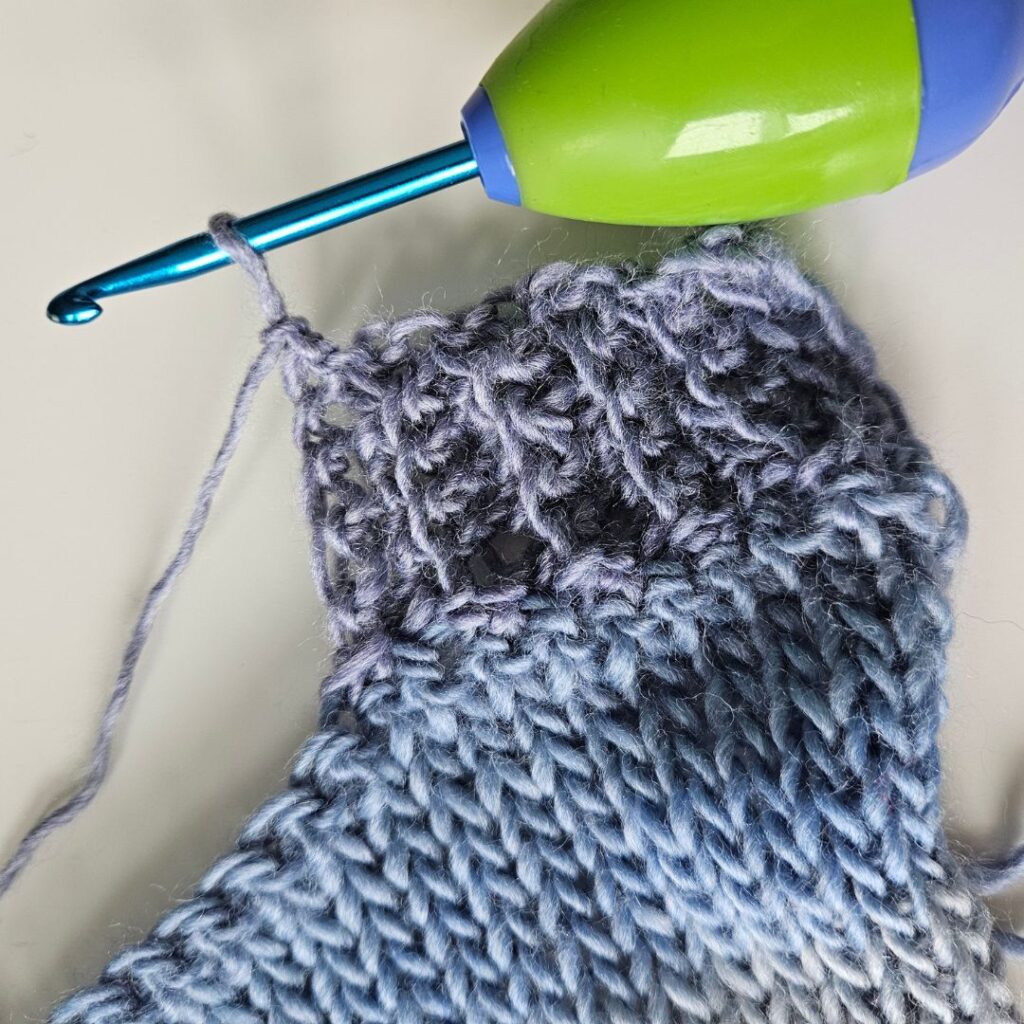
Then repeat the same steps to create ribbing on each arm hole.
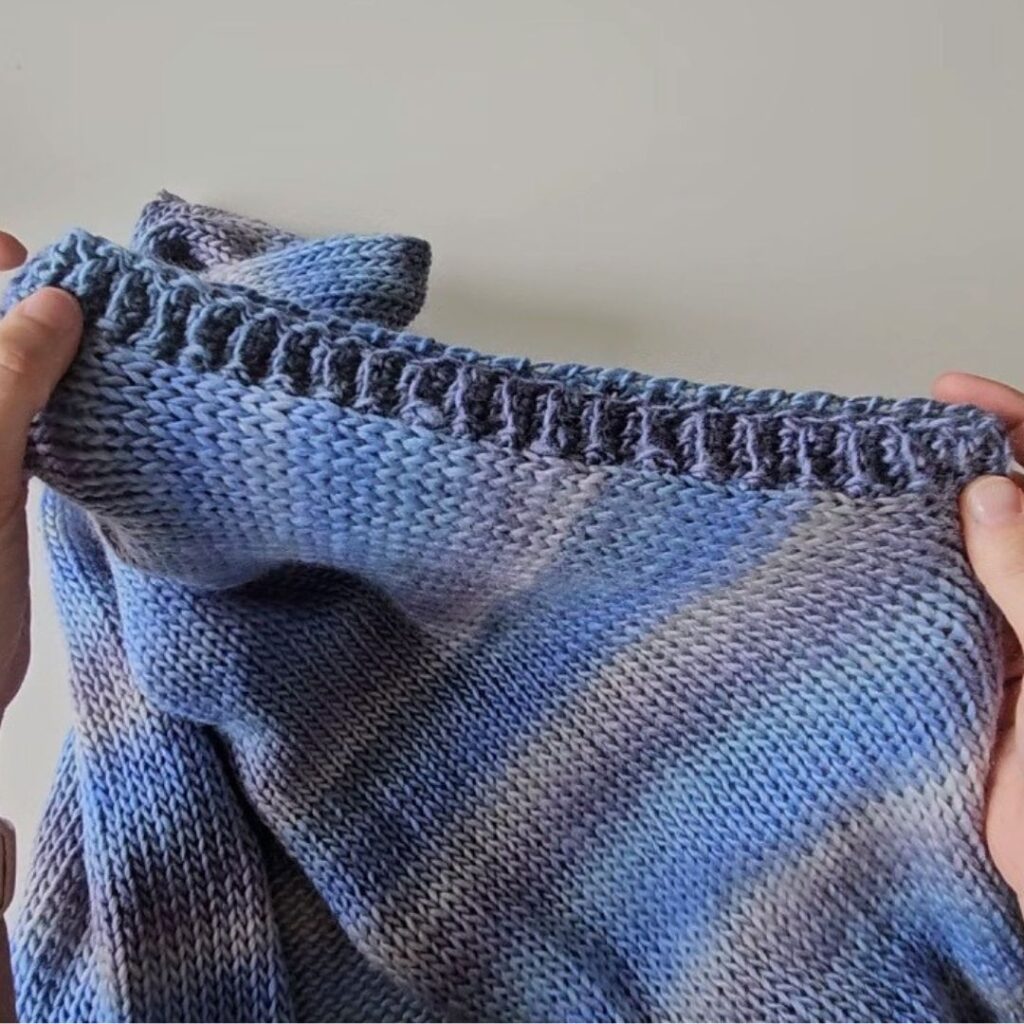
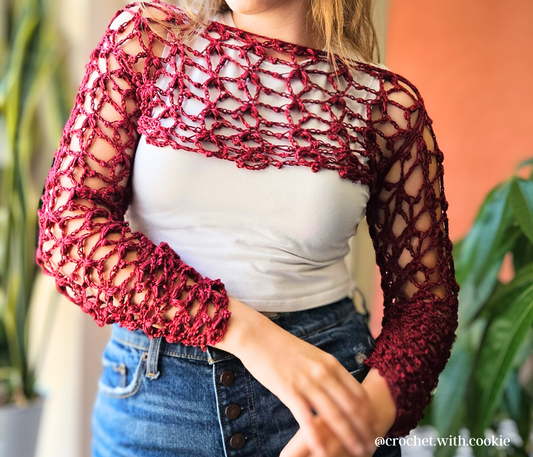
Weave in all ends - and your Cordelia Vest is complete!!


1 comment
I absolutely love this vest. I am going to try and make it for myself. I am a new owner of the Sentro machine.
I can’t wait. Thank you for putting this tutorial on this page.